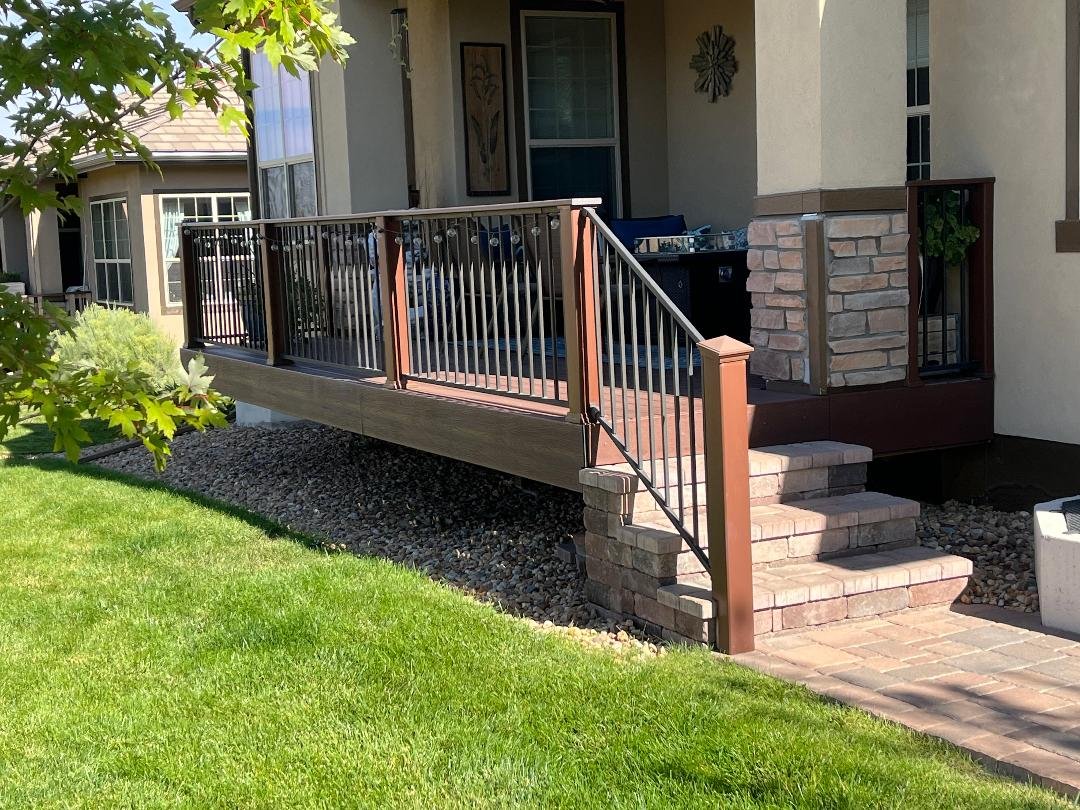
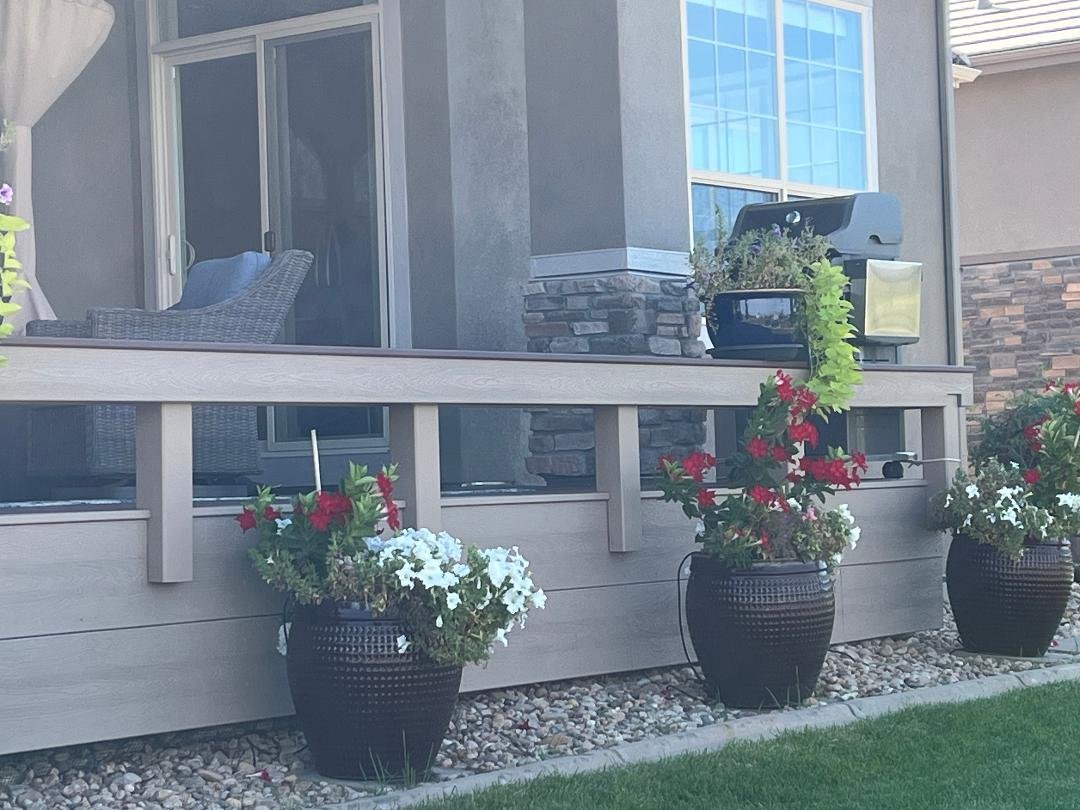
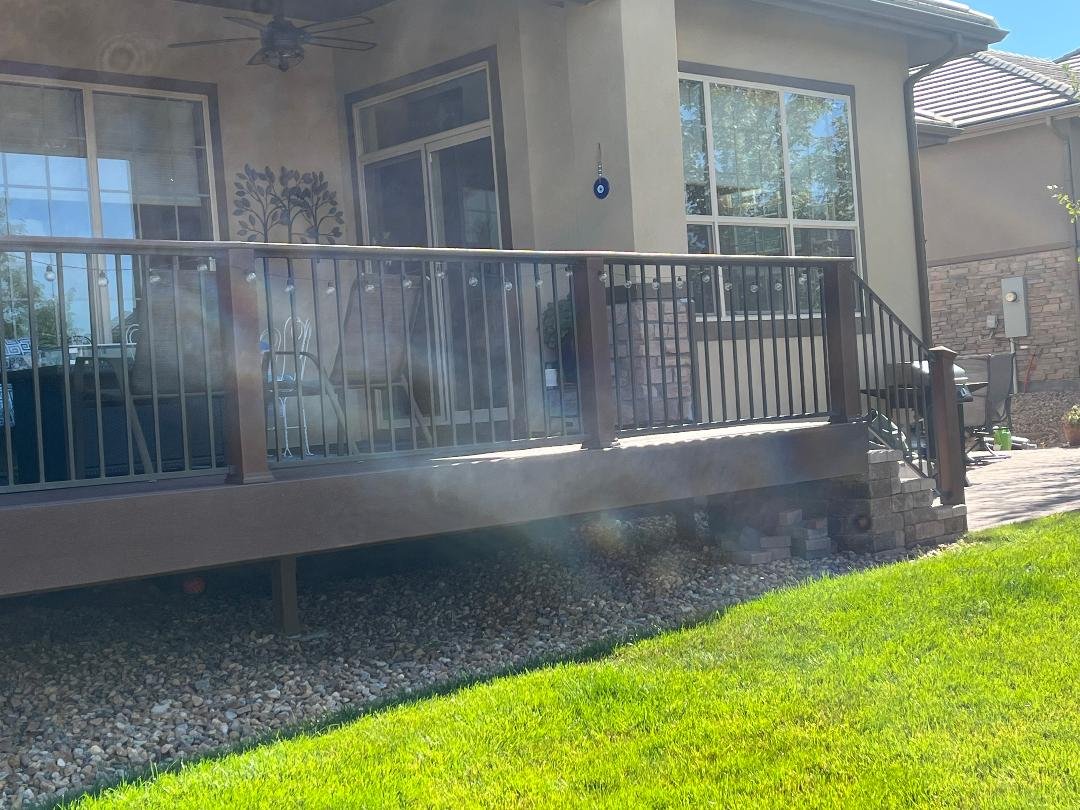
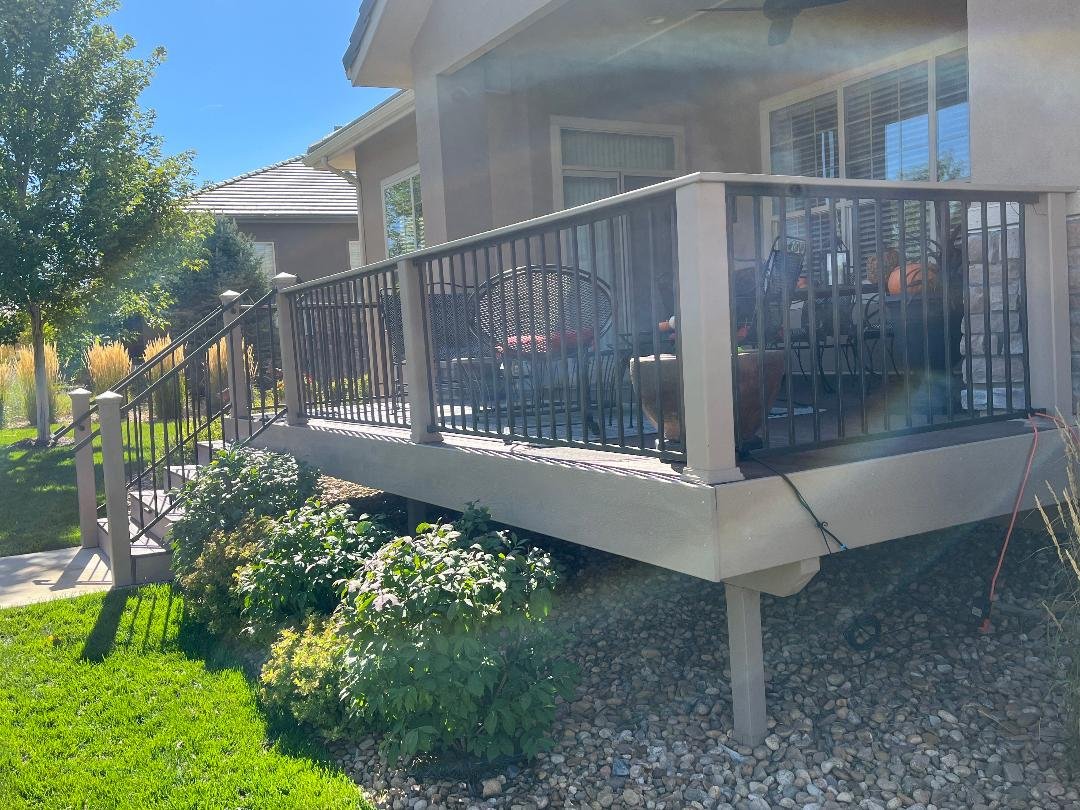
Browse bathrooms, kitchens, outdoor work and smaller details from across our projects. Start with the photographs; explore the project stories when you want a closer look.
Finished-work photographs Across four collections
01 / 37 photographs
Bathrooms, in the details.
Full-room views, showers, tubs, vanities and finish details. Explore the different spaces and the work within them.
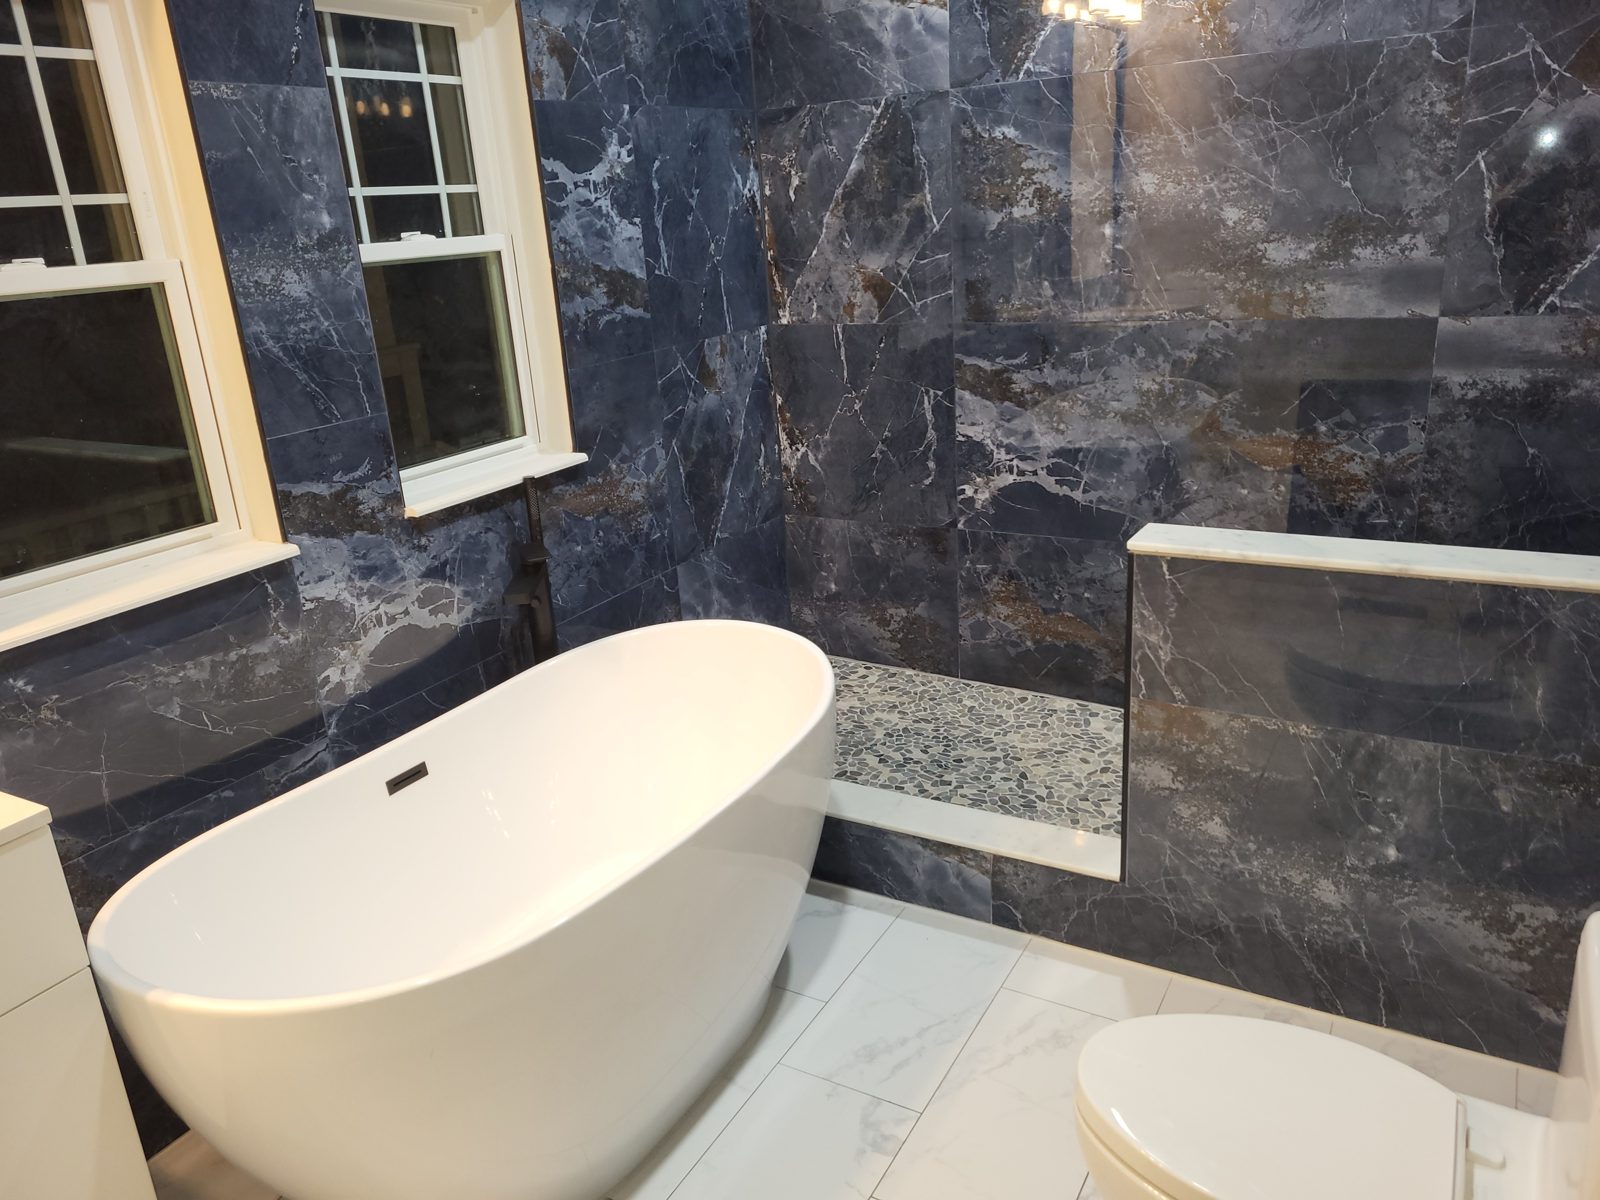
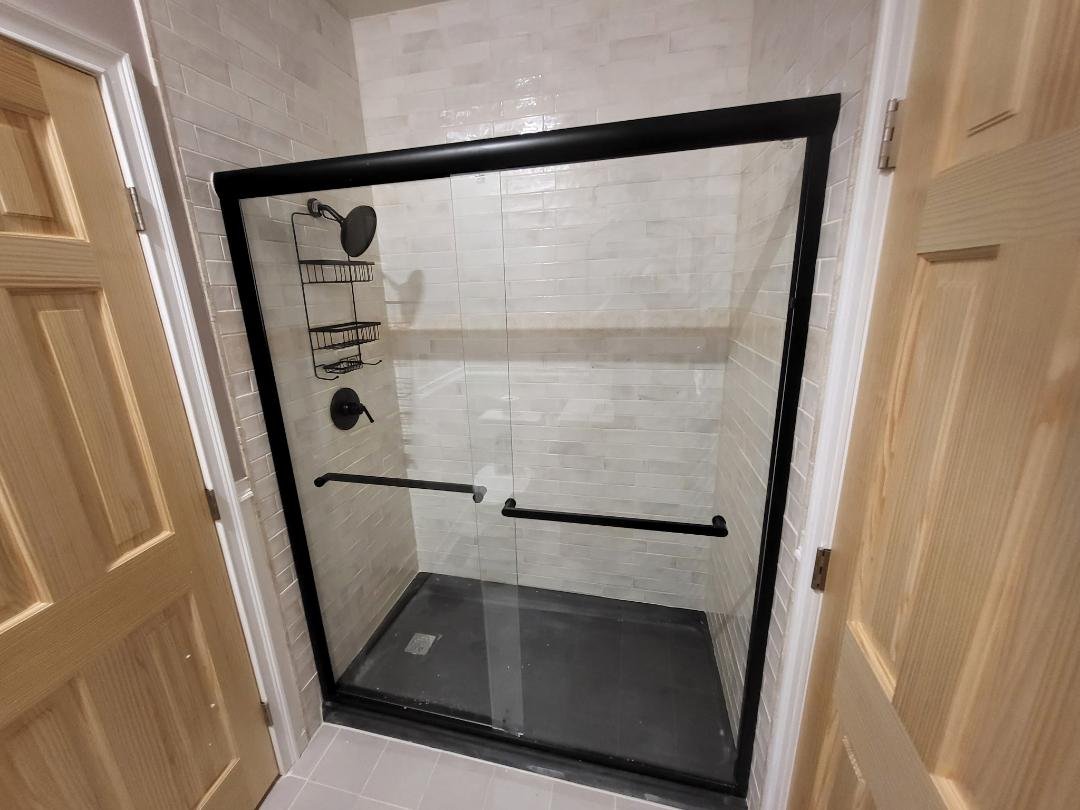
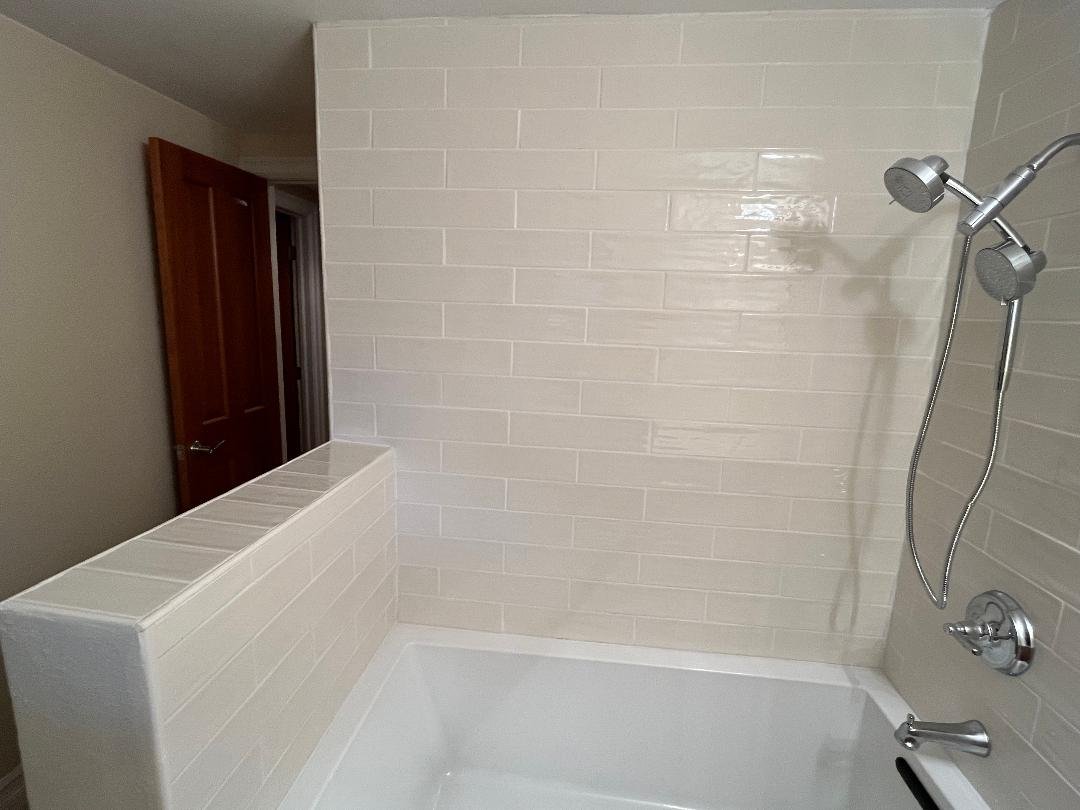
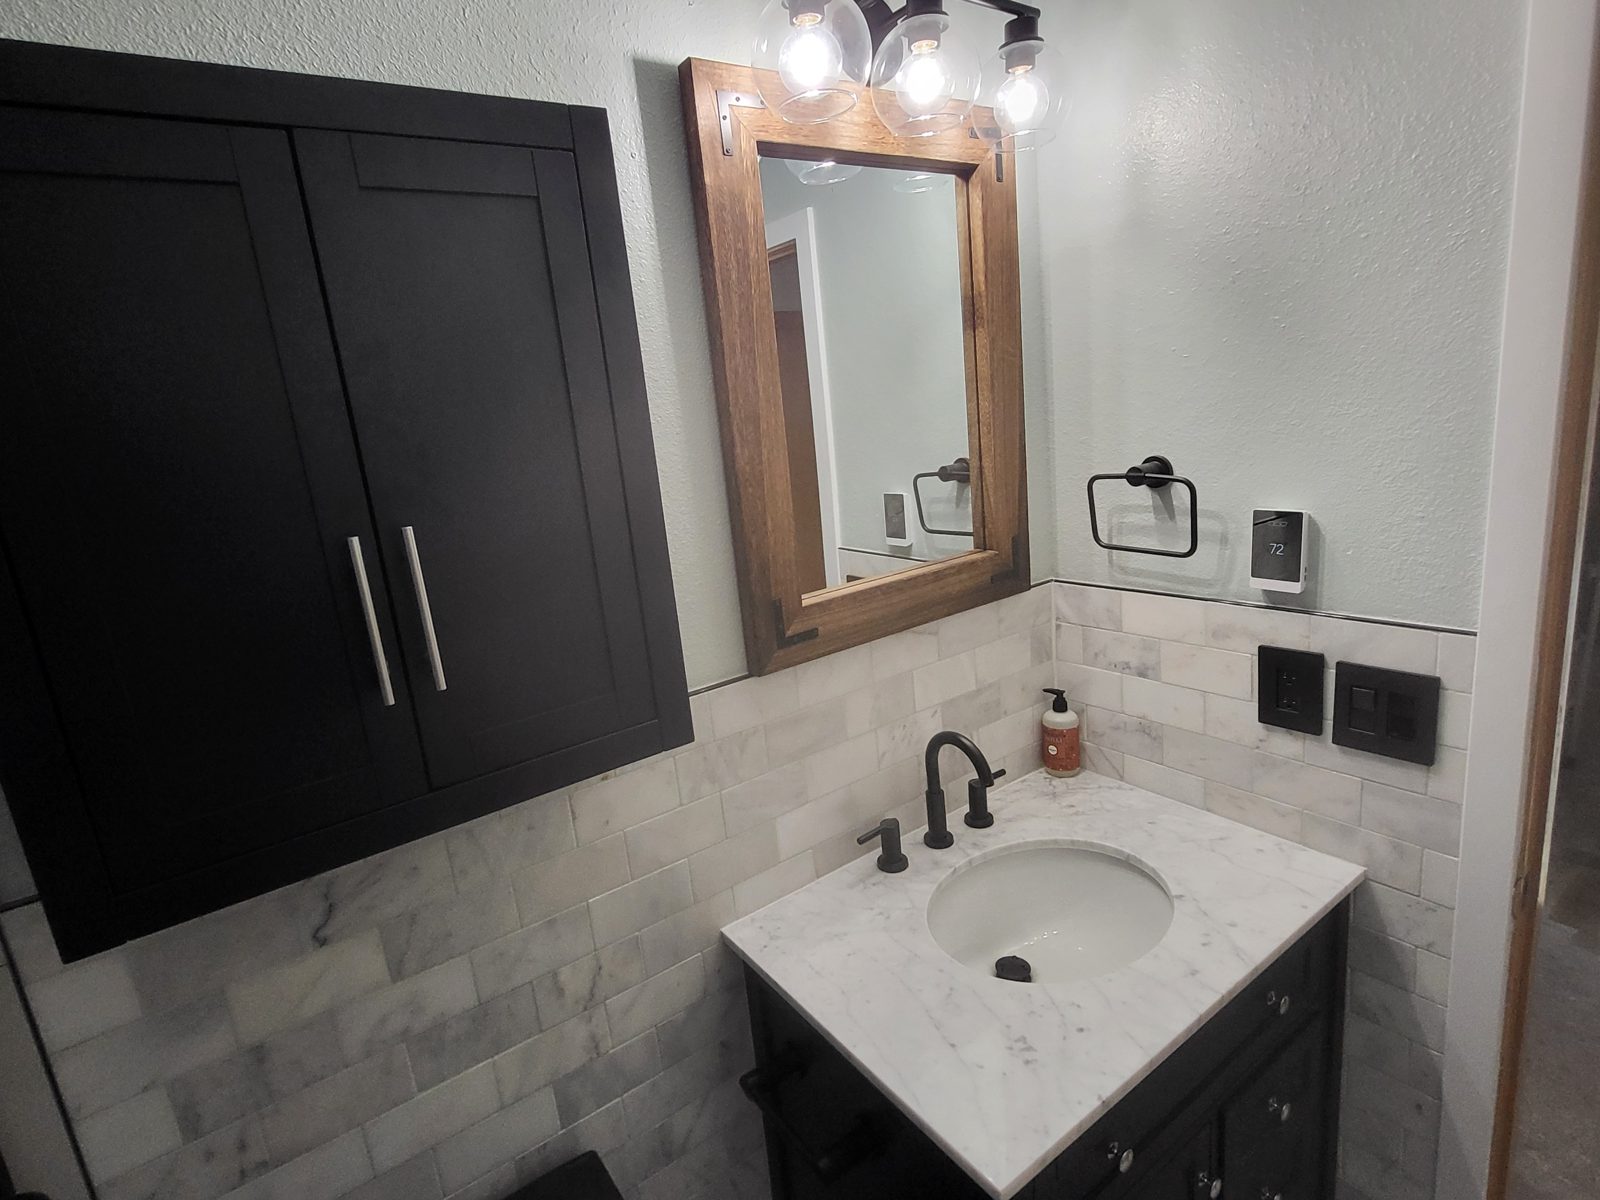
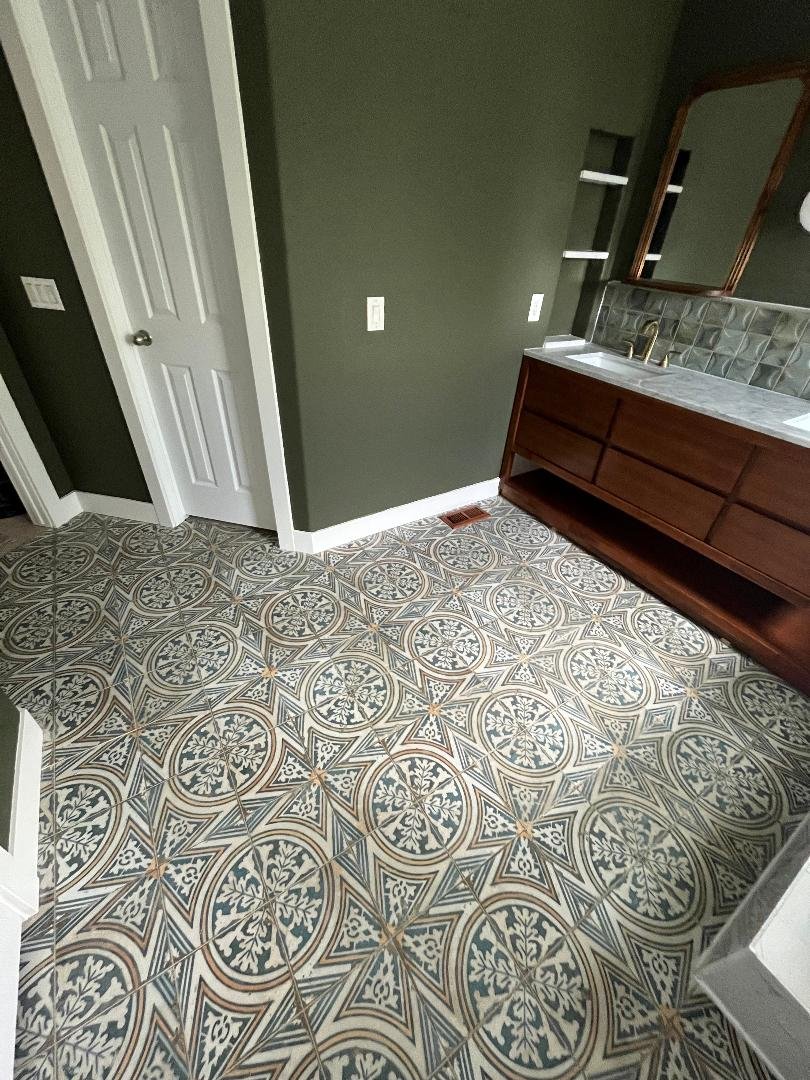
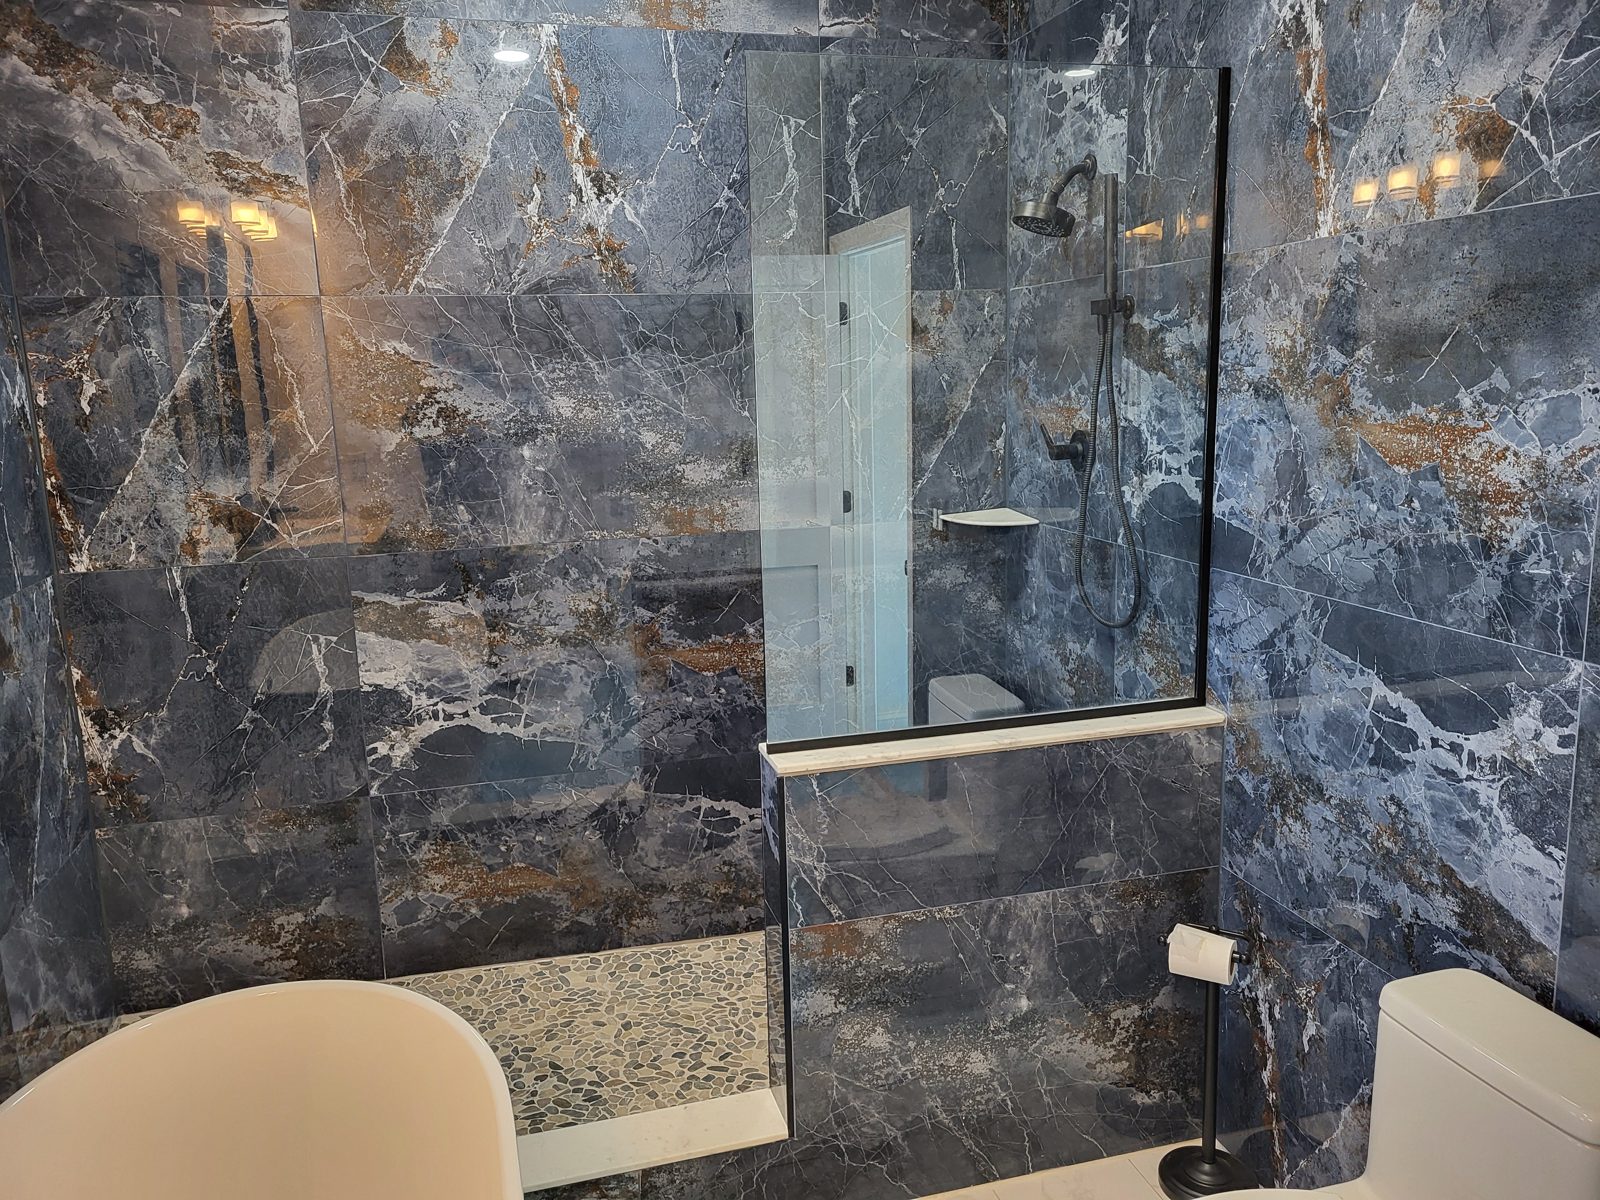
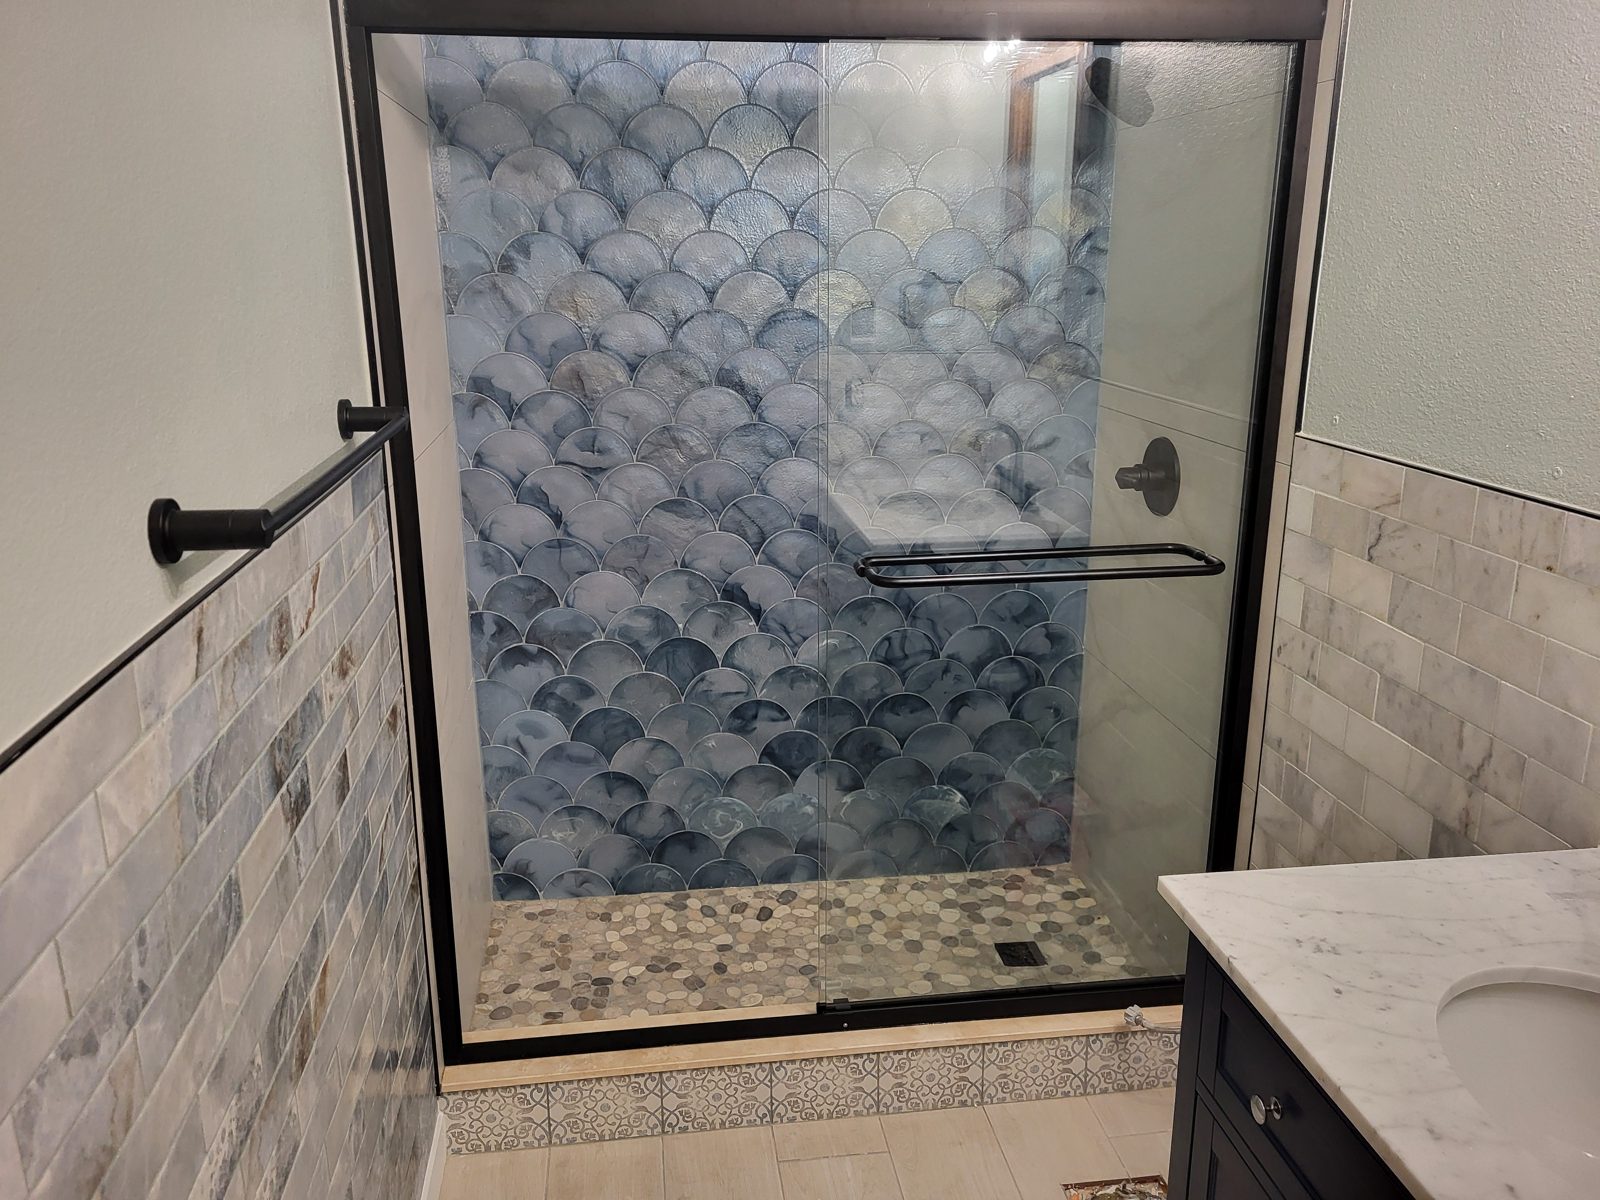
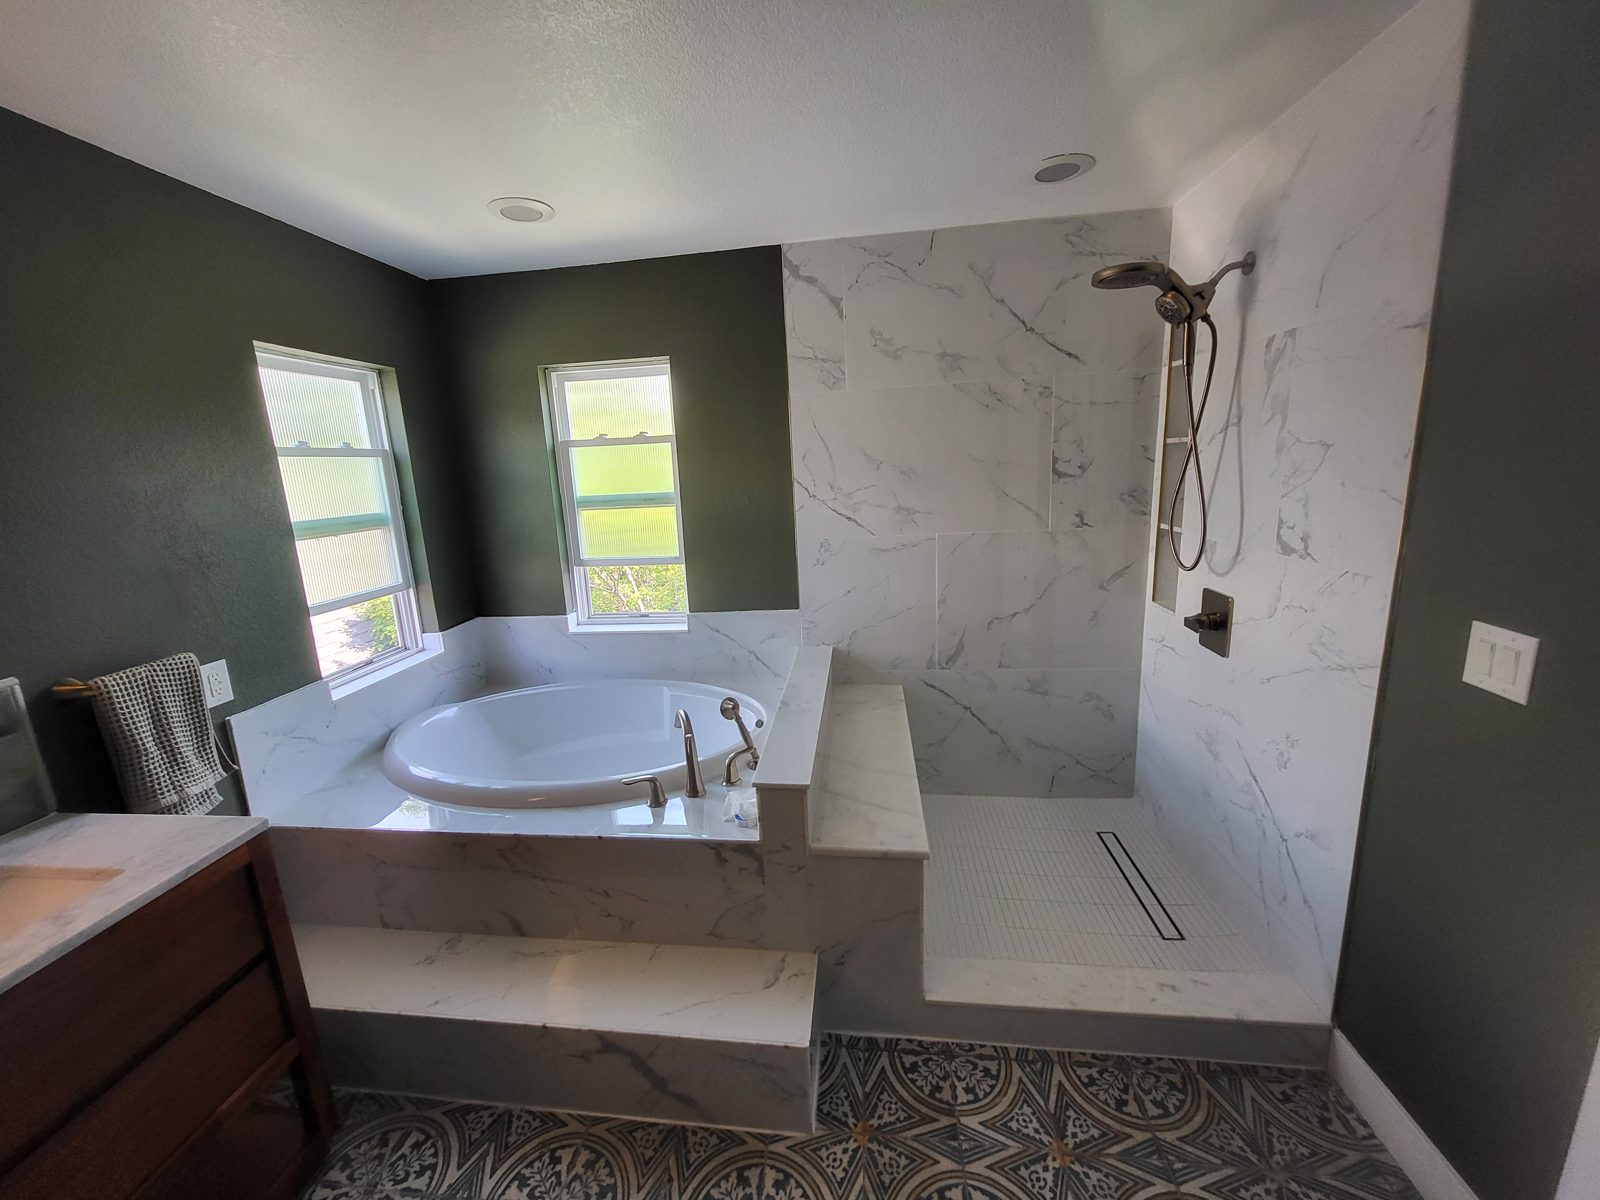
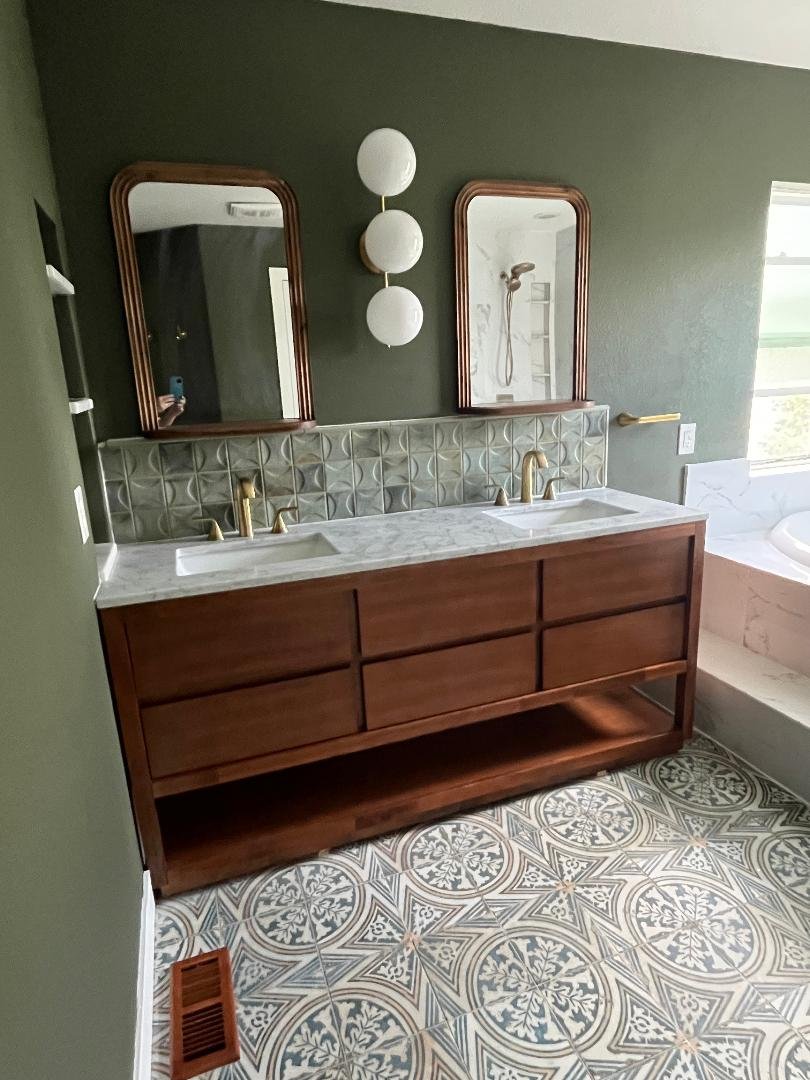
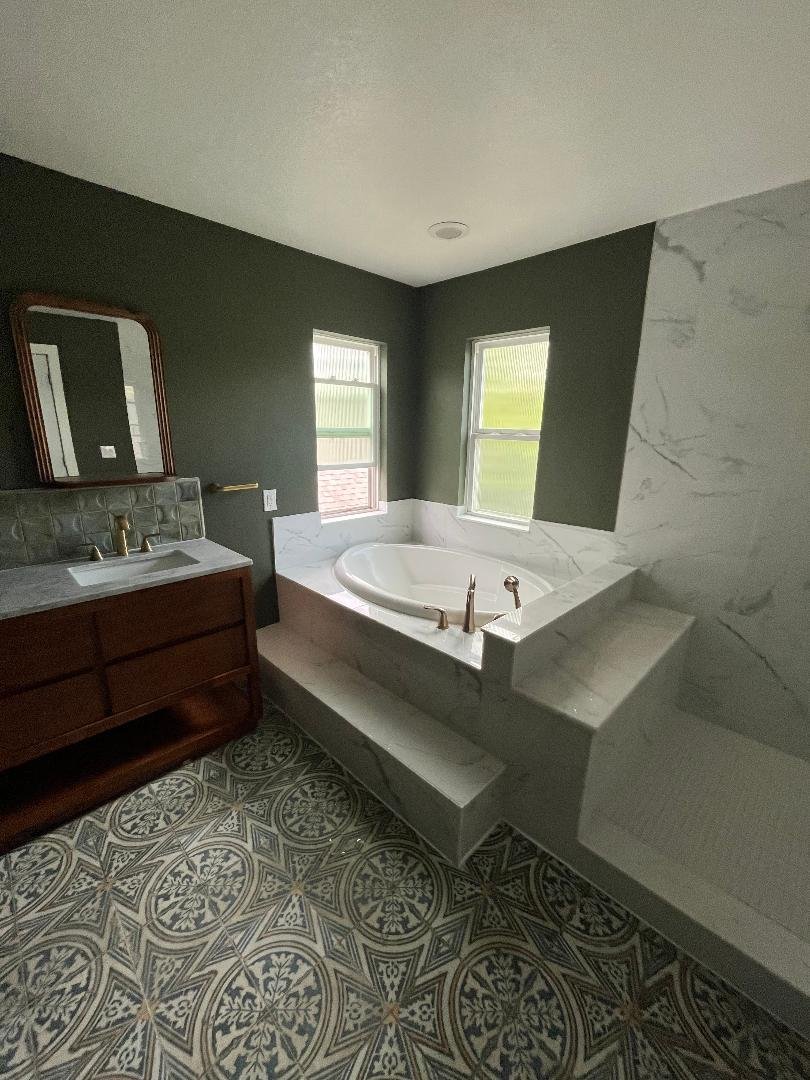
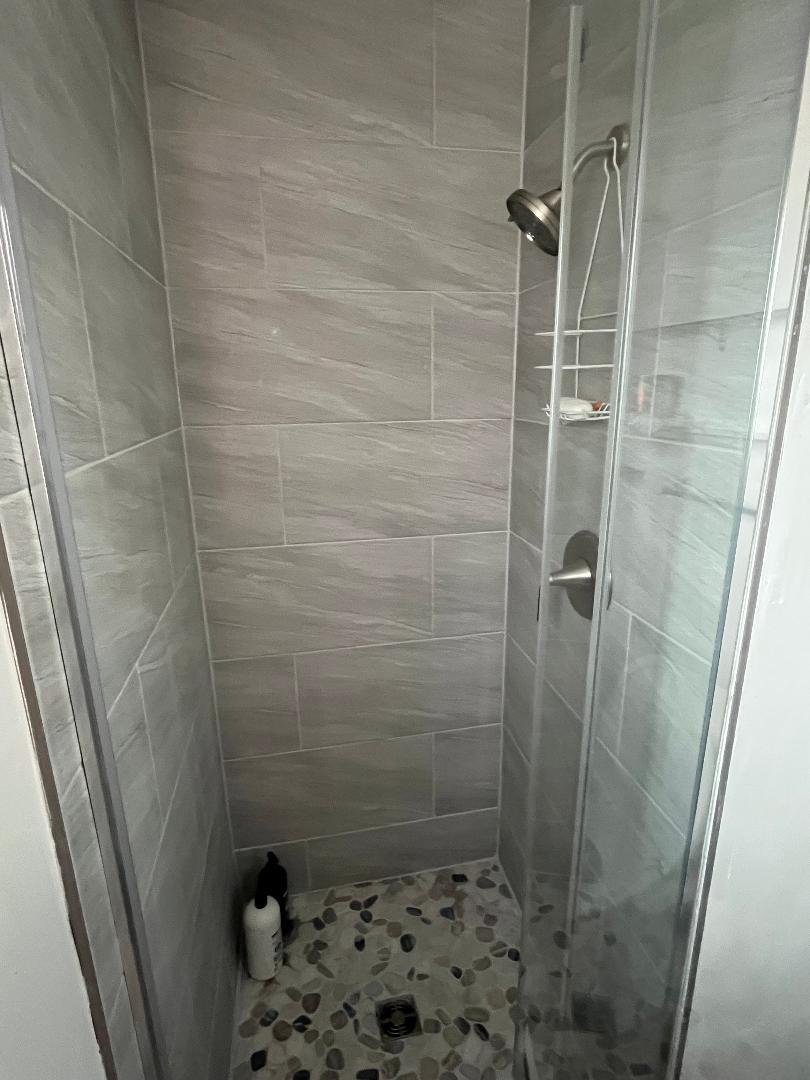
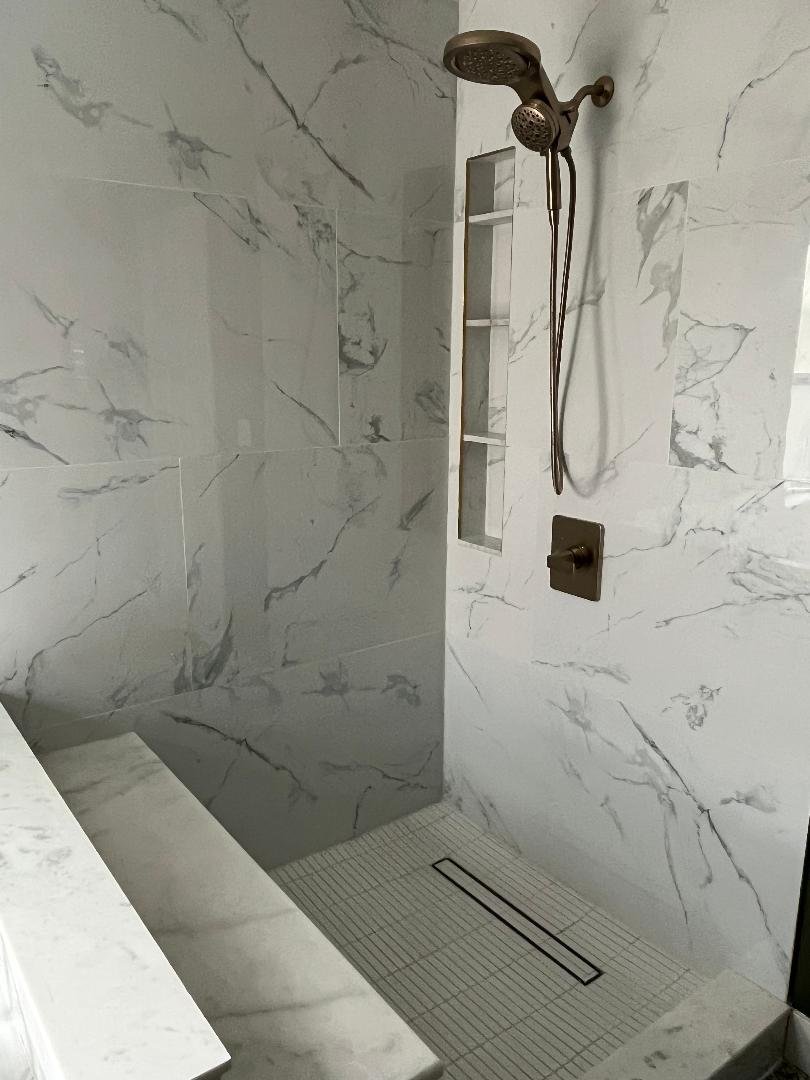
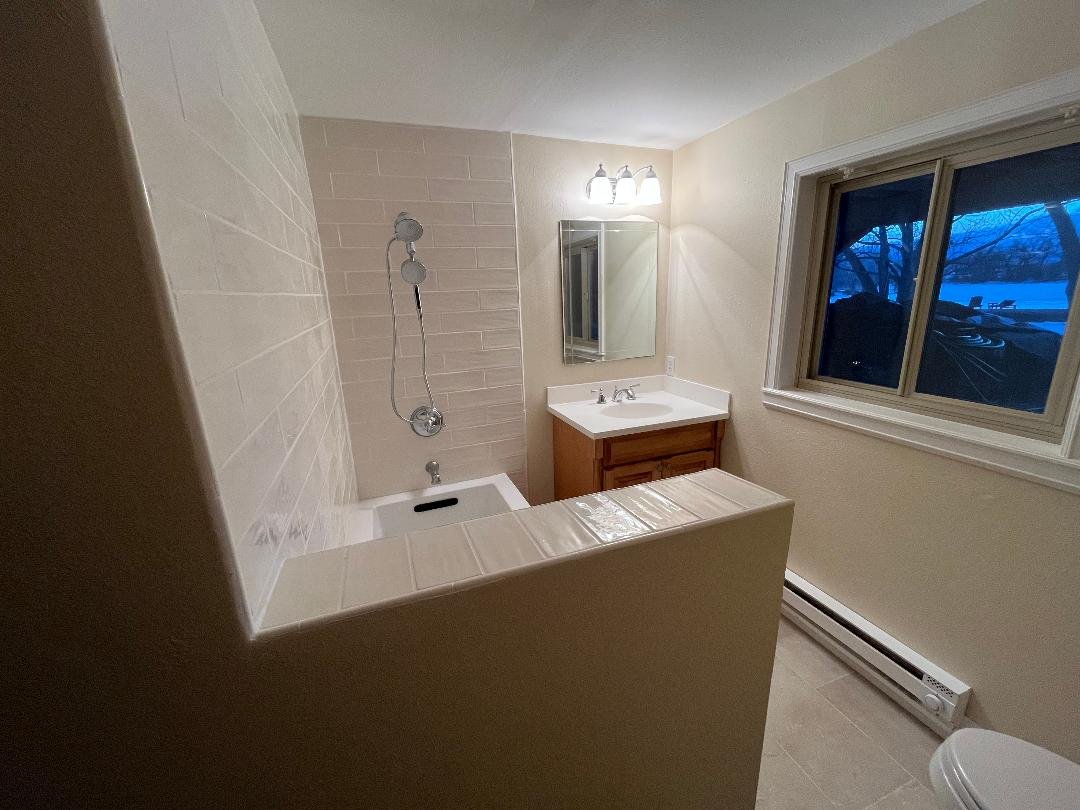
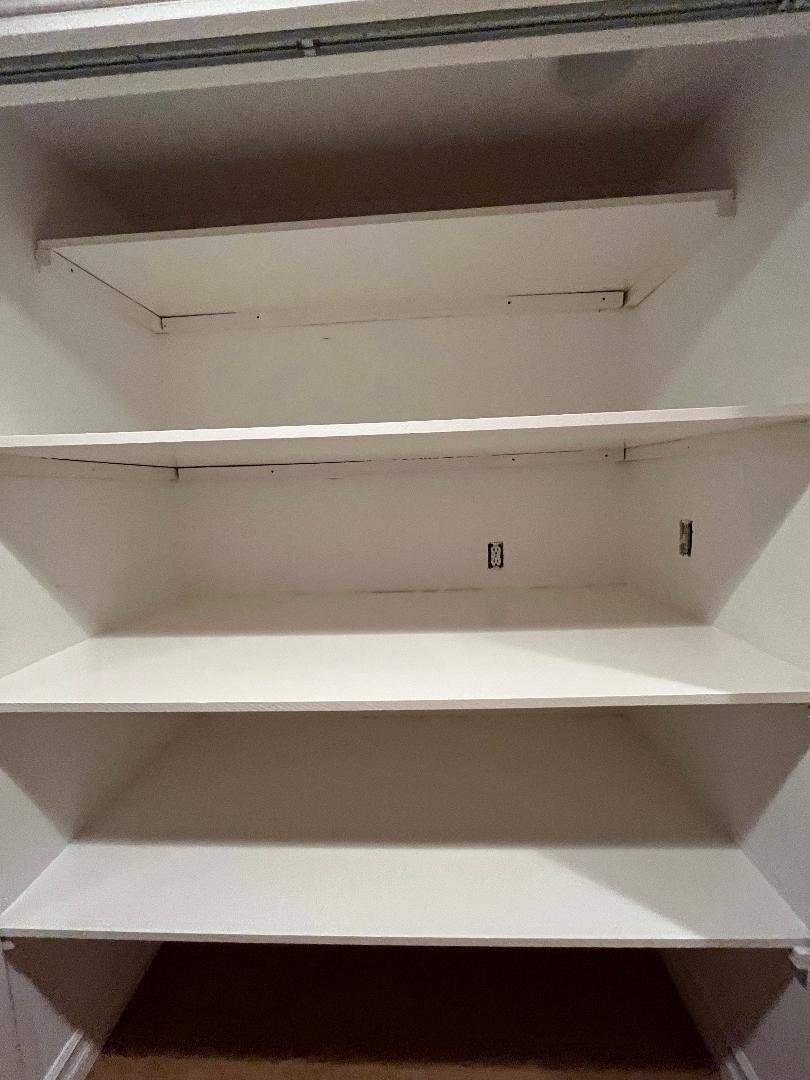
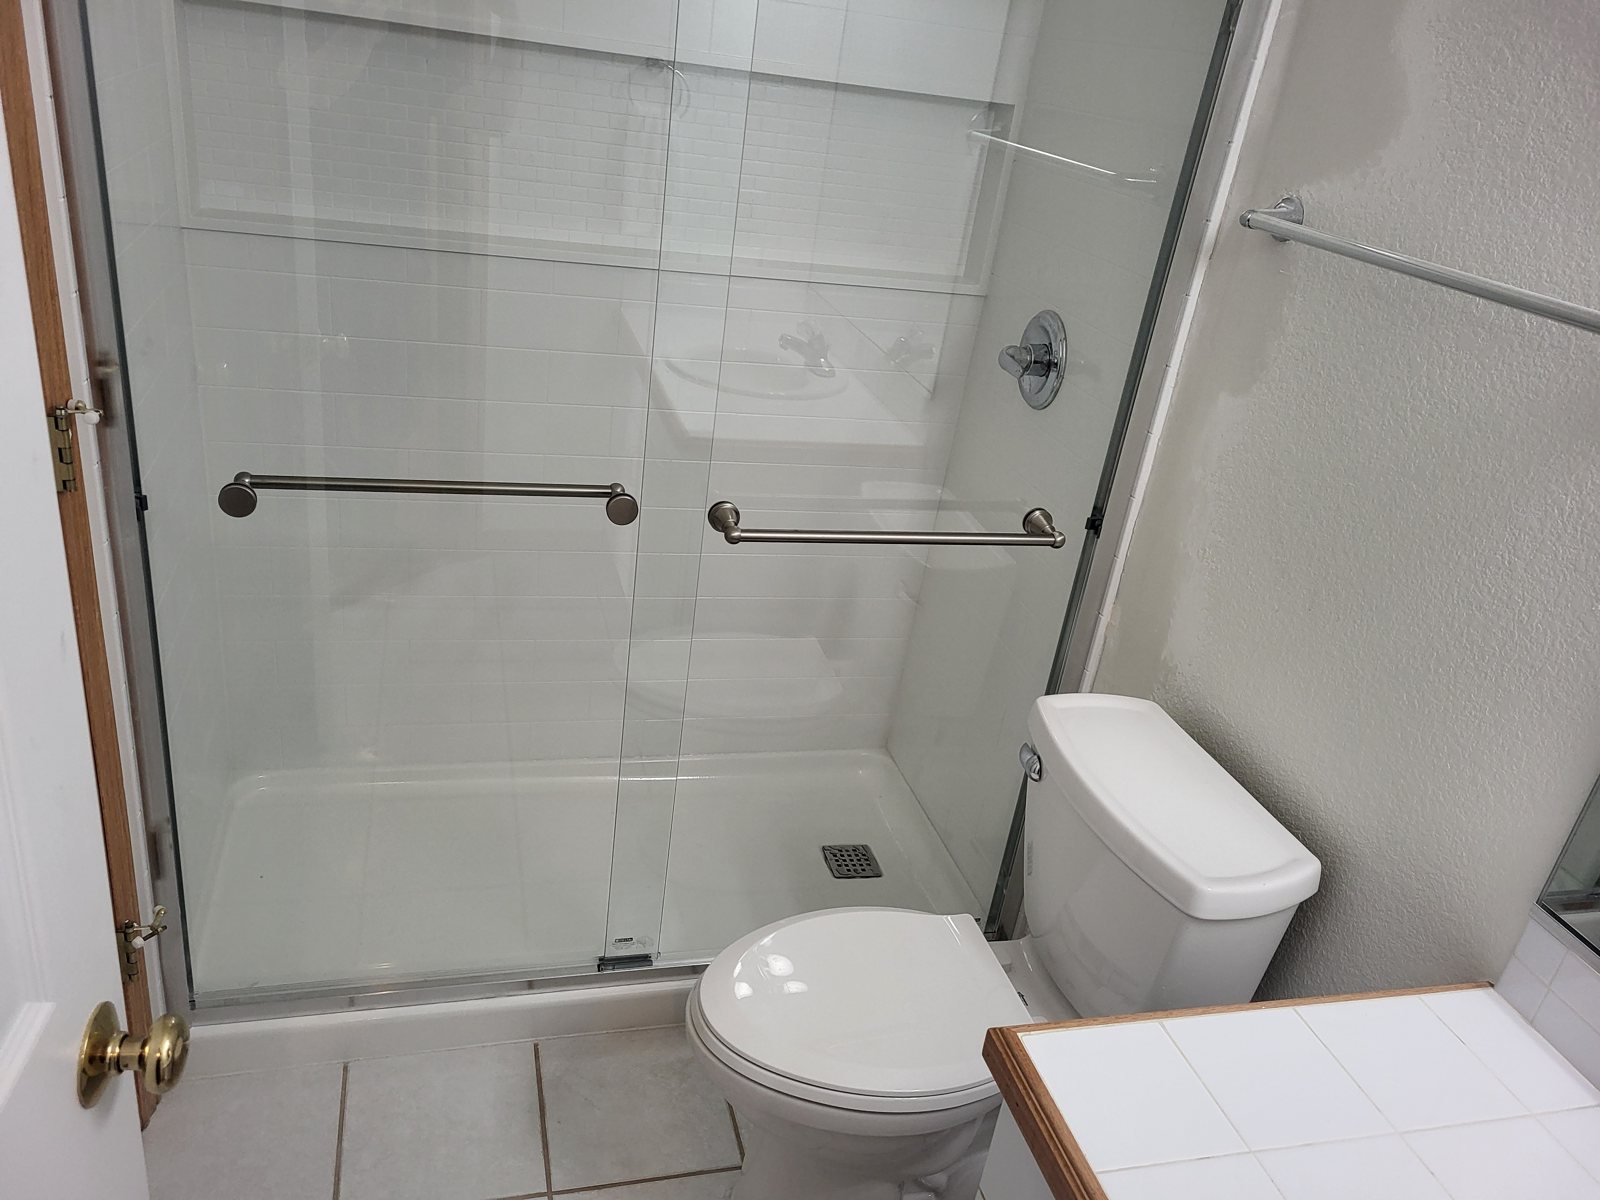
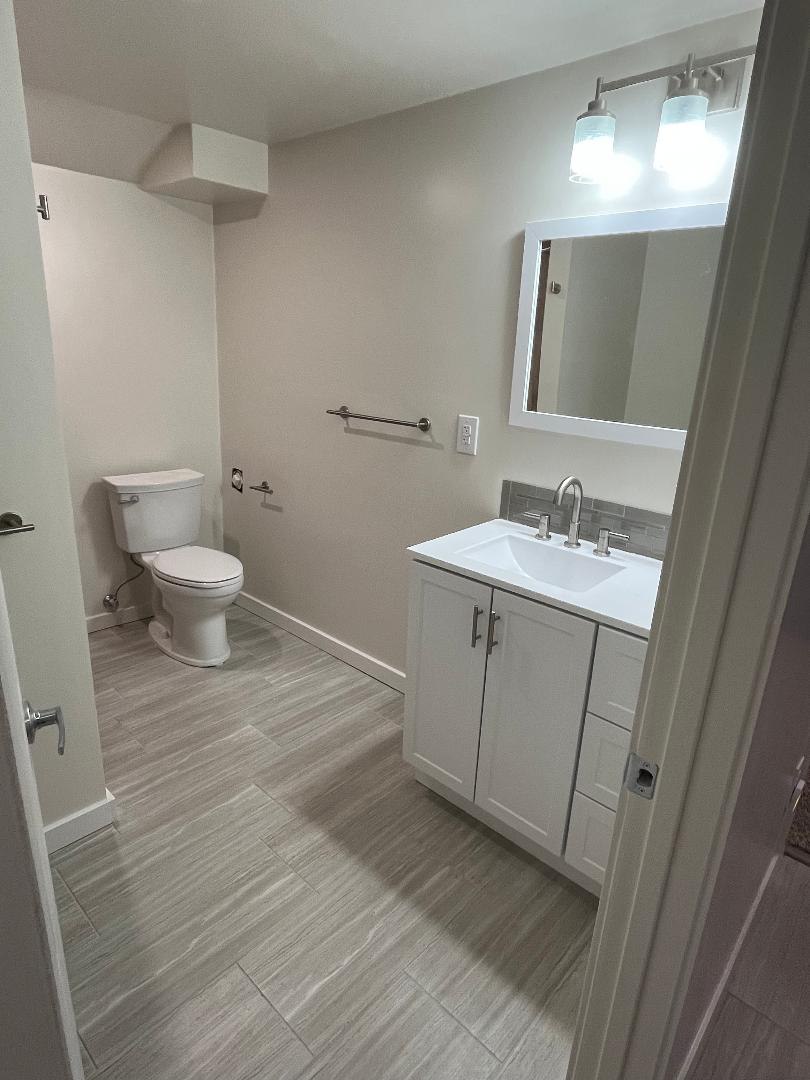
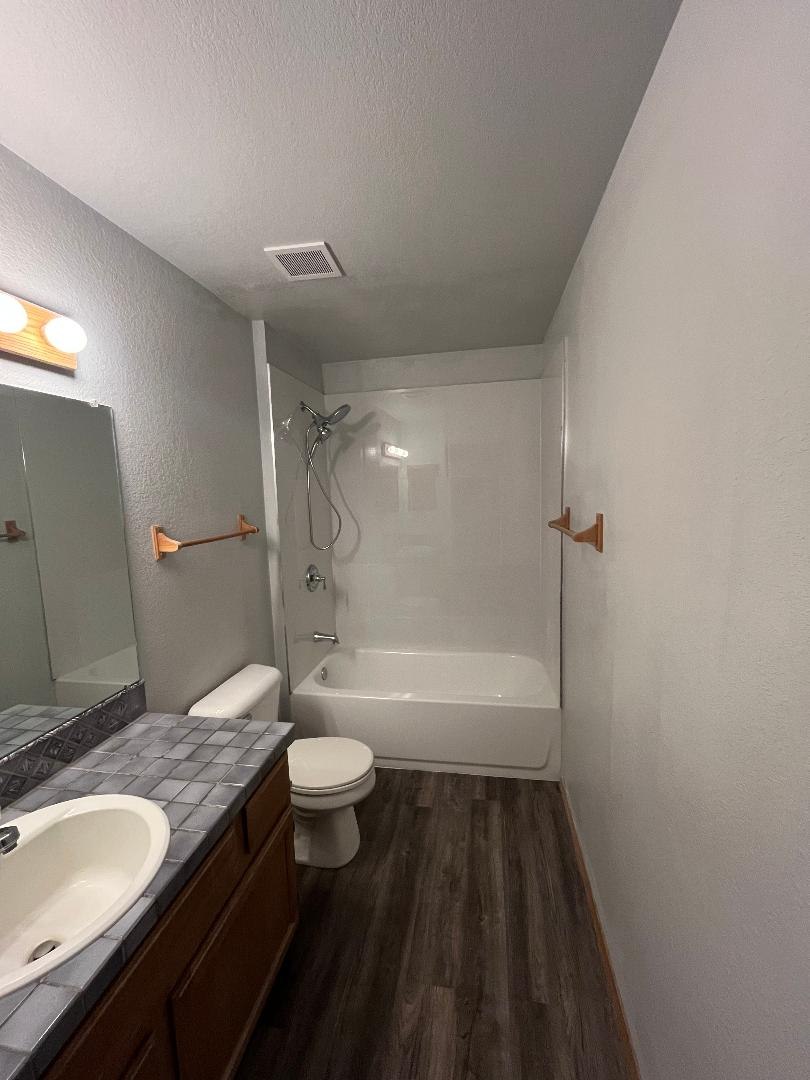
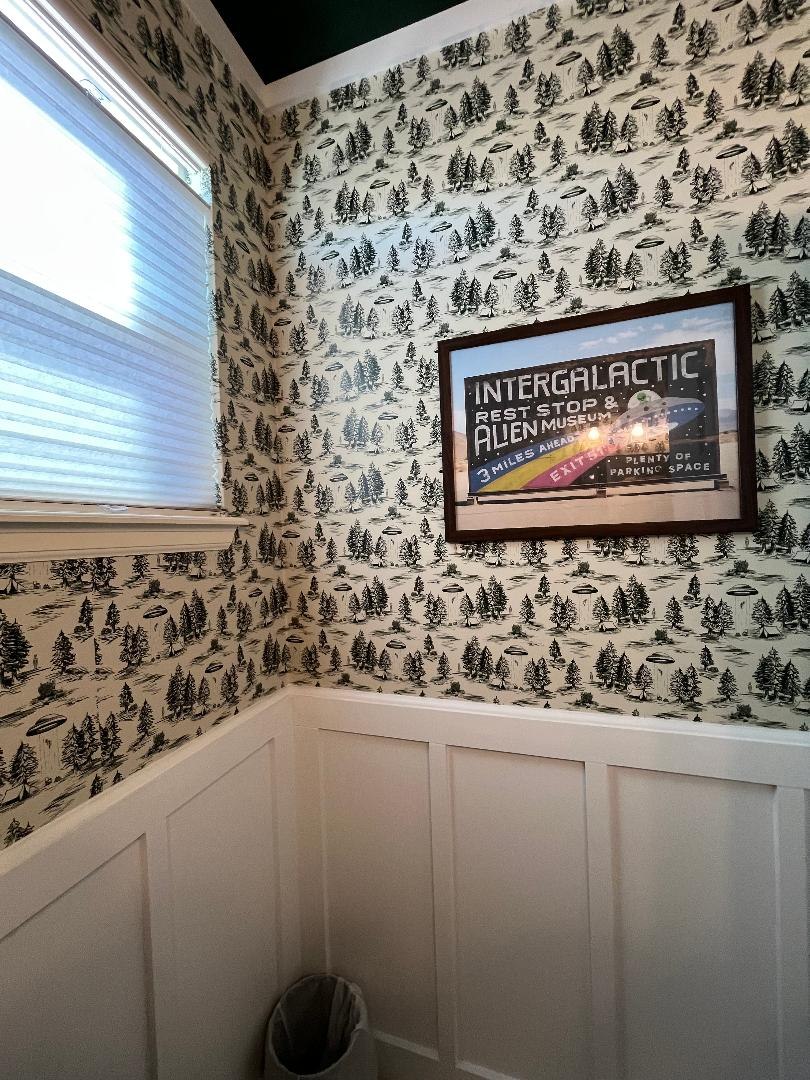
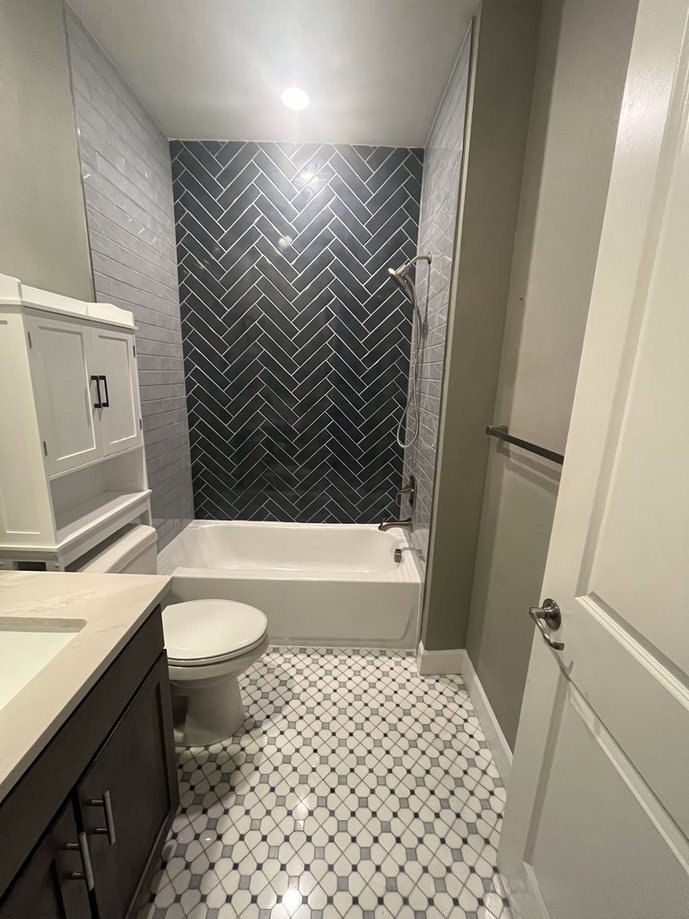
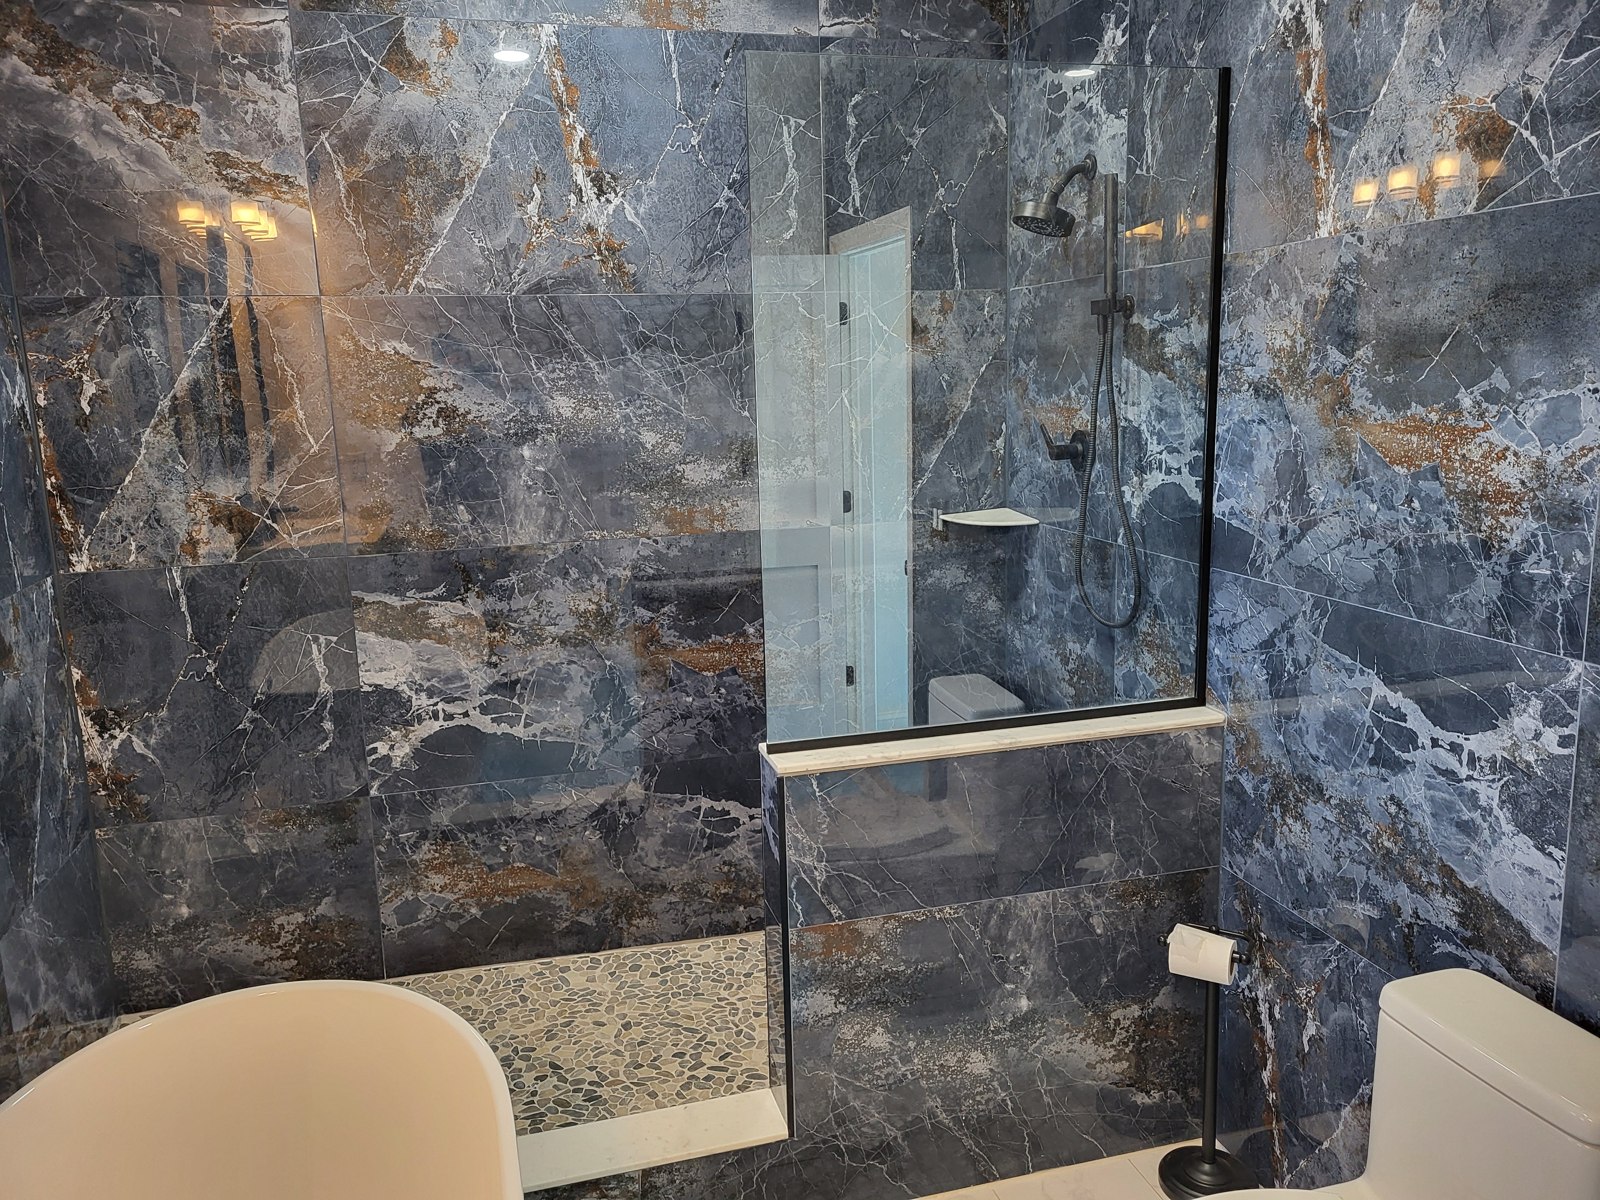
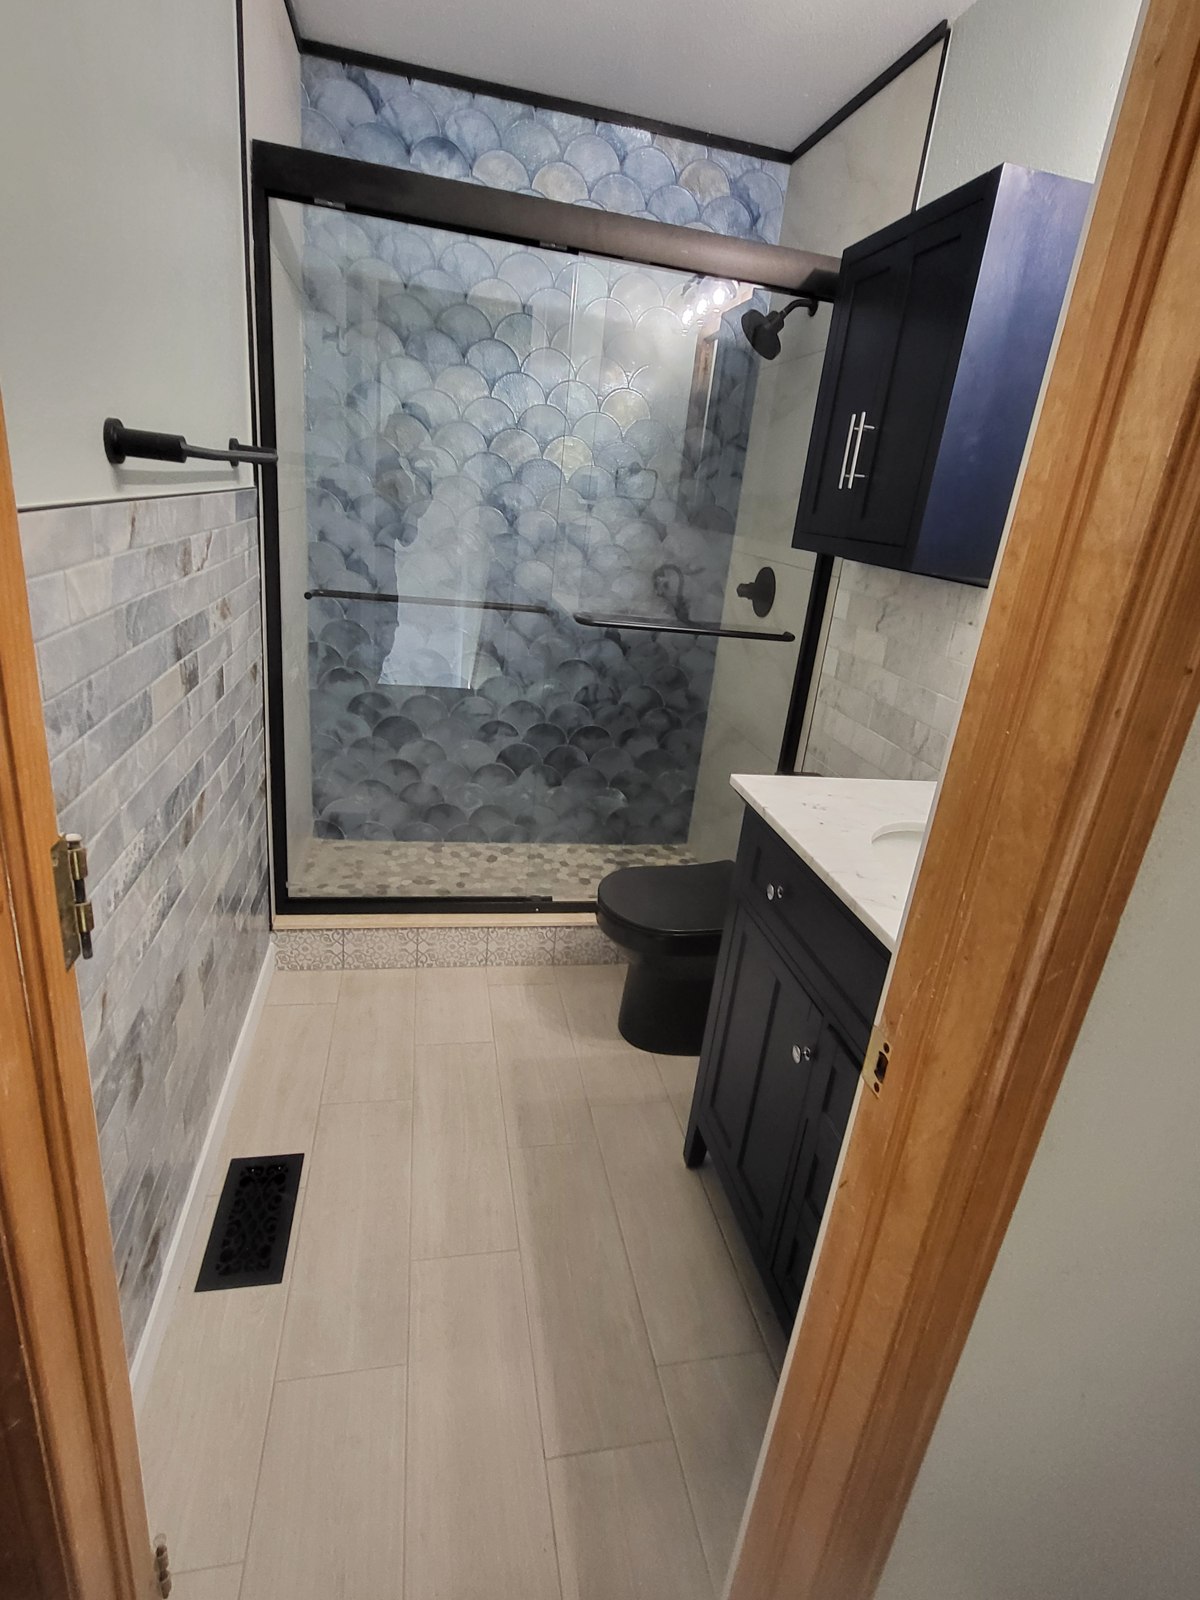
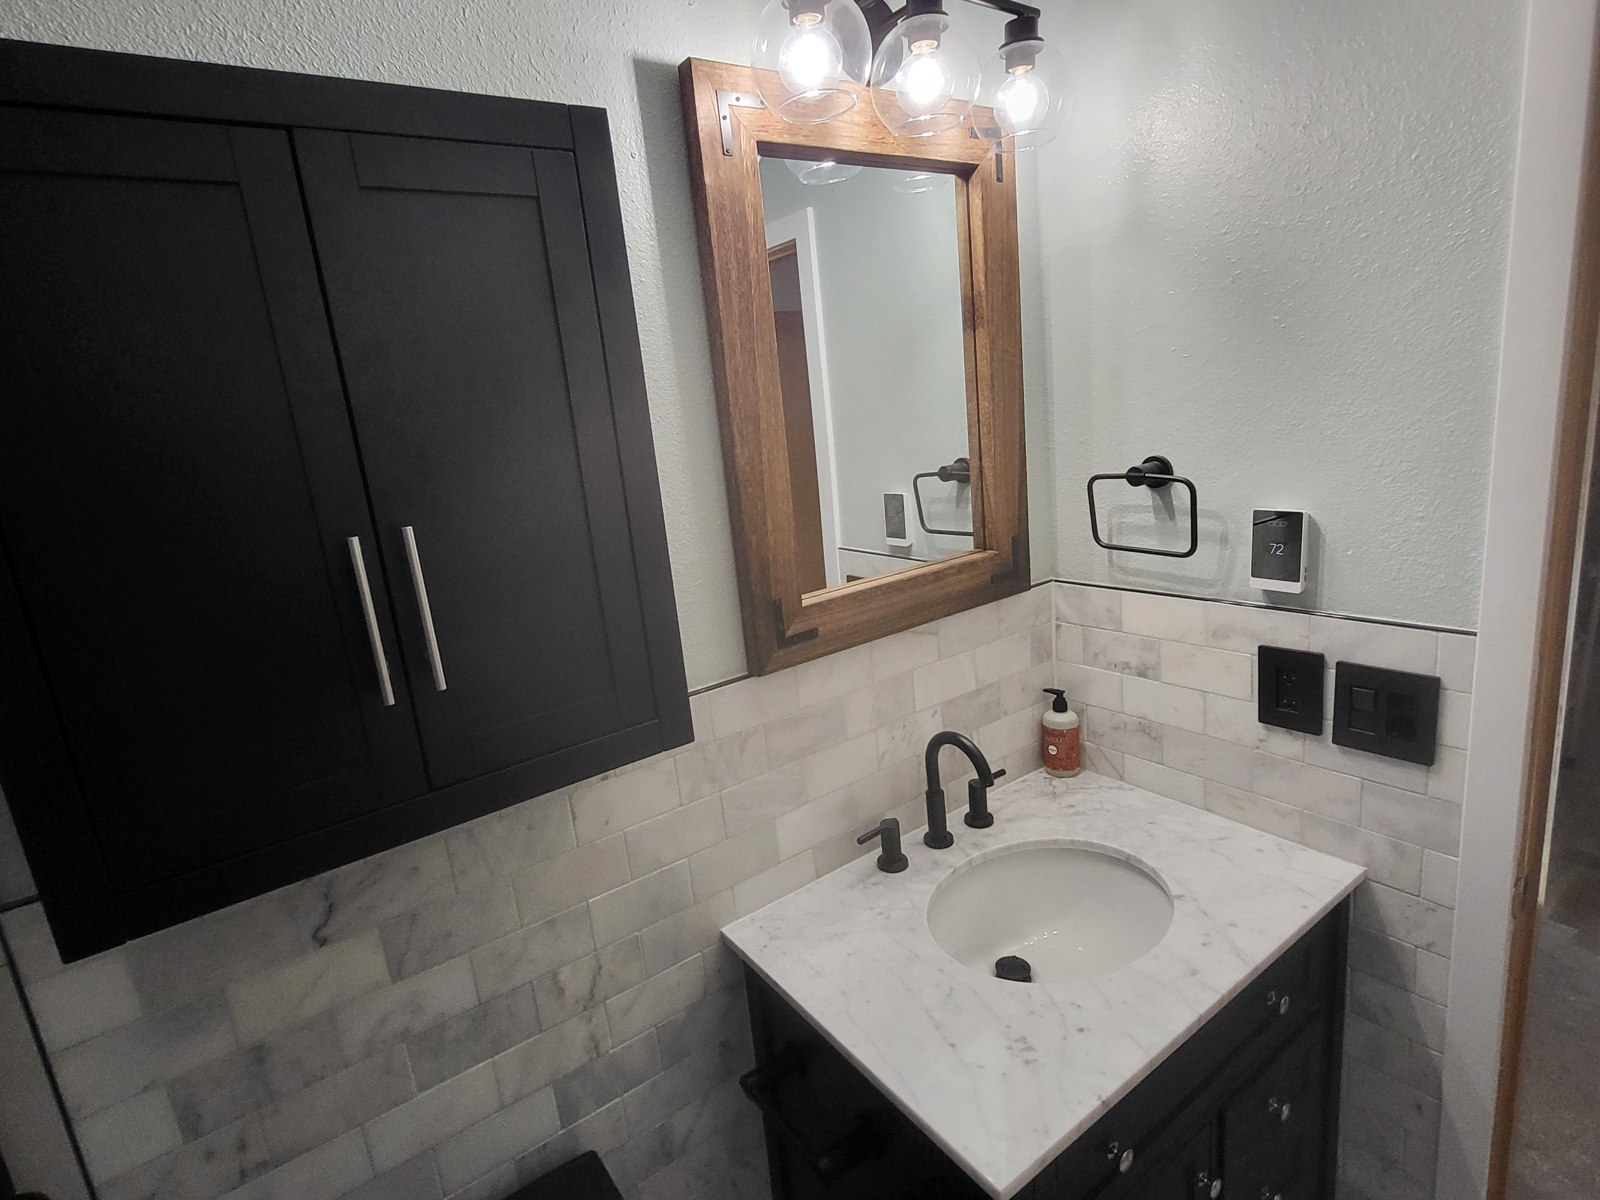
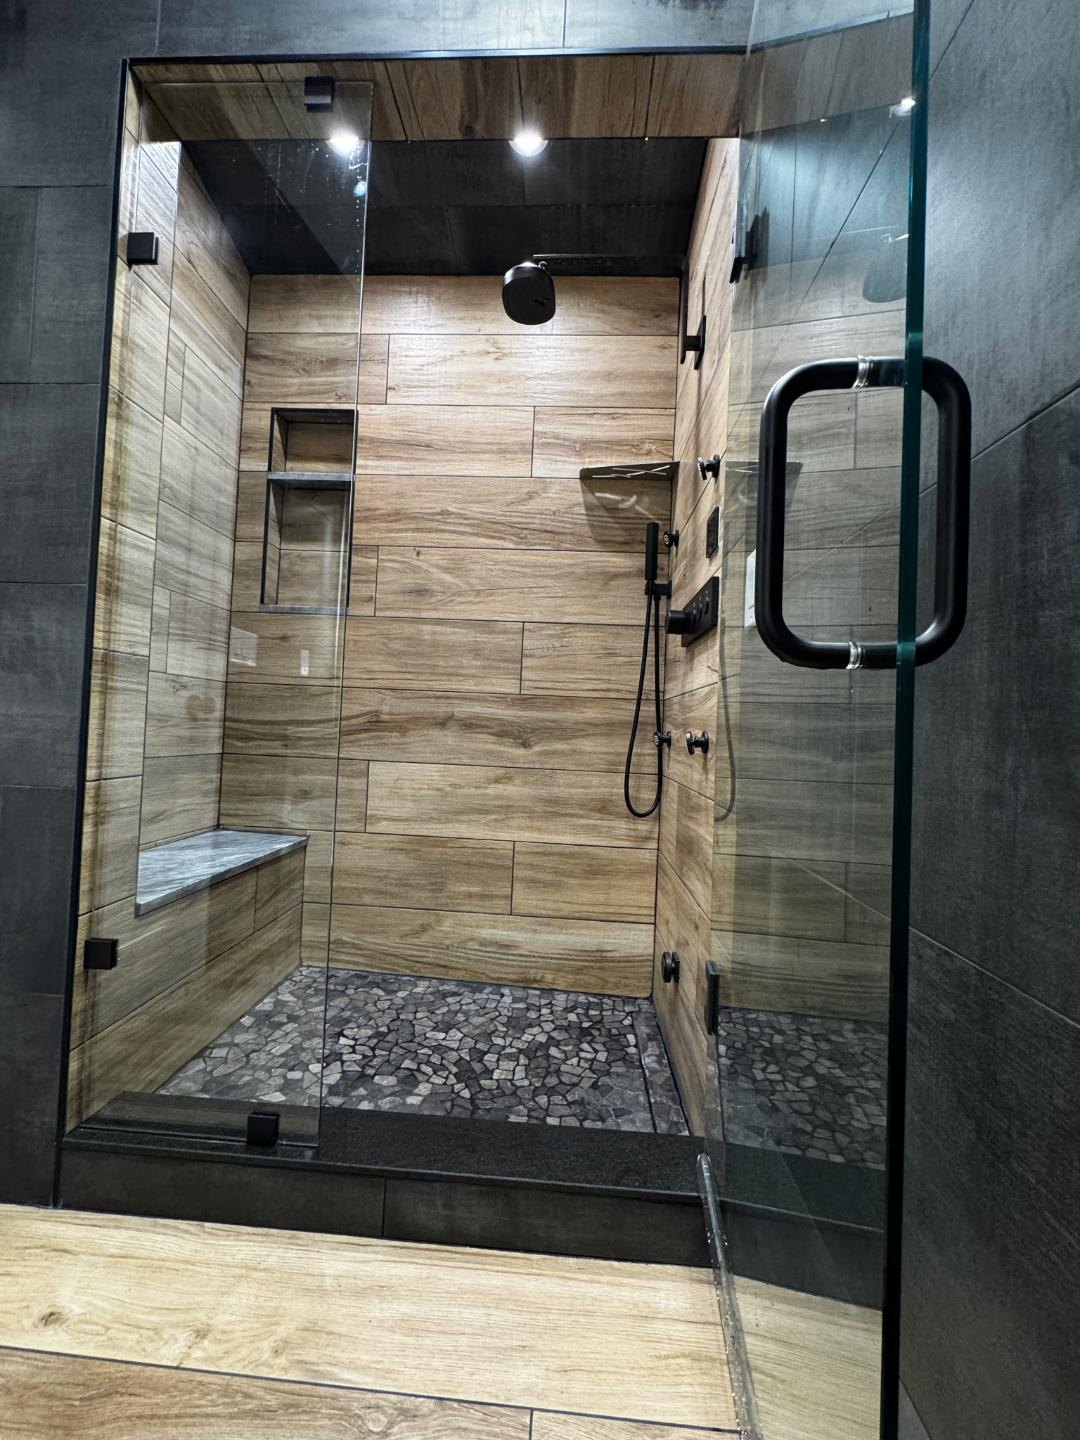
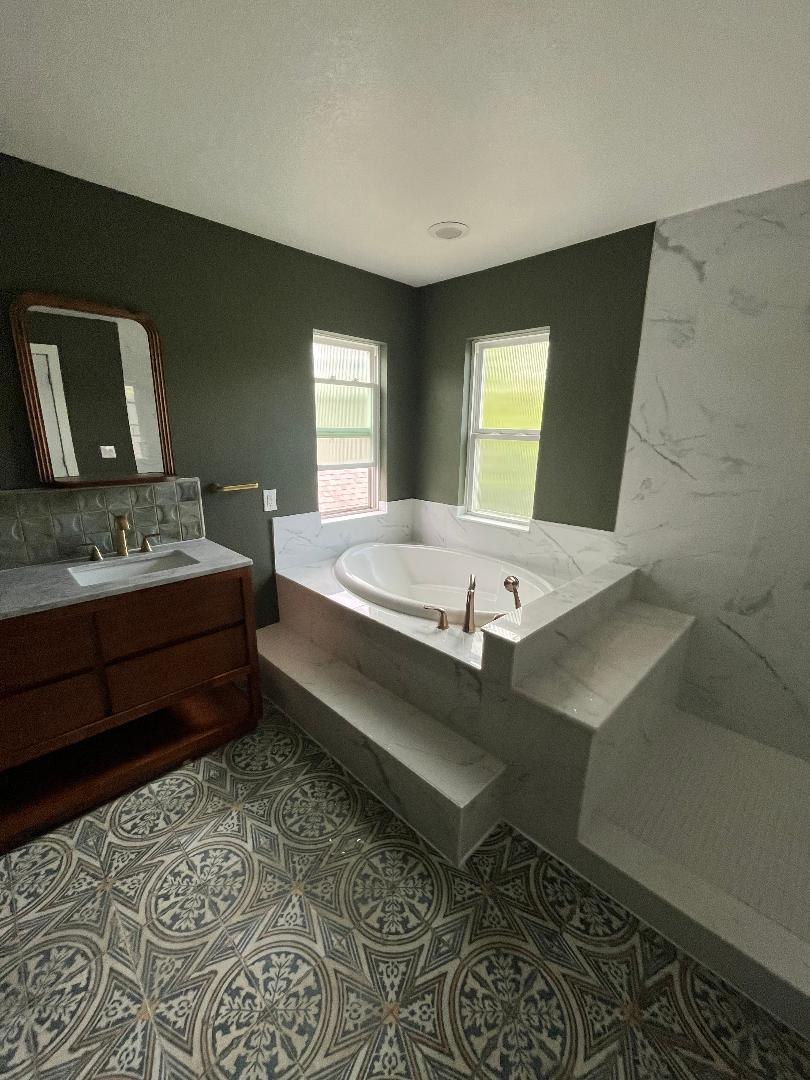
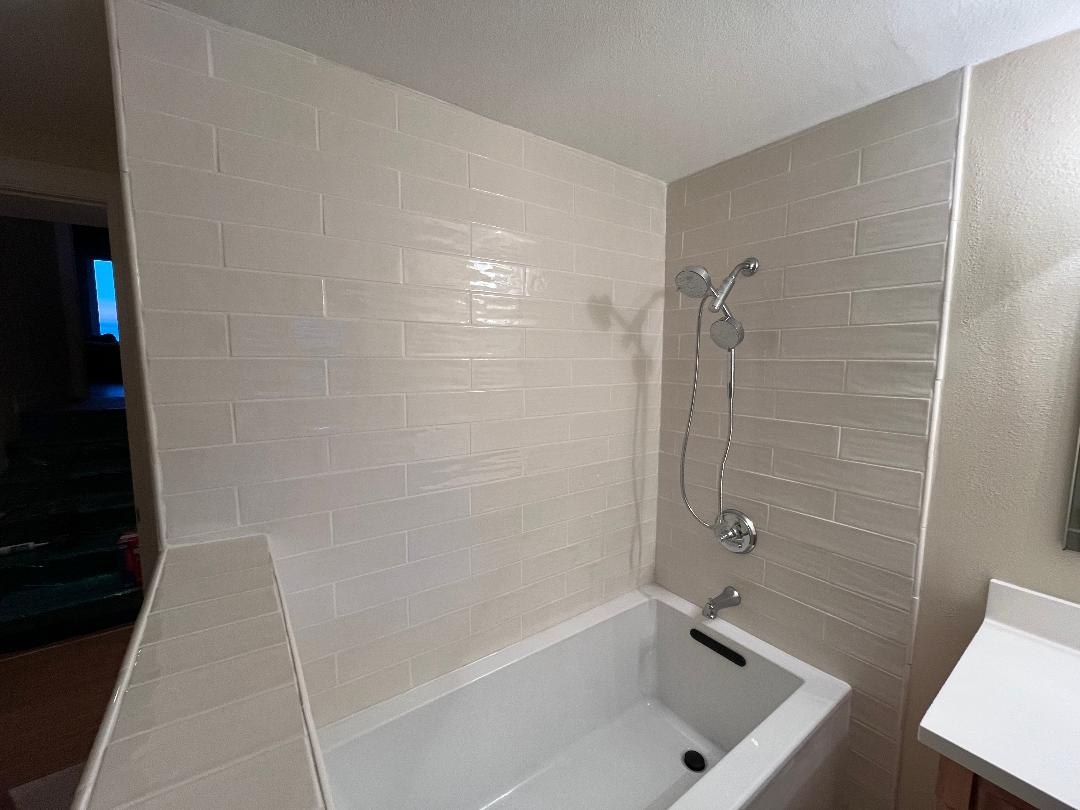
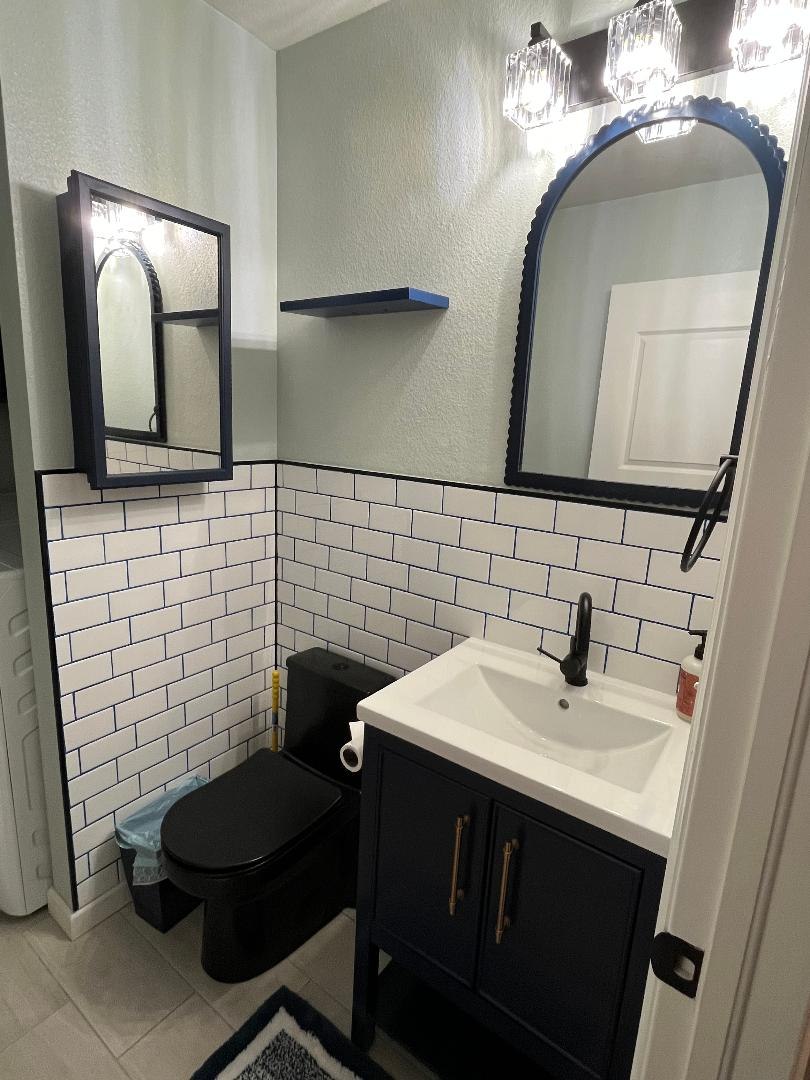
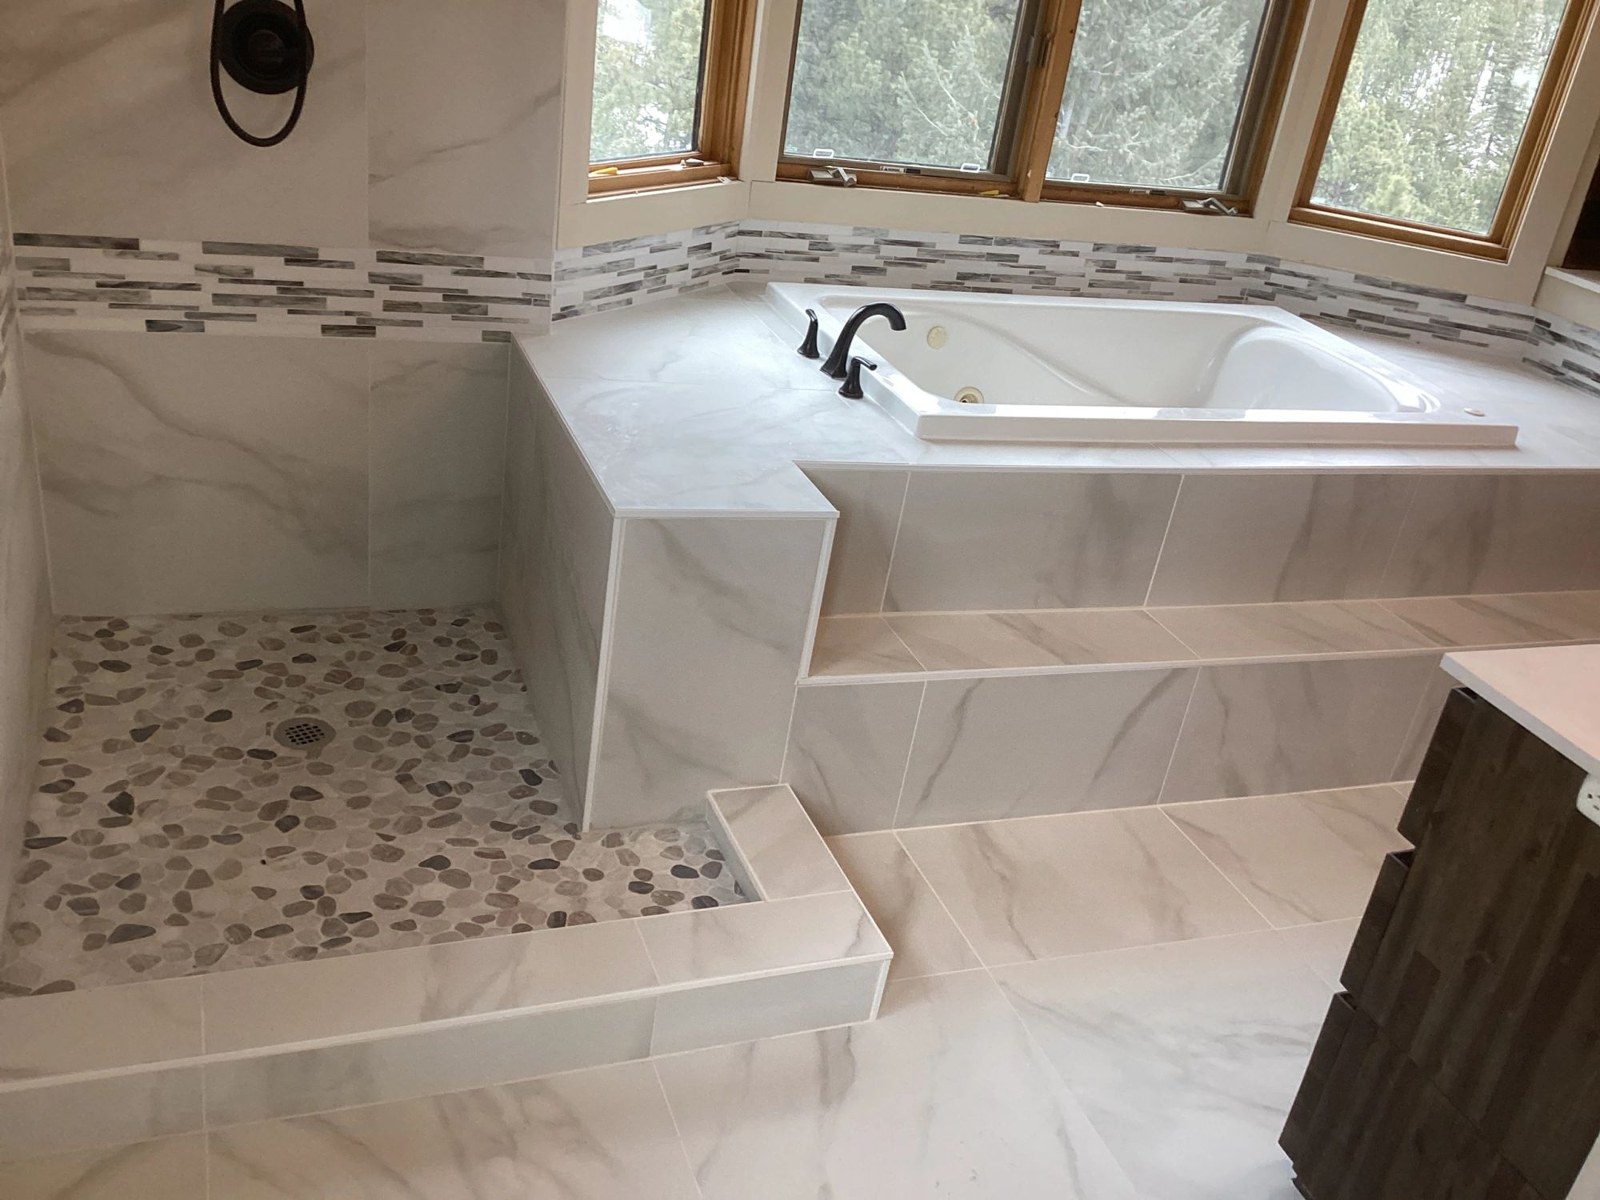
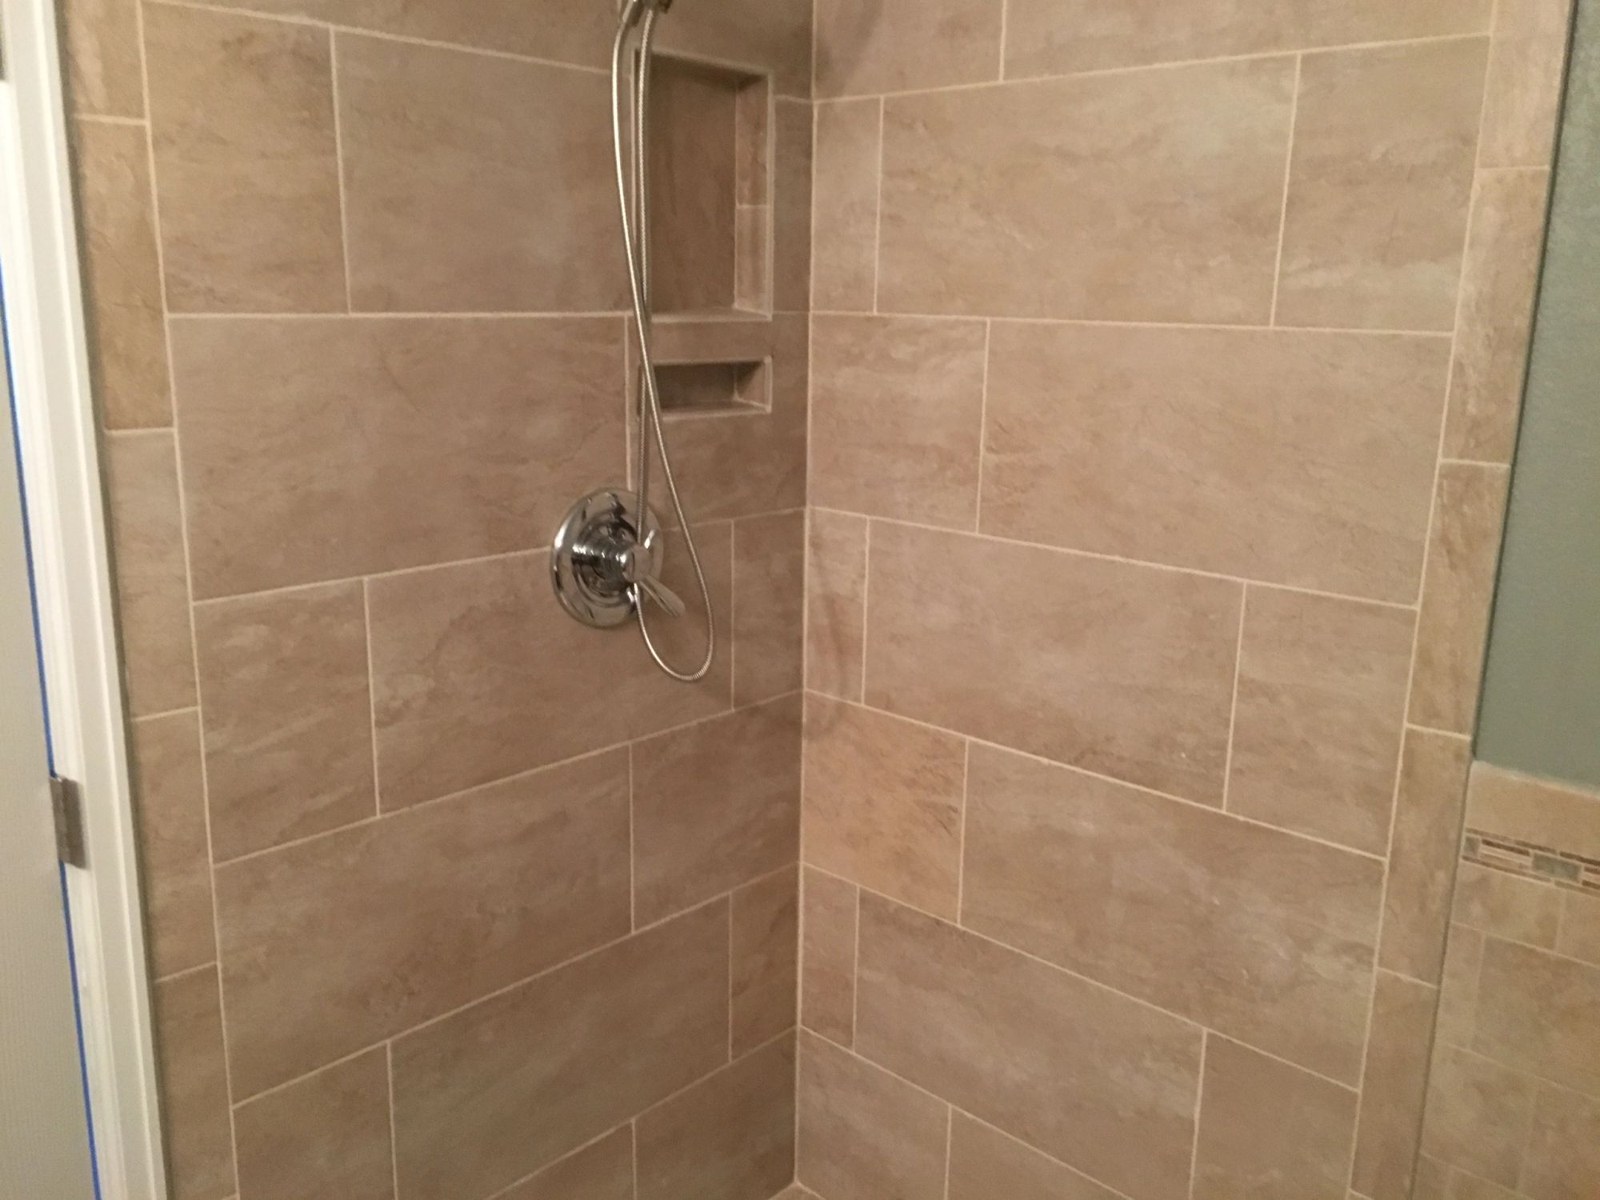
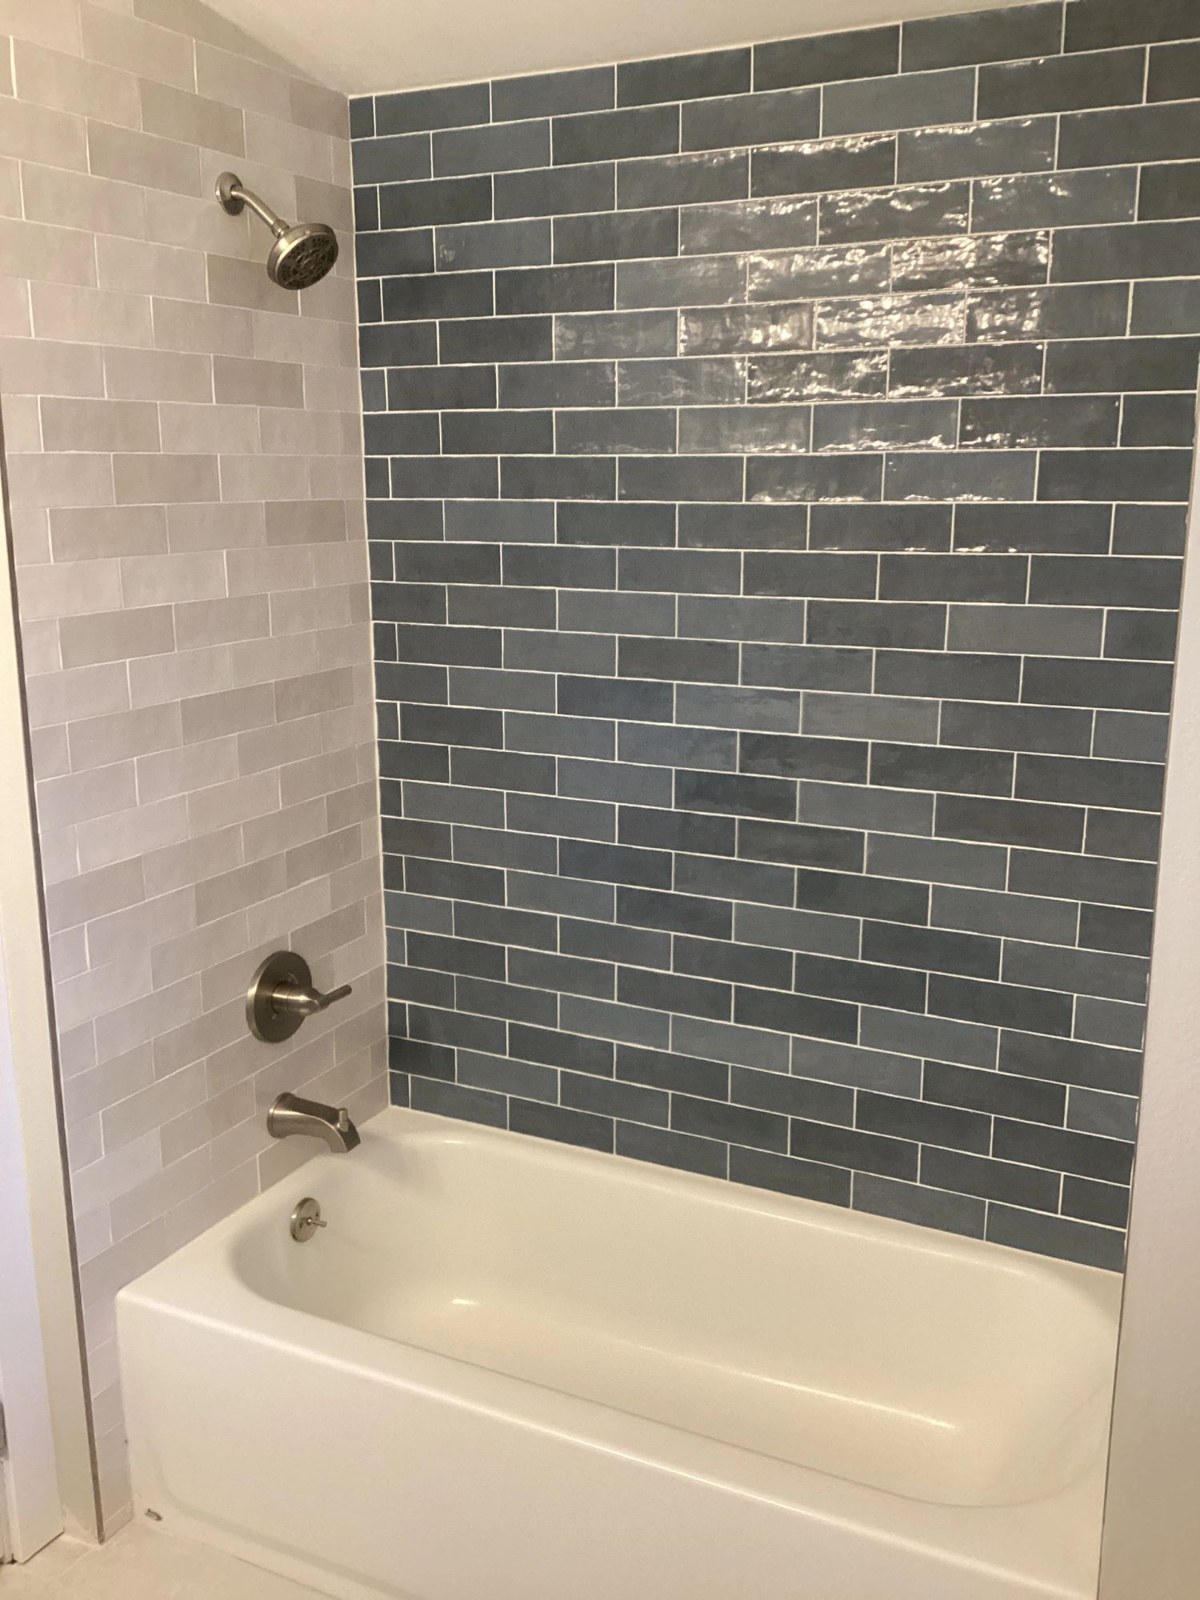
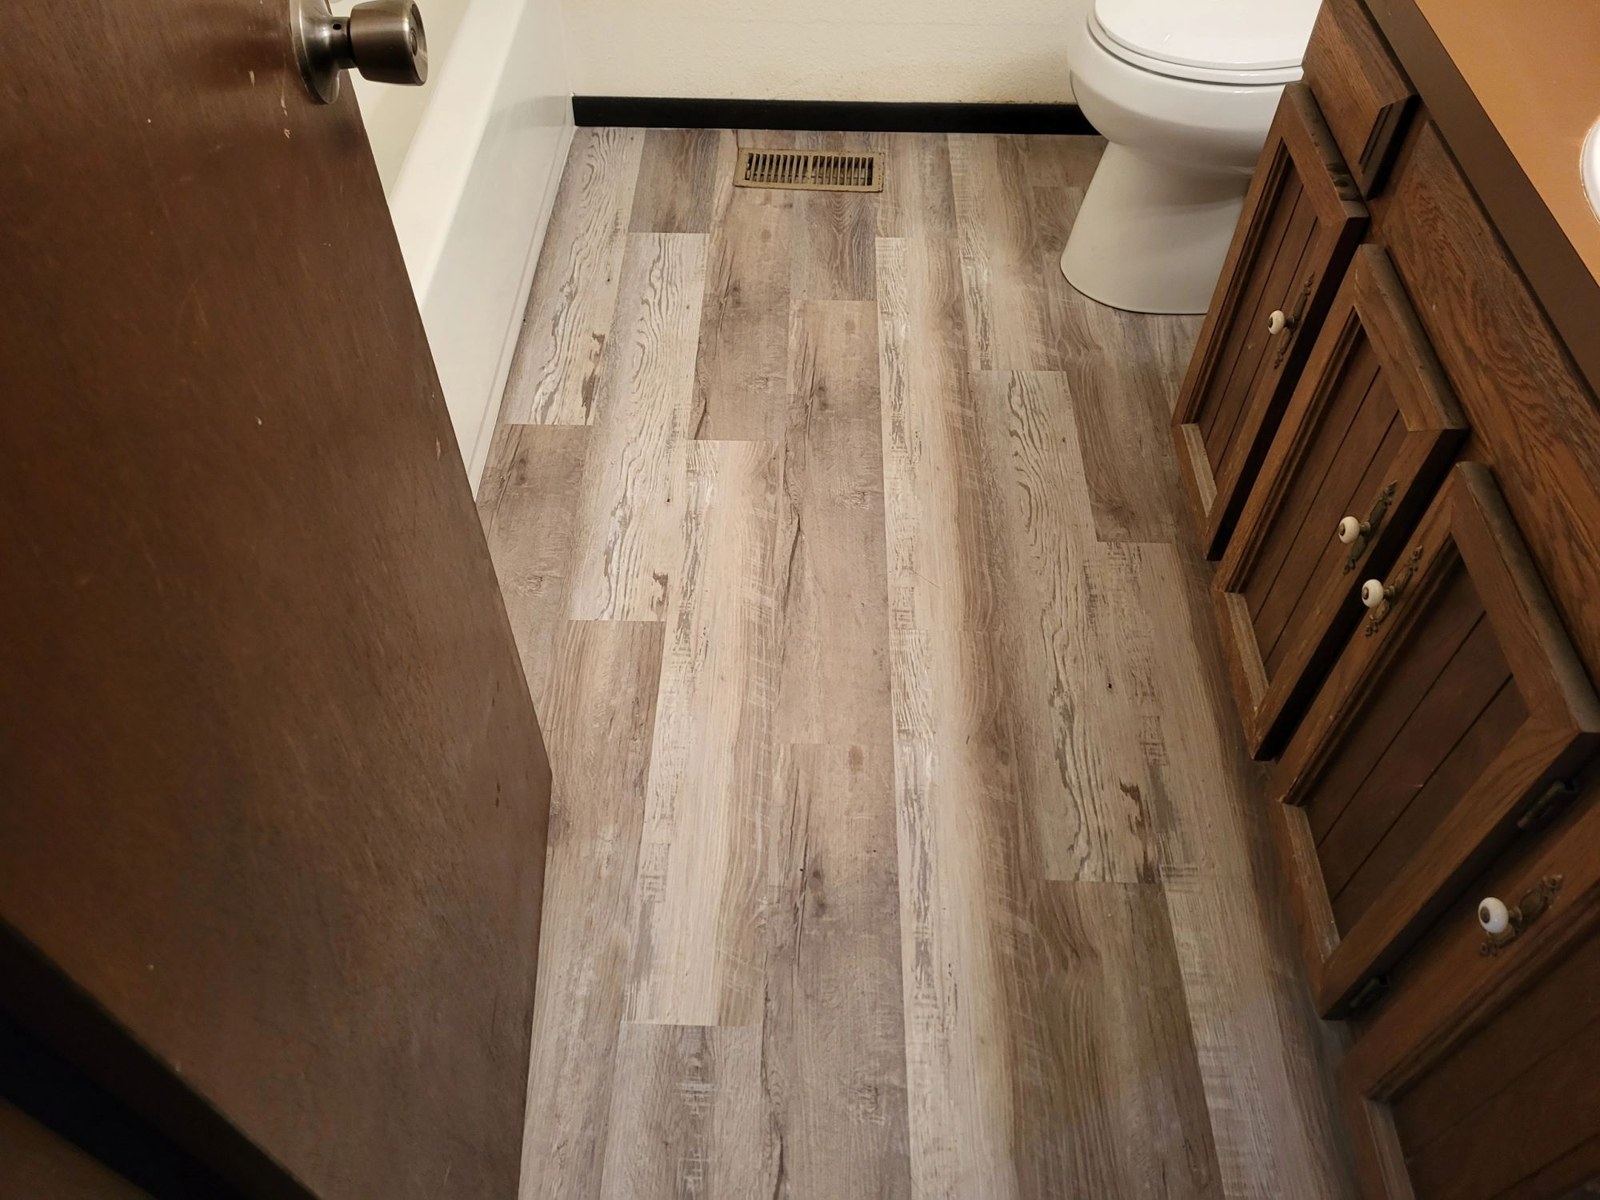
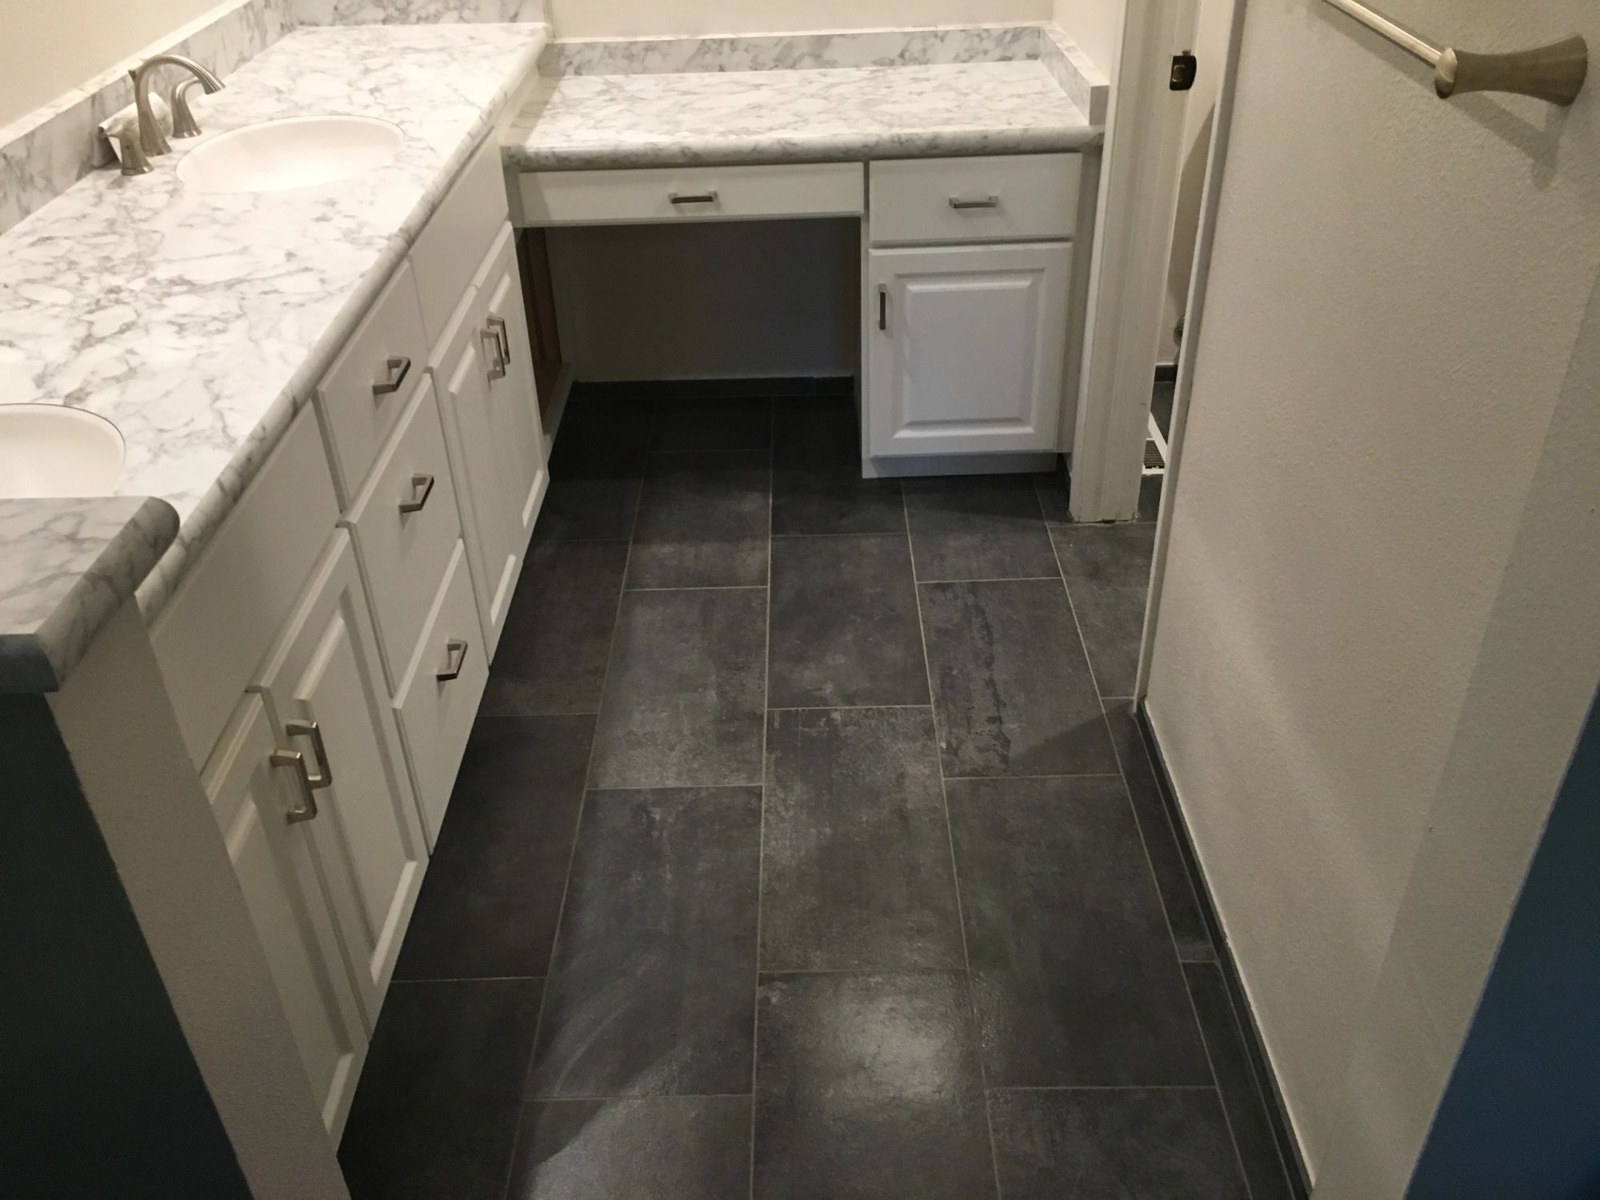
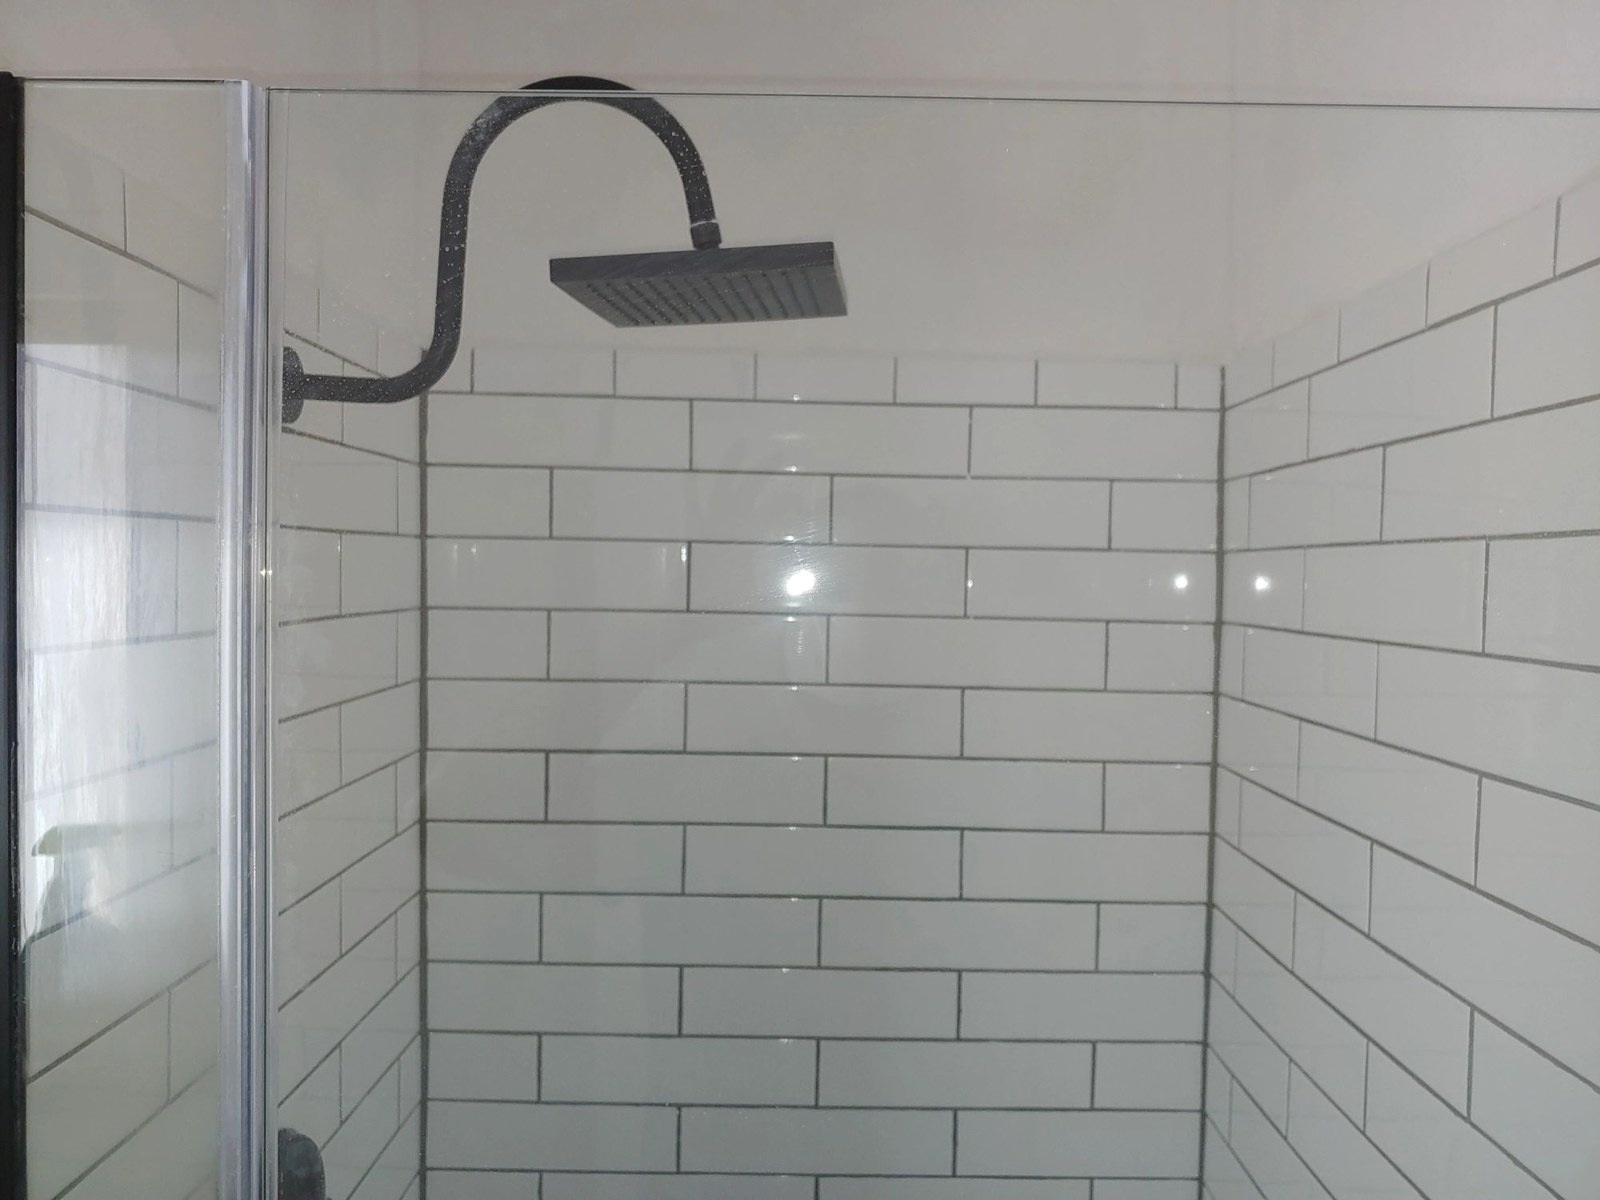
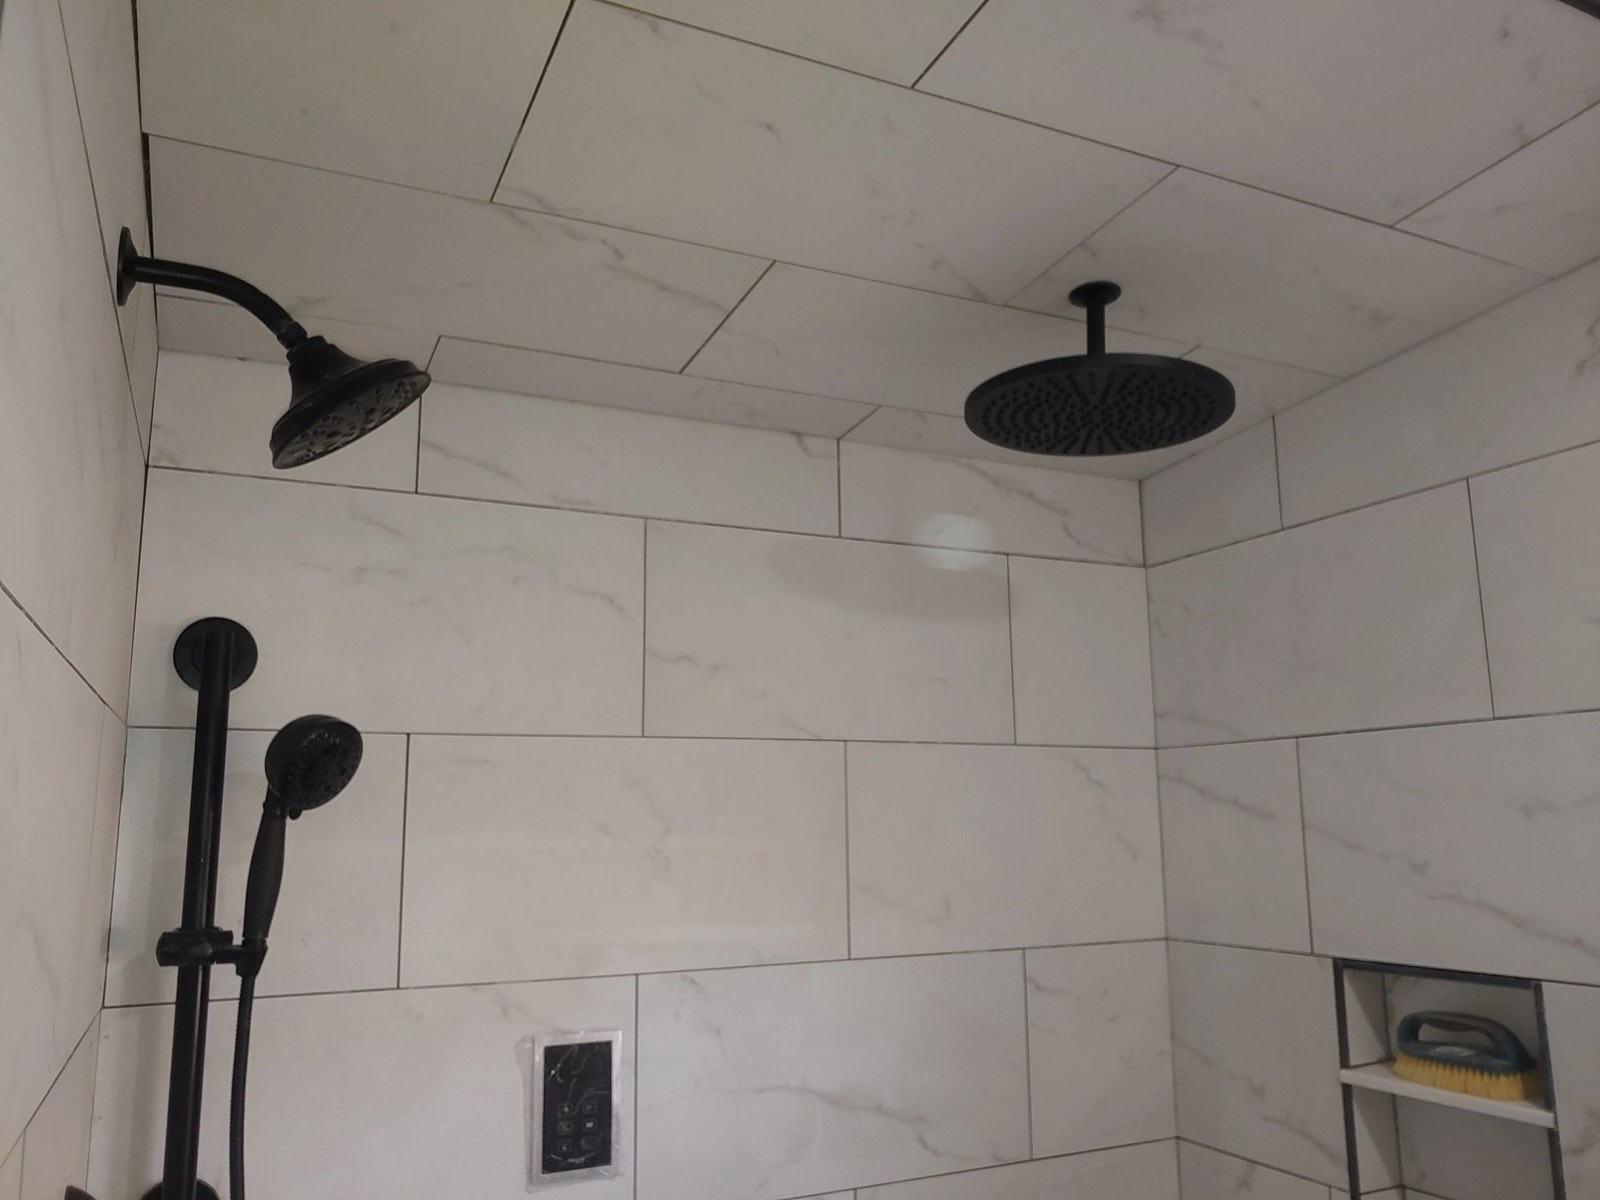
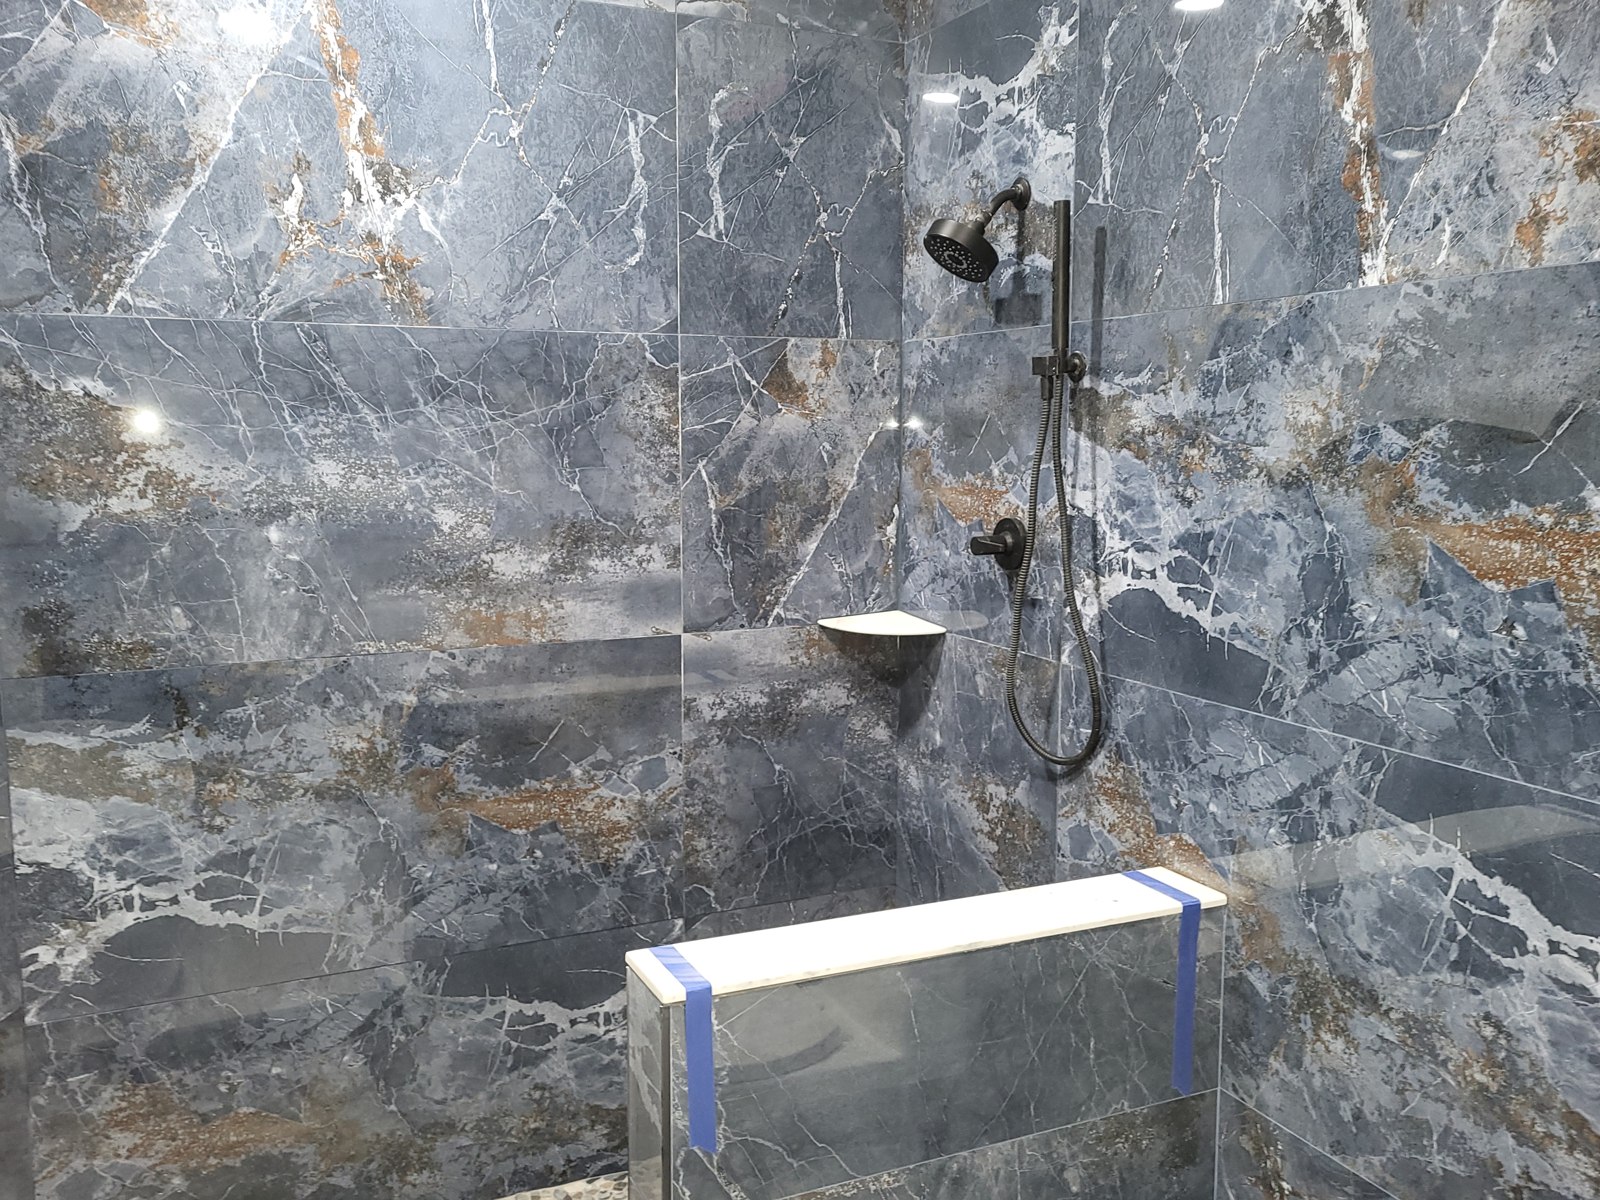
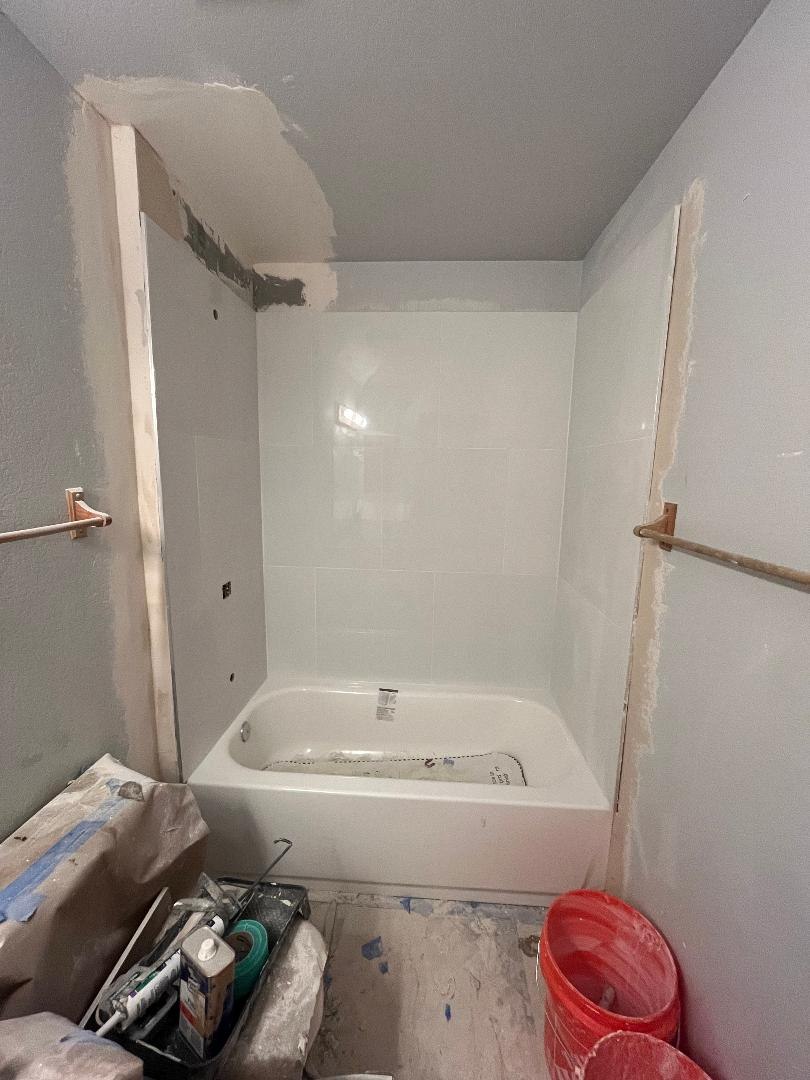
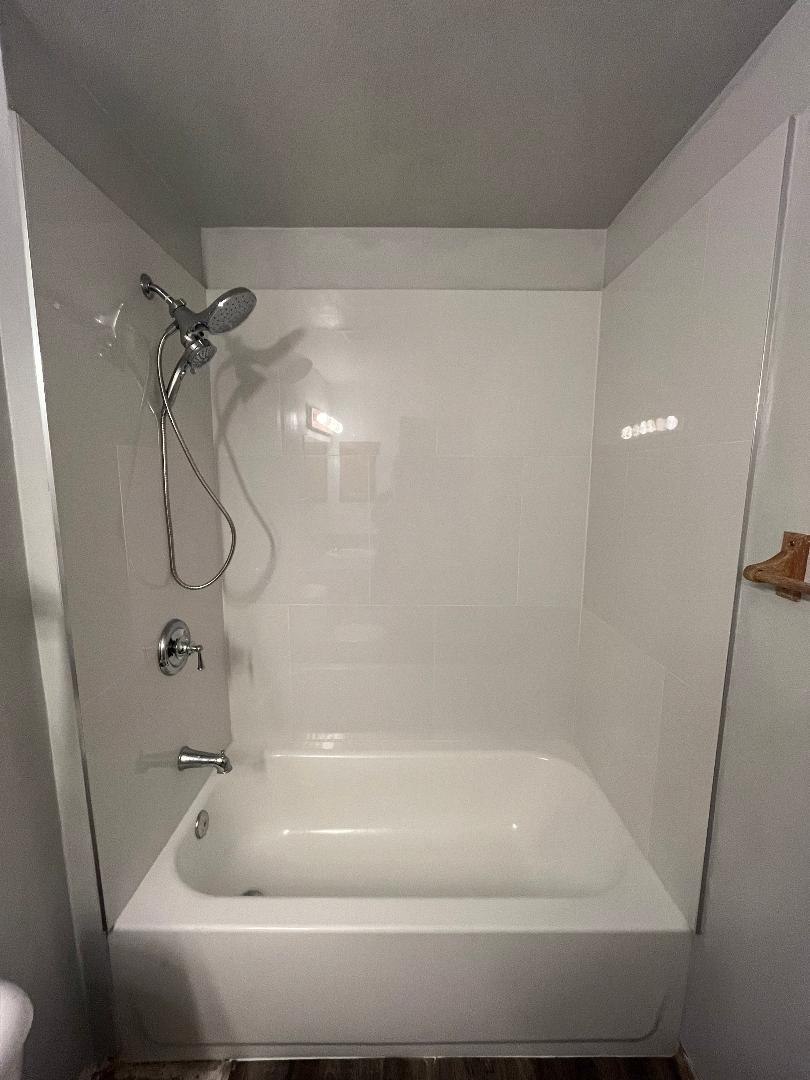
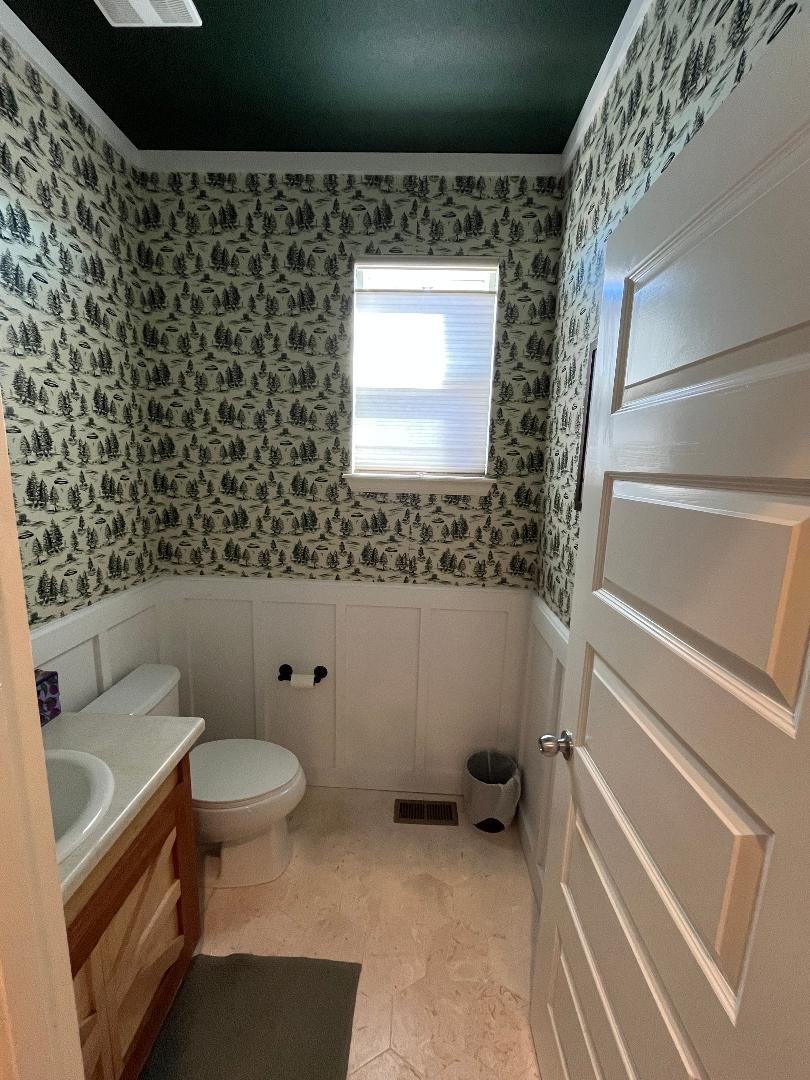
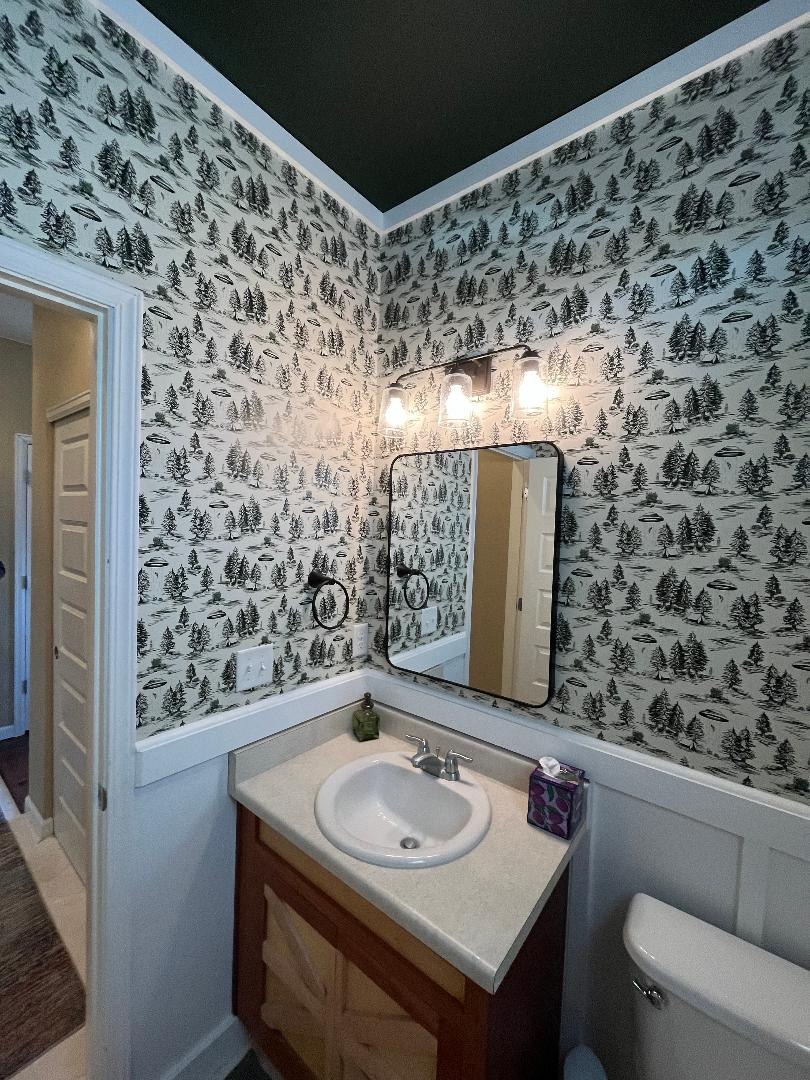
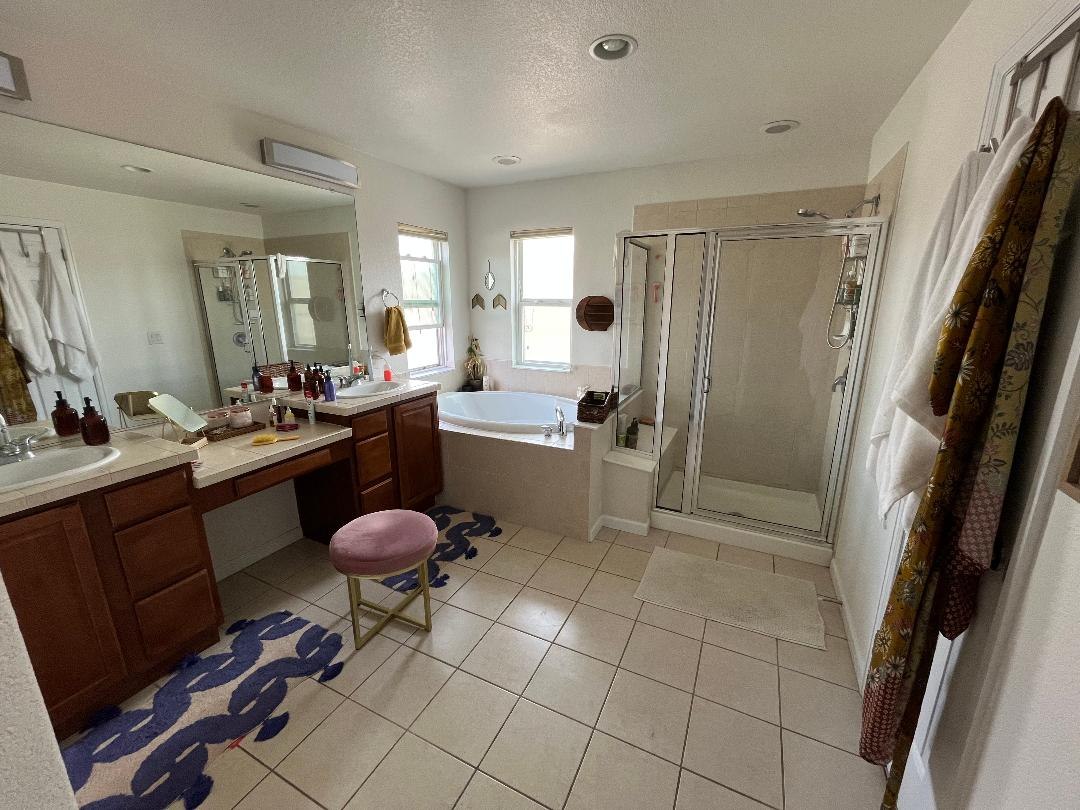
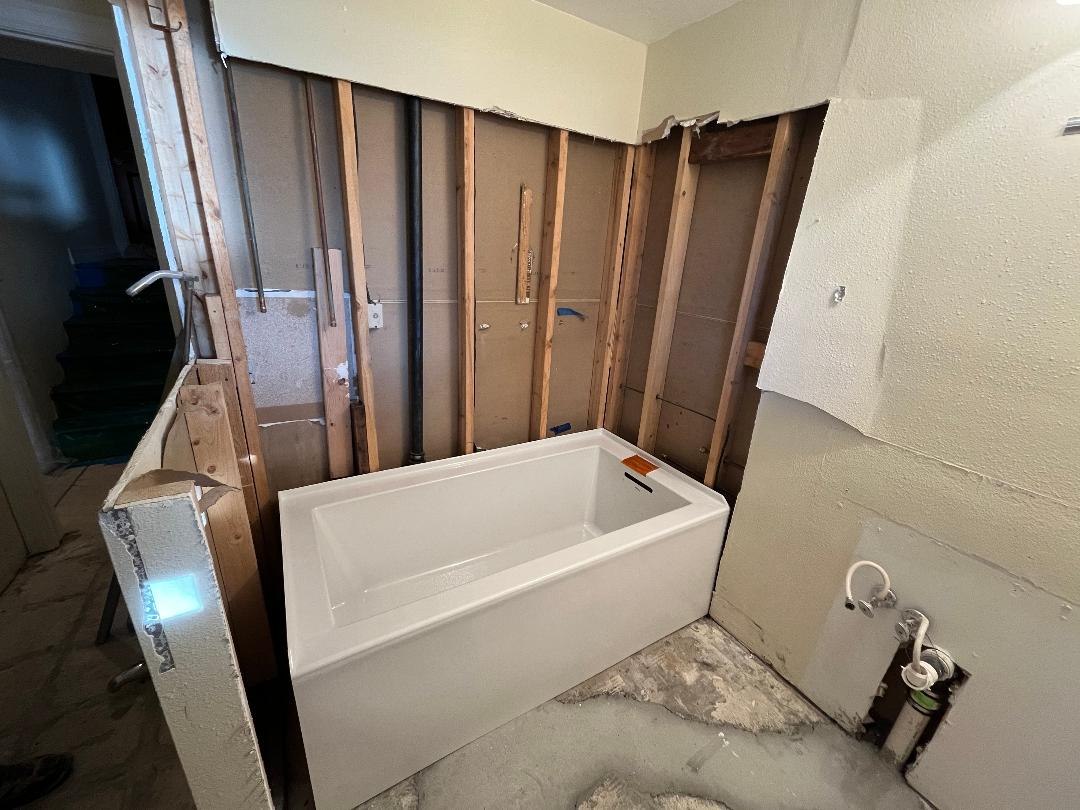
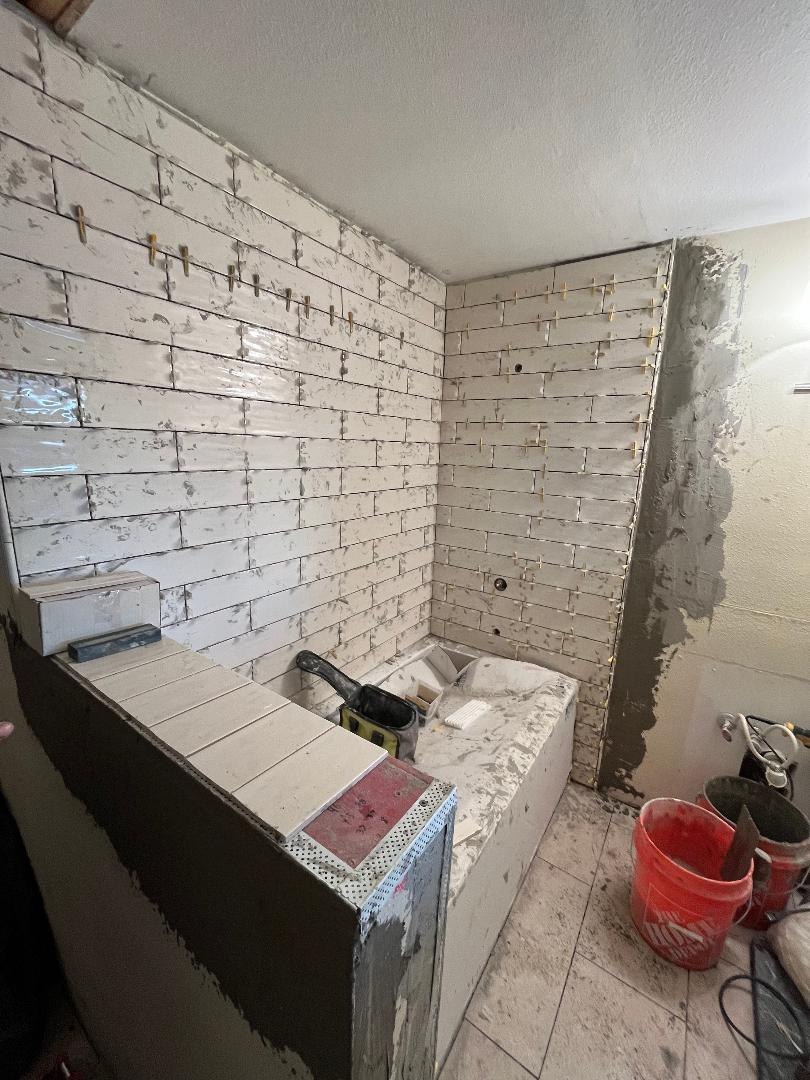
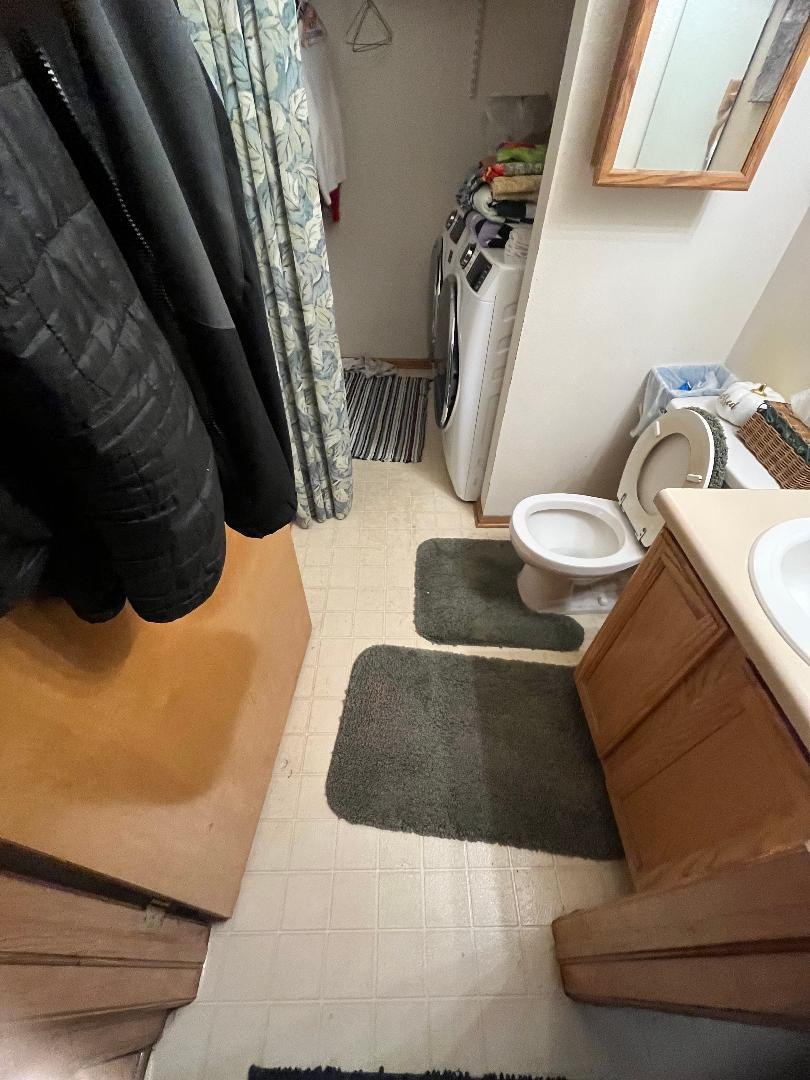
A full bathroom remodel with large blue tile and a freestanding tub.01Tiled shower with black-framed glass02Bathtub with white tile surround03Vanity, mirror and cabinetry04Patterned bathroom floor and doorway transitions05Second view of the same bathroom showing the tiled shower and glass06Patterned shower feature wall07Tub, shower and patterned floor08Double vanity with mirrors and lighting09Bathroom overview with vanity, tub and shower10Compact shower with glass enclosure11Shower with recessed niche and handheld fixture12Bathtub, tile surround and vanity13Built-in bathroom storage shelves14White shower with a sliding glass enclosure.15Bathroom tile floor and paired vanities.16Tile tub surround and recessed niche.17Patterned wallpaper in a powder room.18Herringbone tile shower and glass enclosure.19Blue-tile bathroom with a freestanding tub and wide window.20Long vanity and tiled floor in the wide-window bathroom.21Blue-tile shower enclosure in a separate bathroom.22Scalloped blue-glass shower tile with black trim.23Dark vanity and wall cabinet with light tile surrounds.24Wood-look shower tile, niche and glass enclosure.25Patterned bathroom floor with tub and vanity.26White-tile tub surround with installed fixtures.27Dark vanity and white wall tile in a compact bathroom.28Light shower tile with a black-framed enclosure.29Bathroom vanity and mirror beside natural-finish doors.30Tiled tub surround and shower-floor detail by the windows.31Tan shower tile with a recessed niche and handheld fixture.32Tub surround with contrasting tile walls.33Wood-look bathroom floor beside the vanity.34White vanity cabinetry with a contrasting dark tile floor.35White subway-tile shower with a square rain showerhead.36Tiled shower walls and ceiling with dark fixtures.37
02 / 7 photographs
From cabinet boxes to kitchens.
Custom cabinetry, refacing, painted finishes, tile details and prebuilt installation. Full-room views and individual improvements, with stage comparisons in the project stories below.
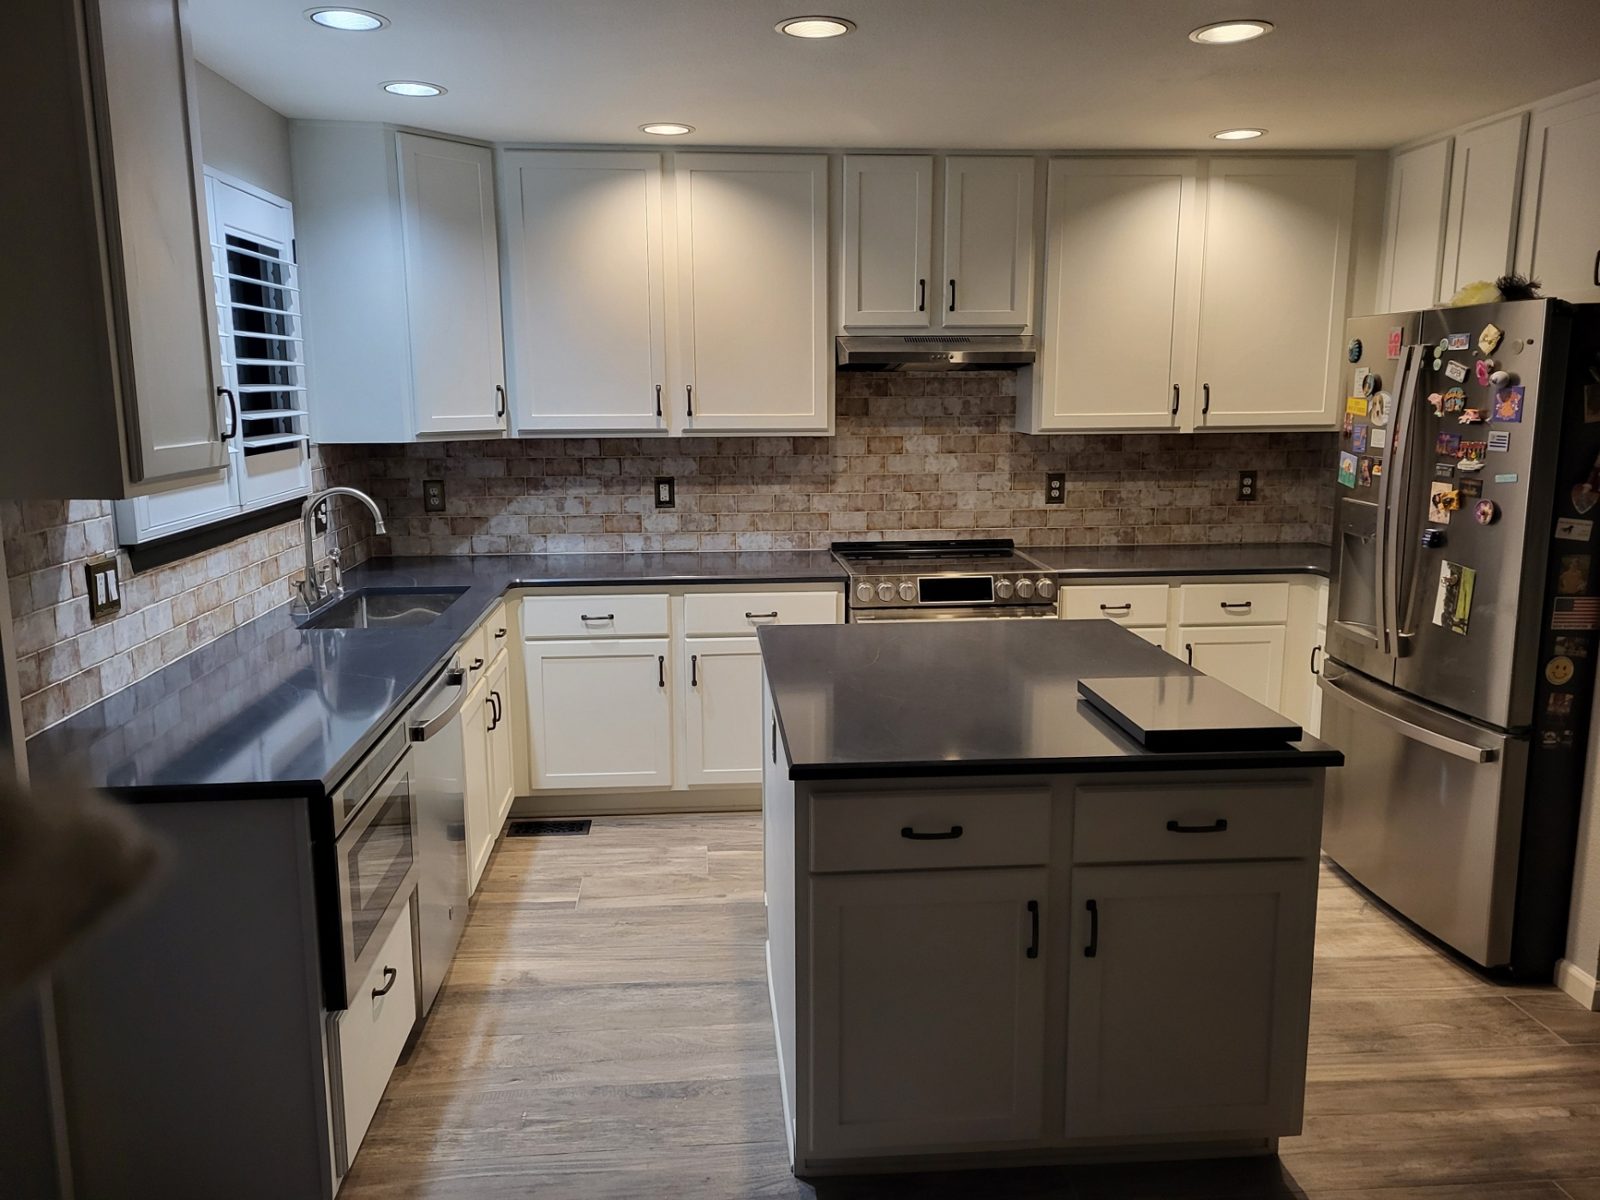
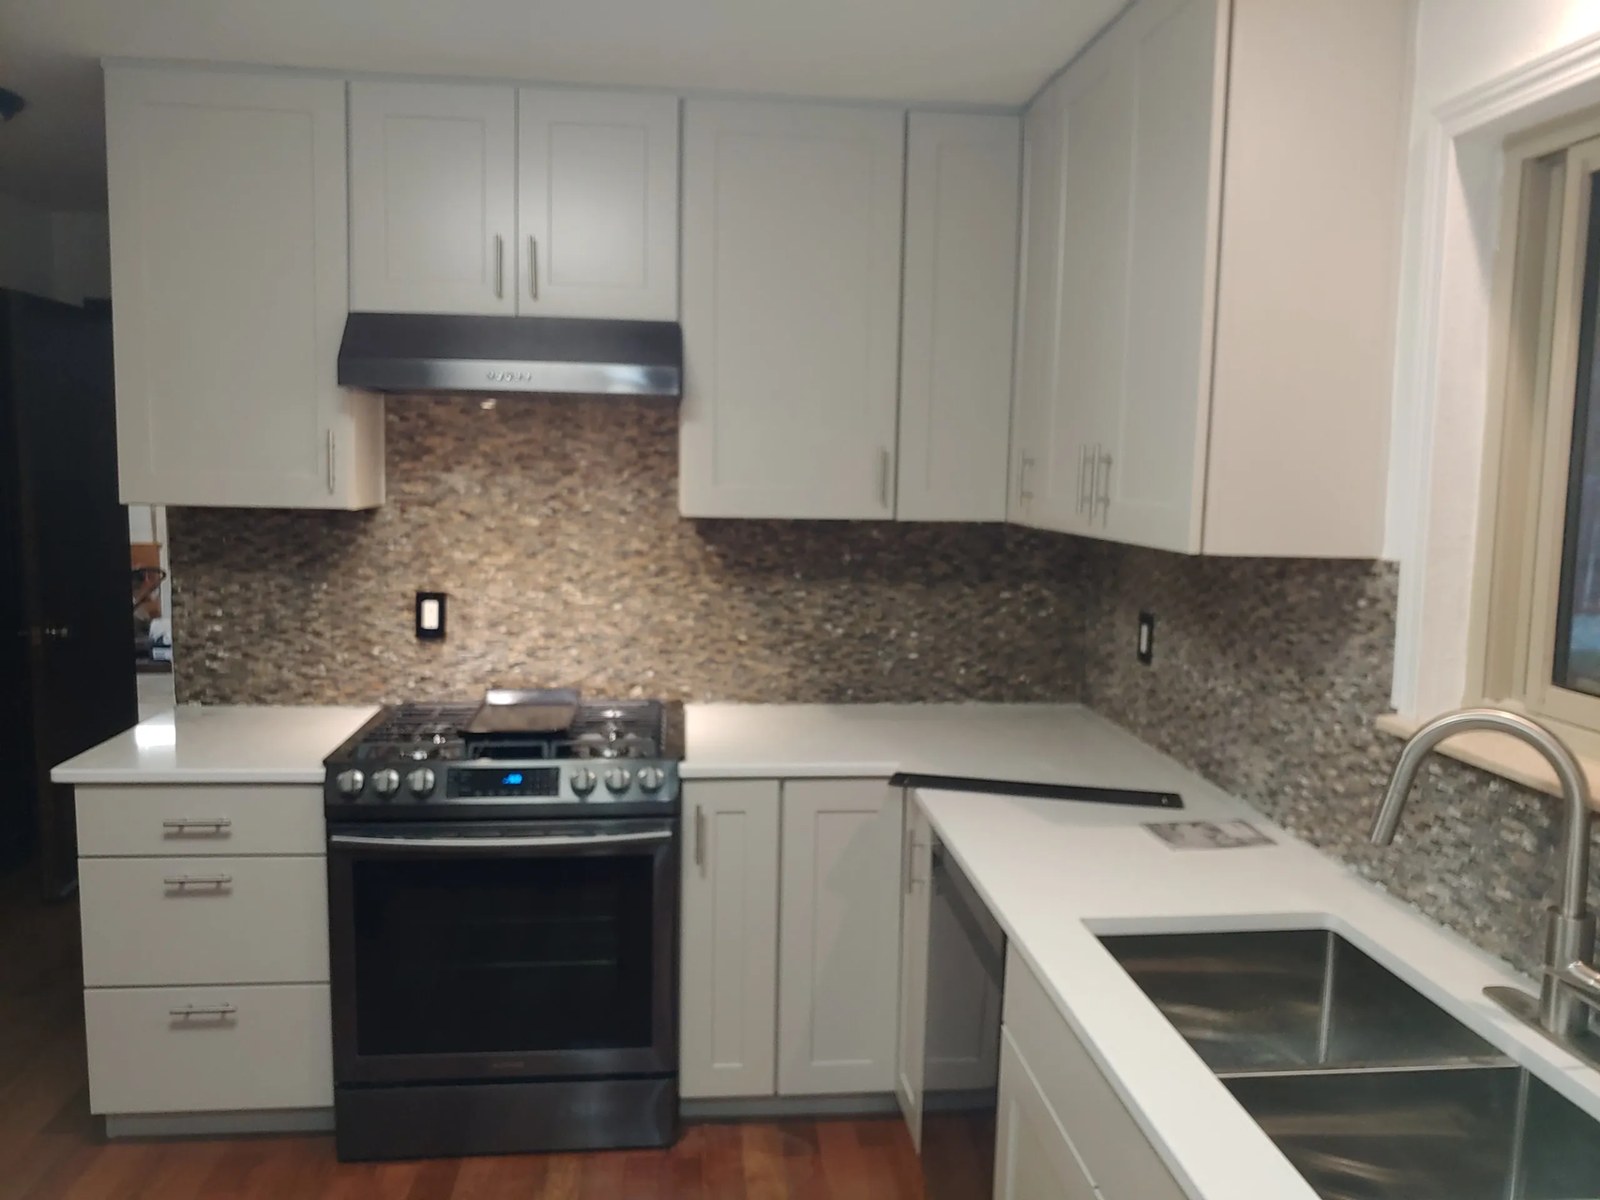
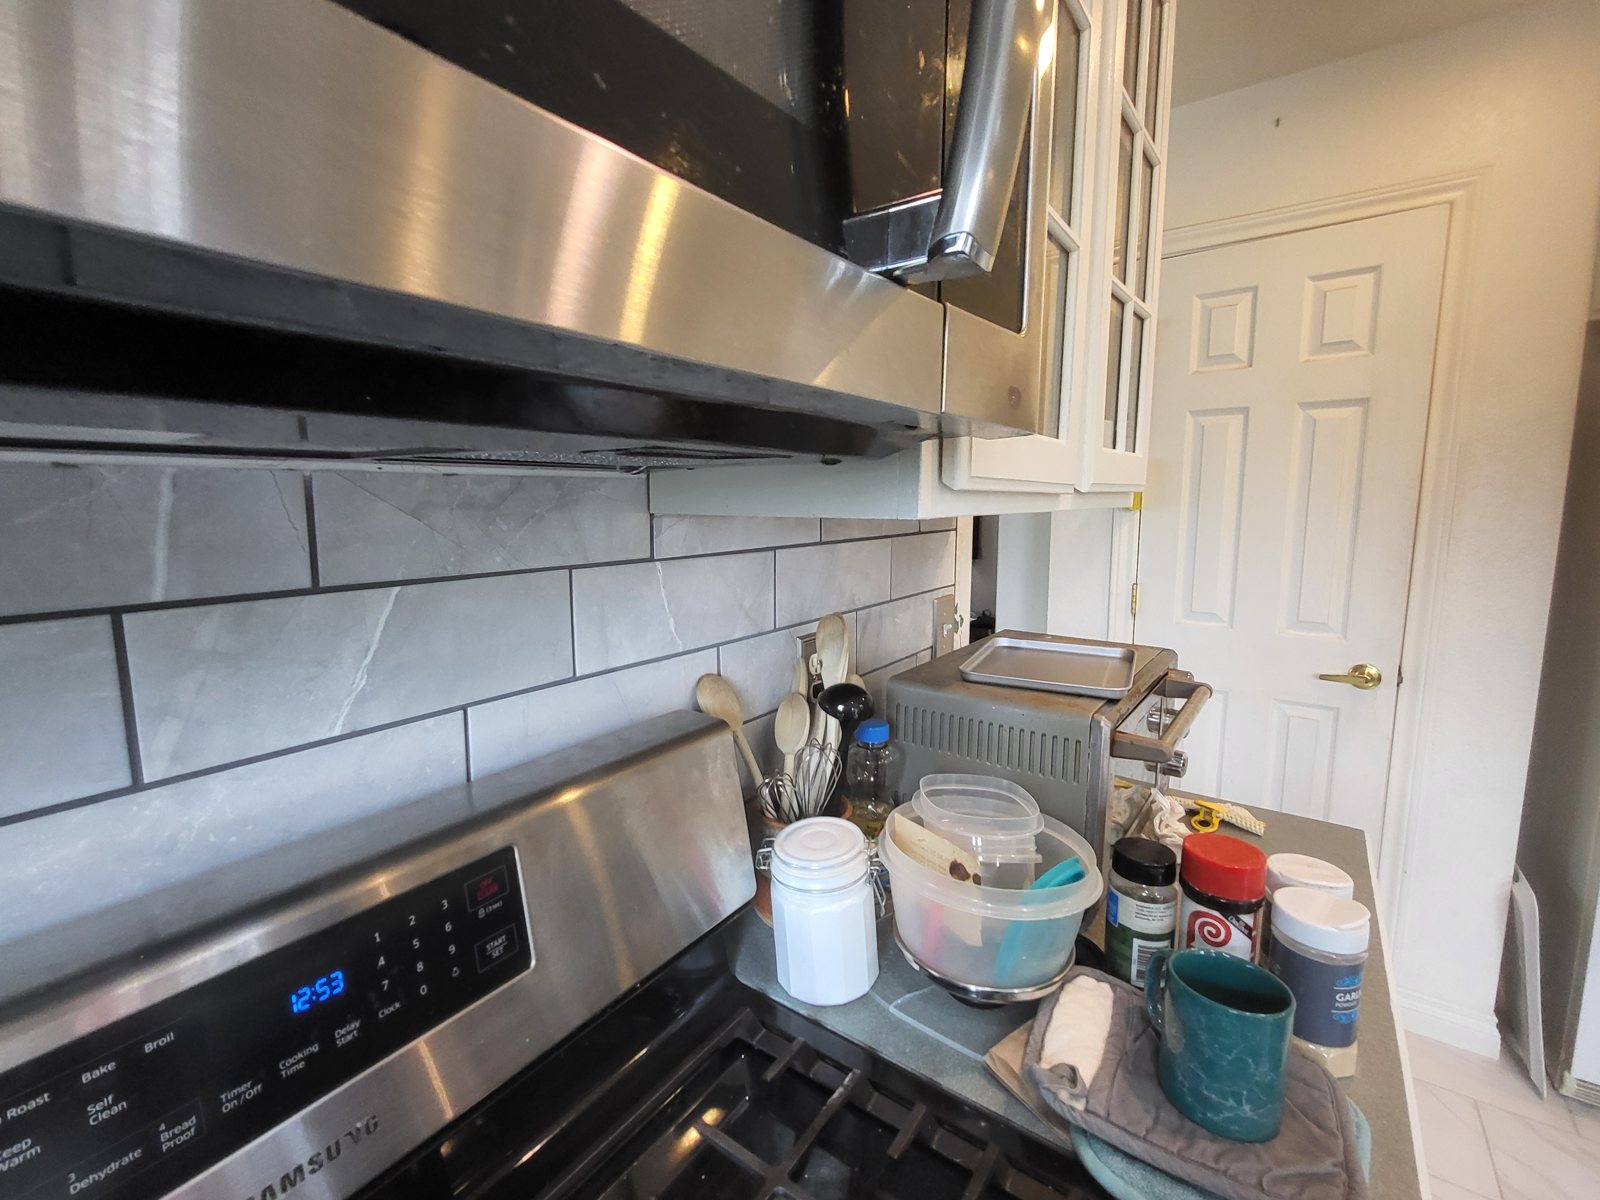
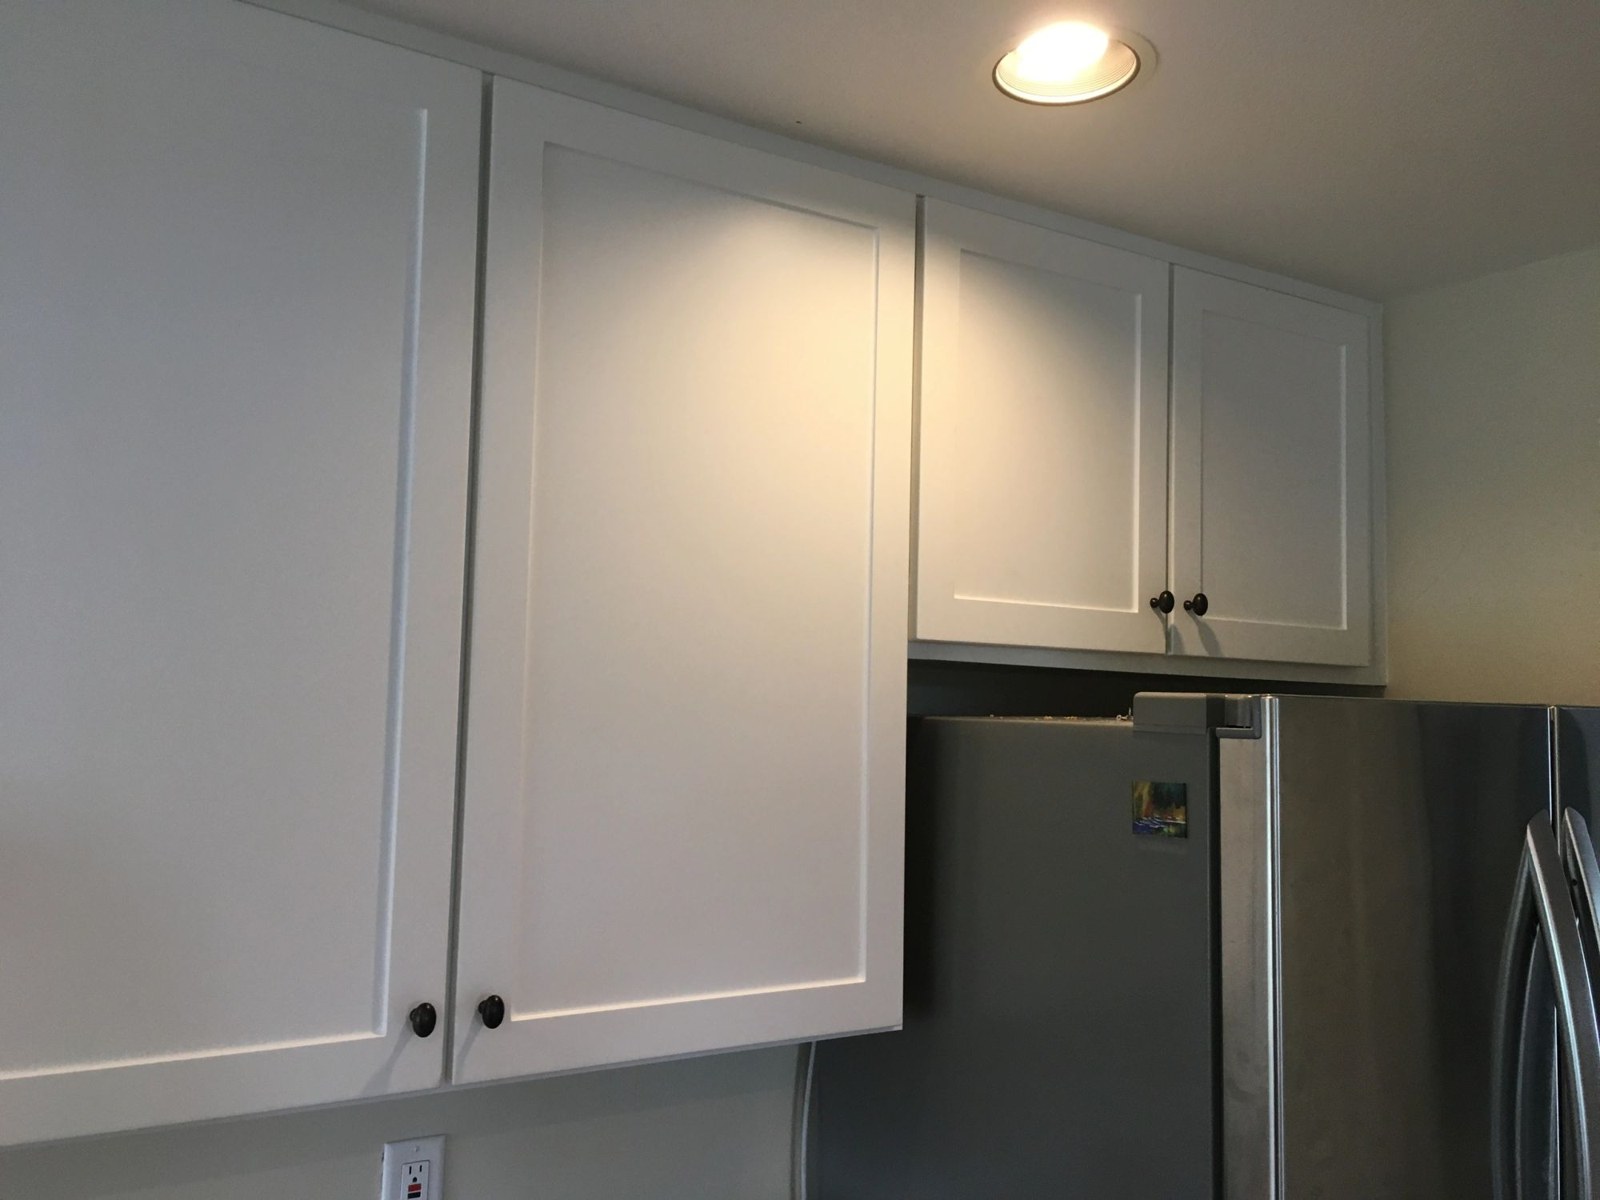
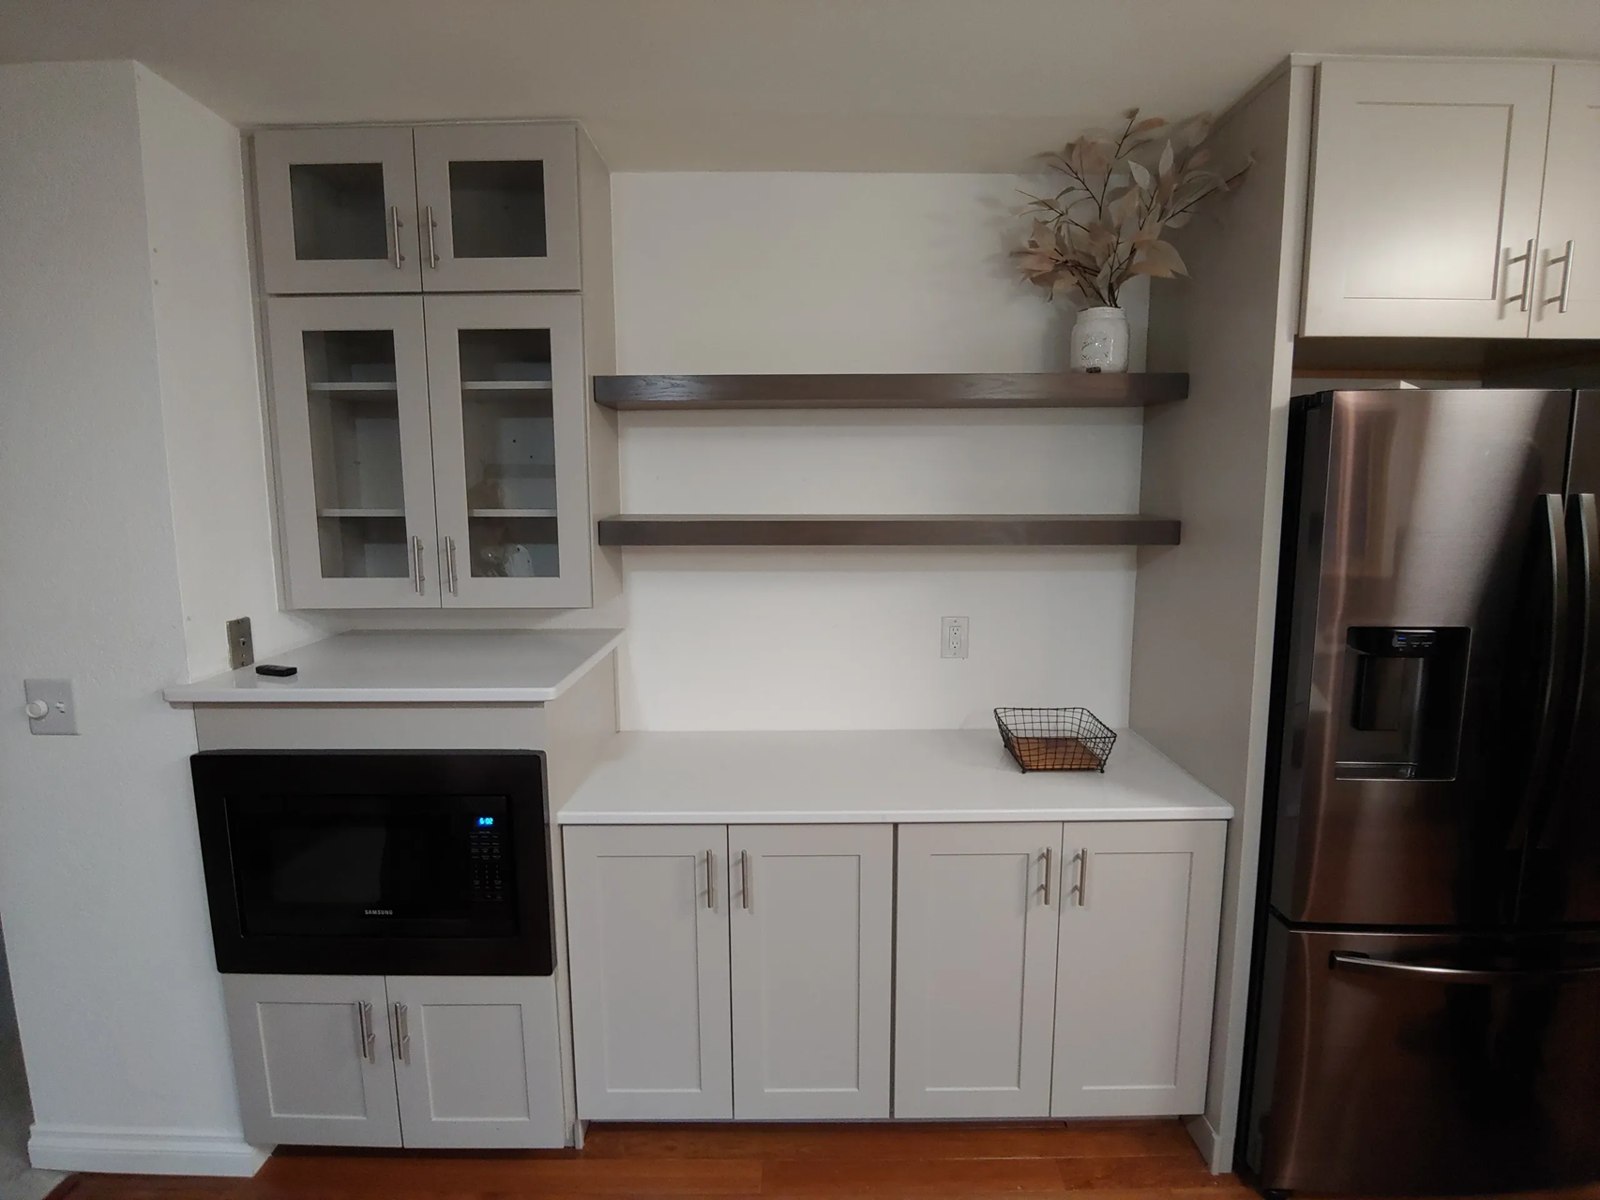
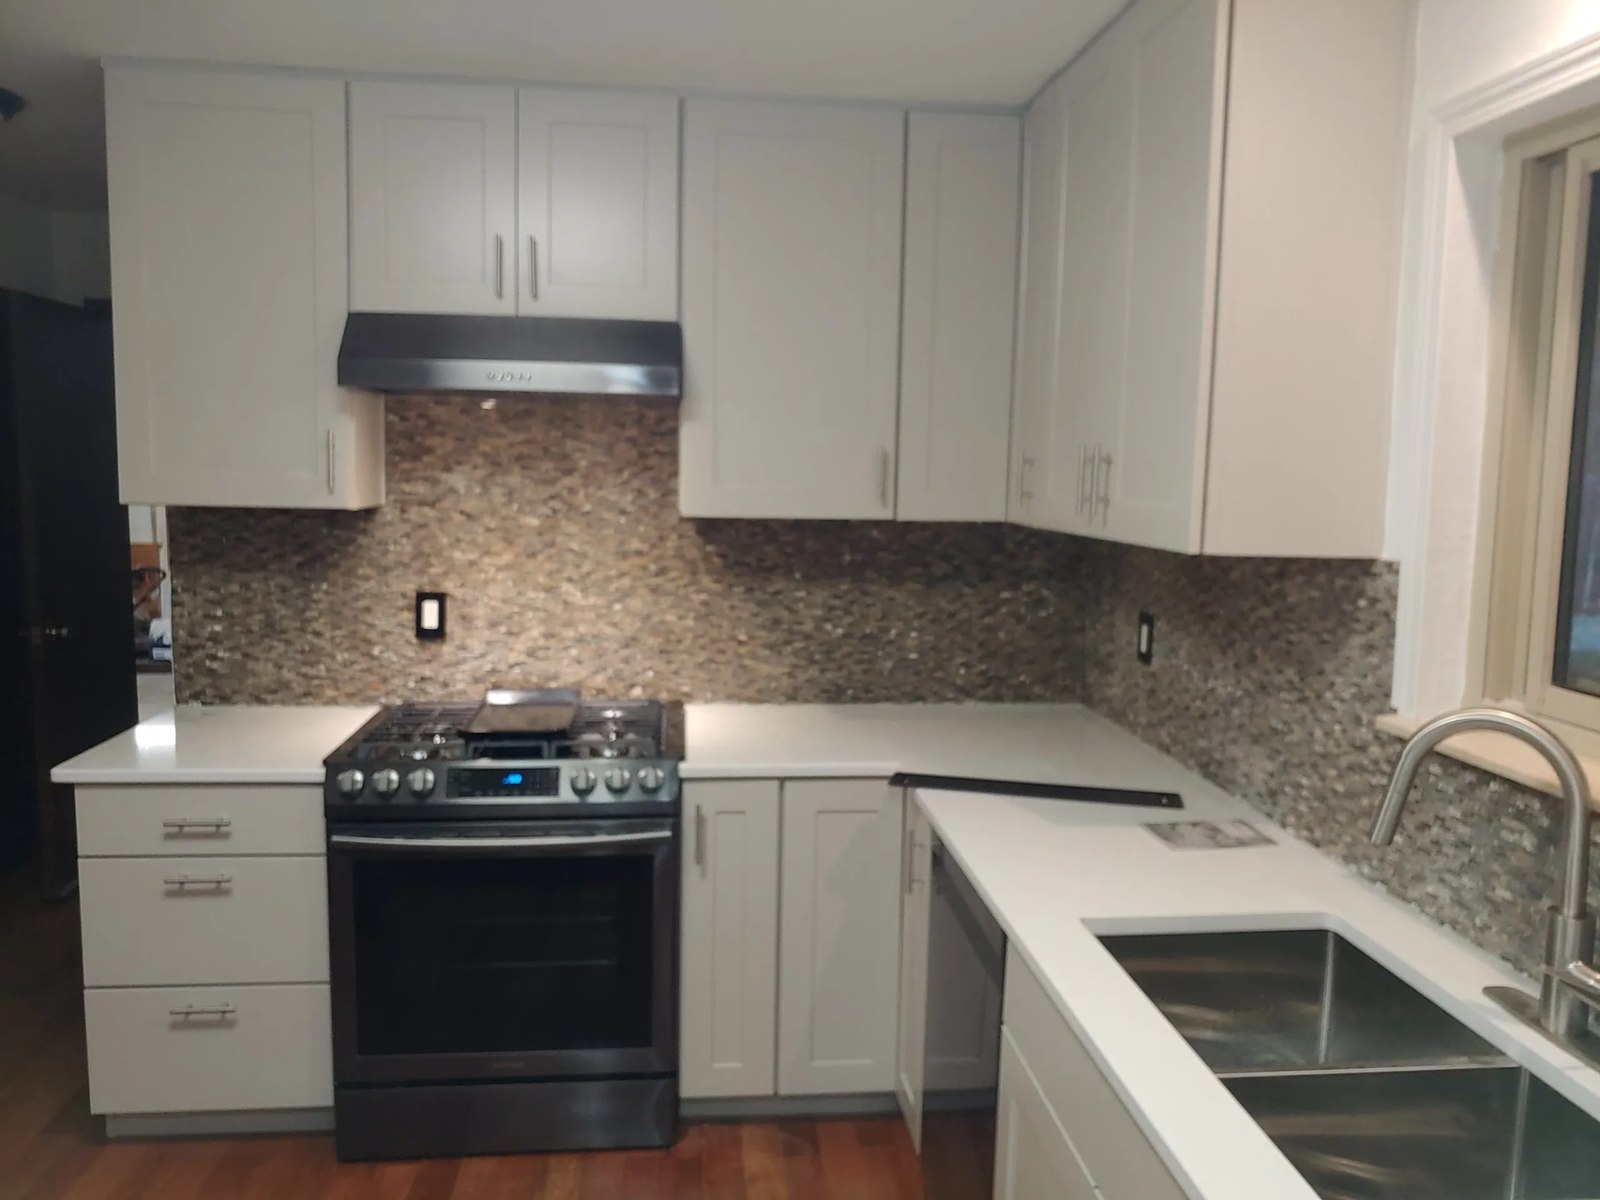
Custom cabinetry by Transcendent Construction. Counters by Don’s Countertops.01White prebuilt cabinets installed around a range and countertop02Cabinet painting: finished doors and drawer fronts.03Kitchen backsplash tile detail.04Refaced and extended upper cabinets with replacement doors.05Installed kitchen tile floor detail.06A second view of the prebuilt kitchen: cabinetry and open shelving.07
03 / 22 photographs
Room for life outside.
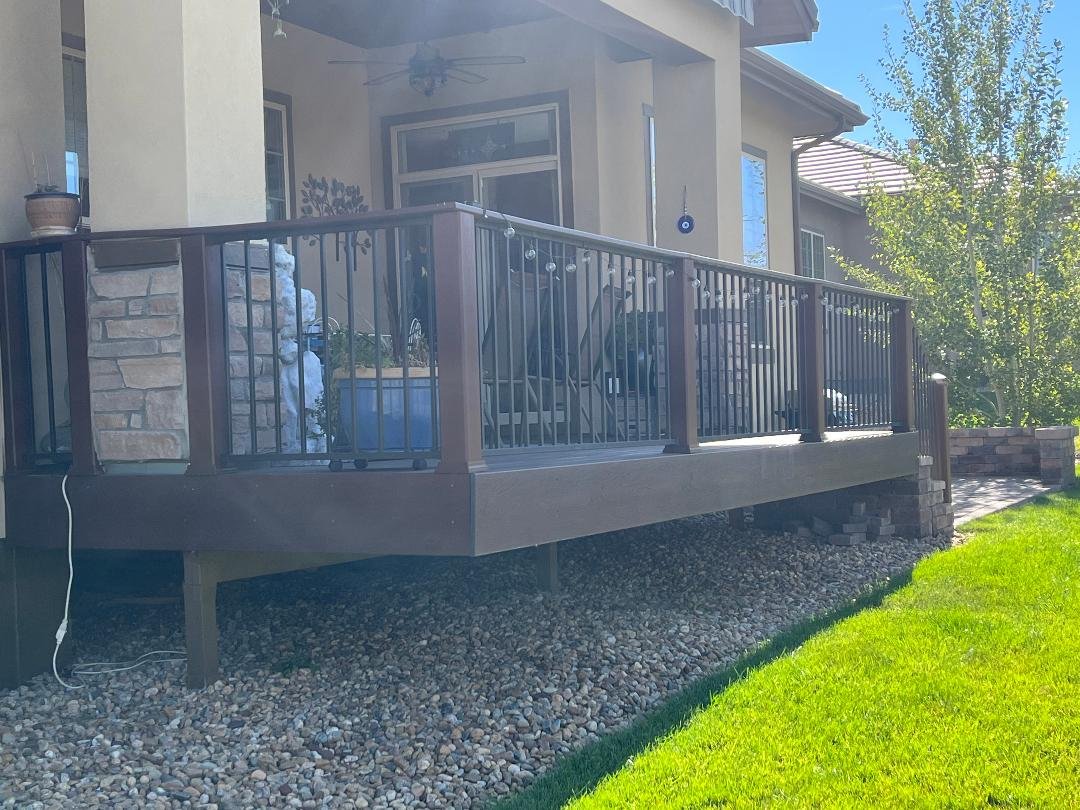
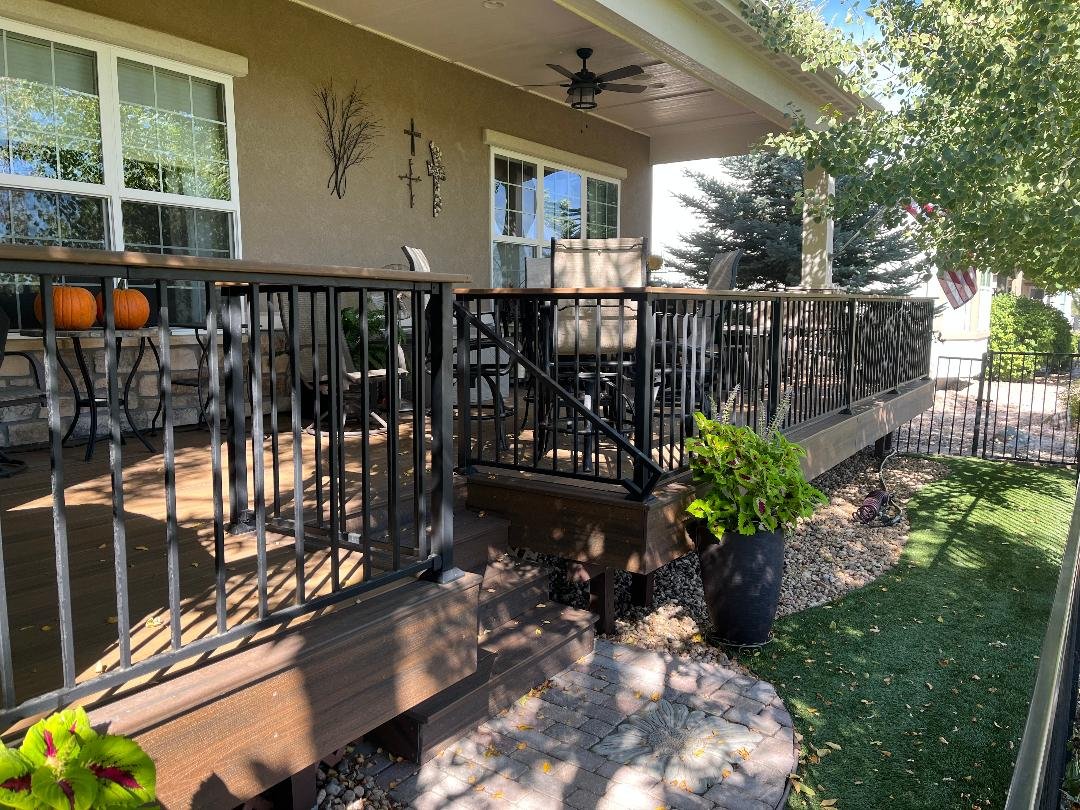
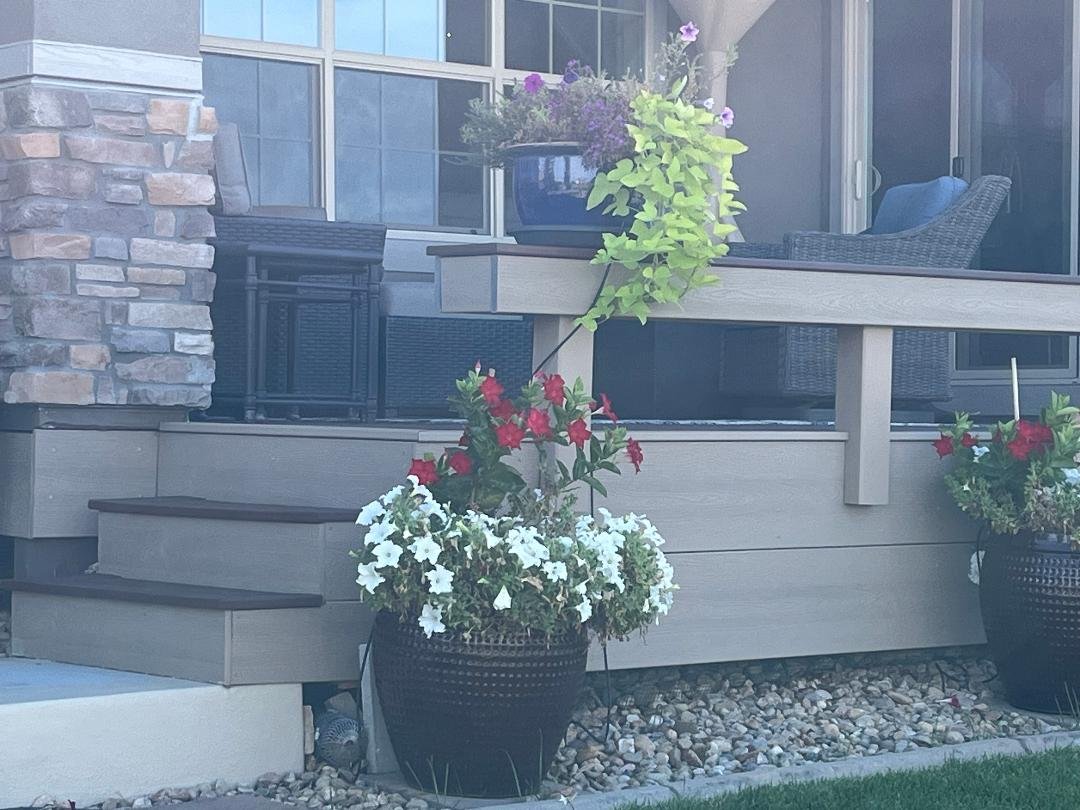
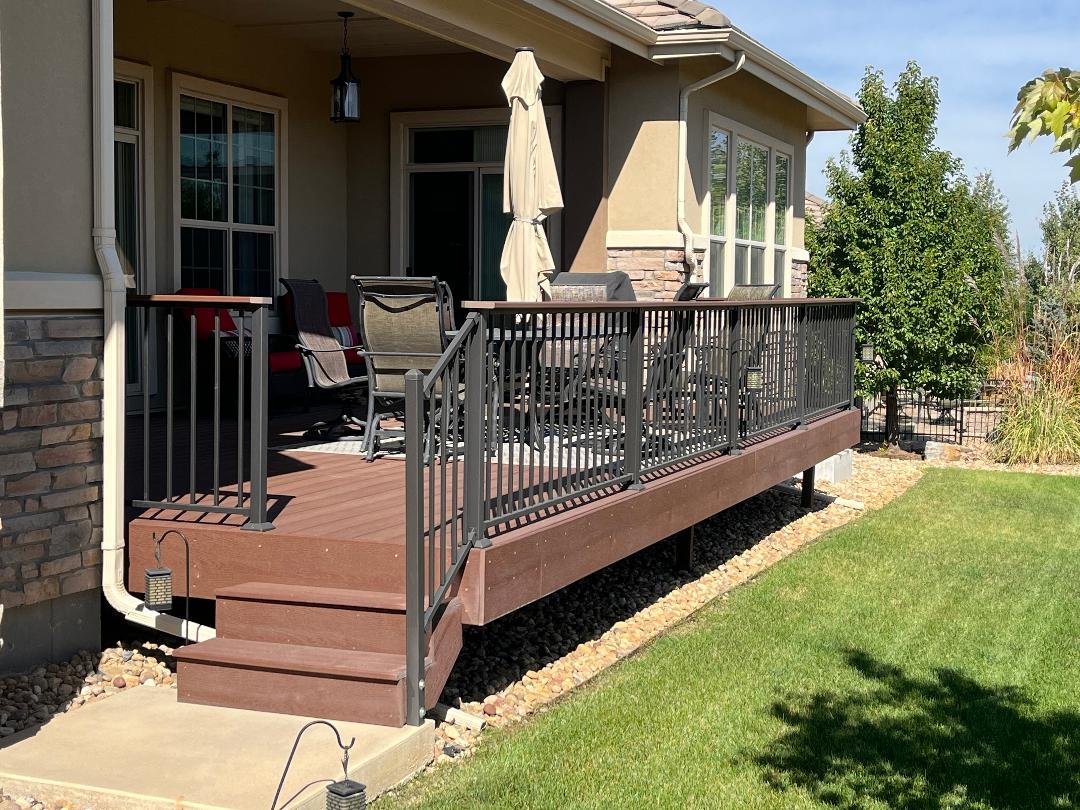
New decks, refinishing, railings, stairs and pergolas. Browse wide views and the details that make up the work.
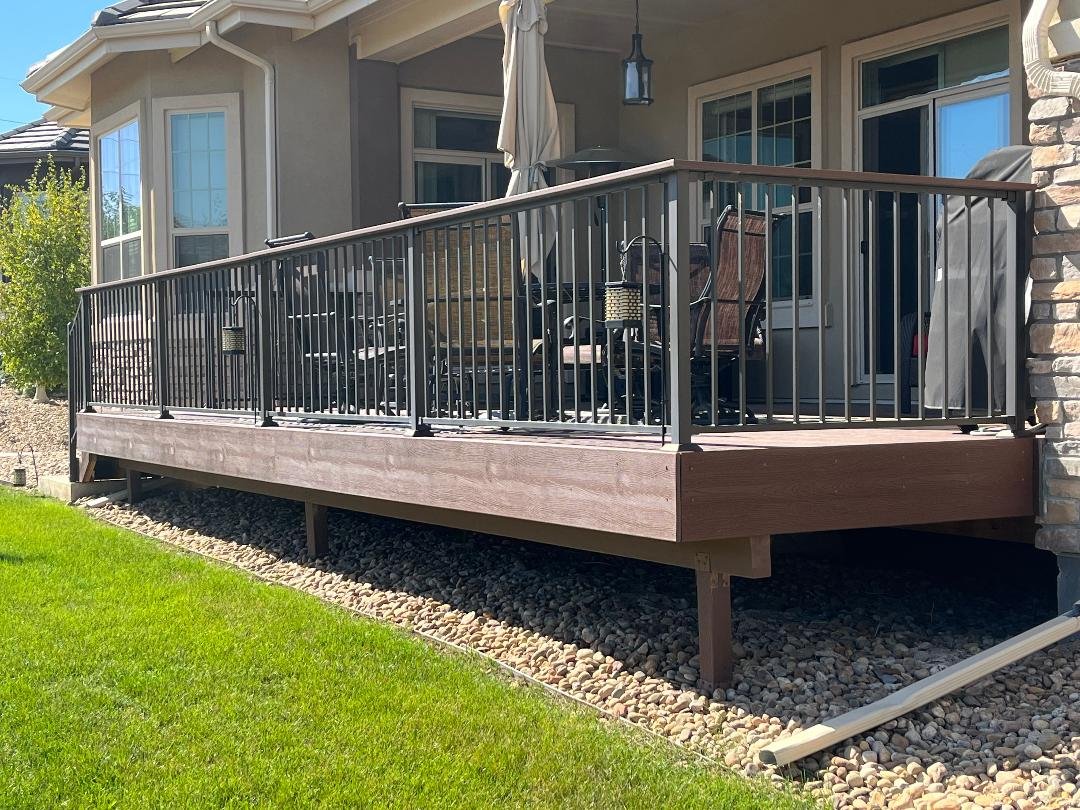
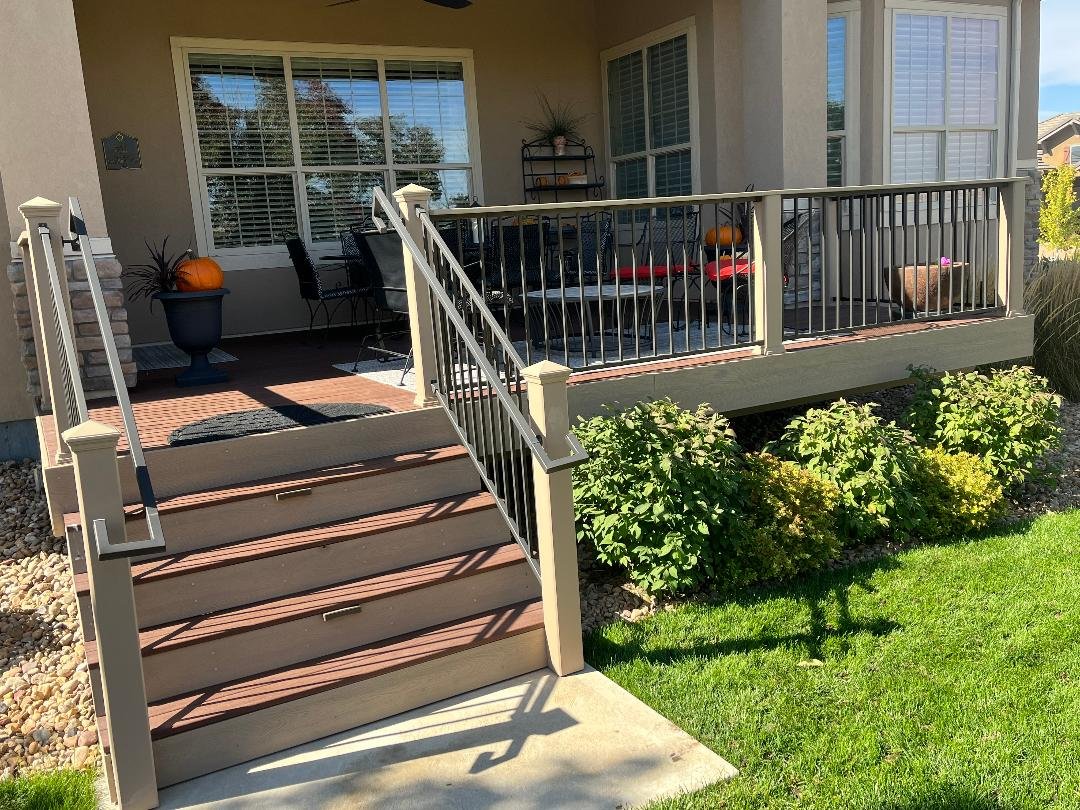
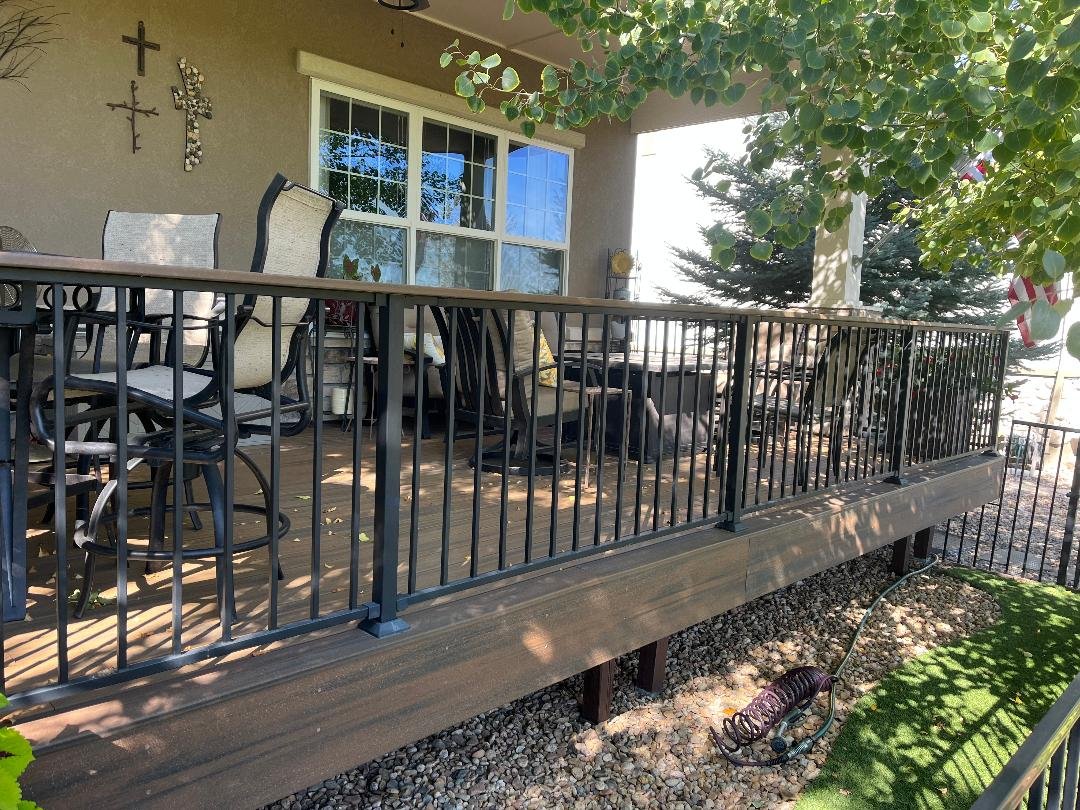
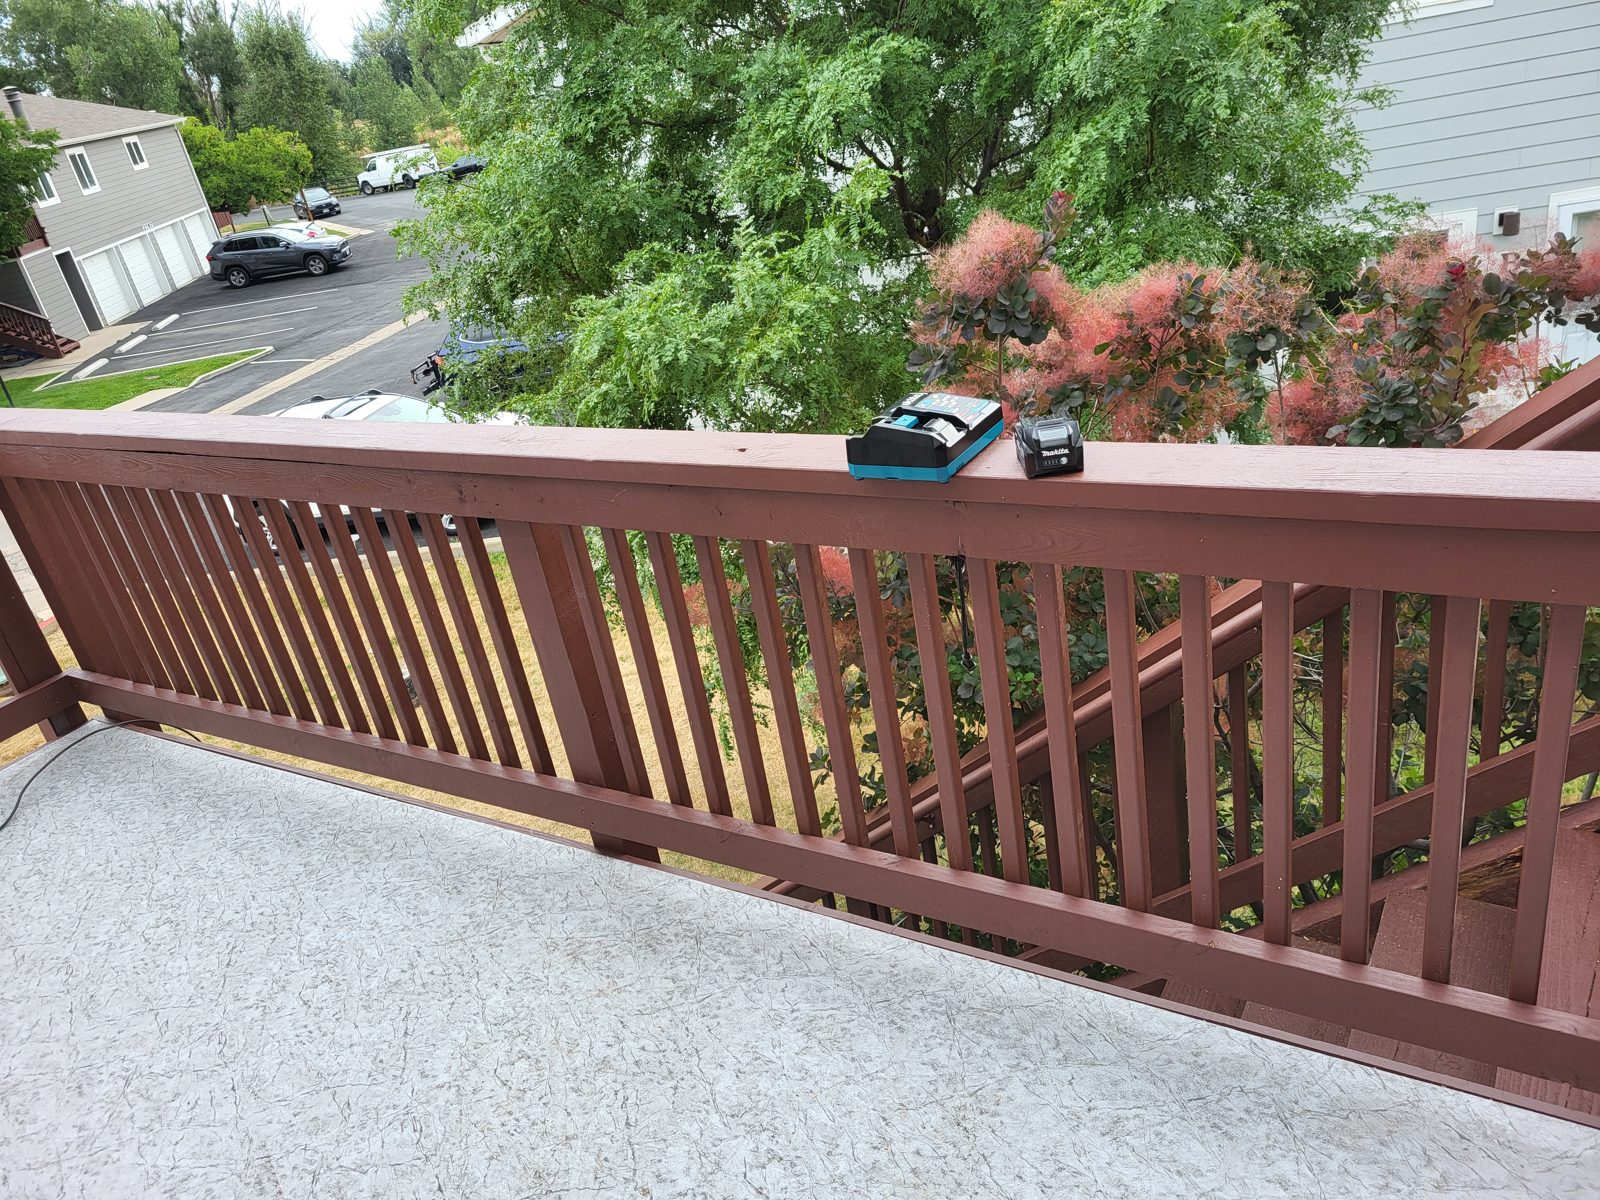
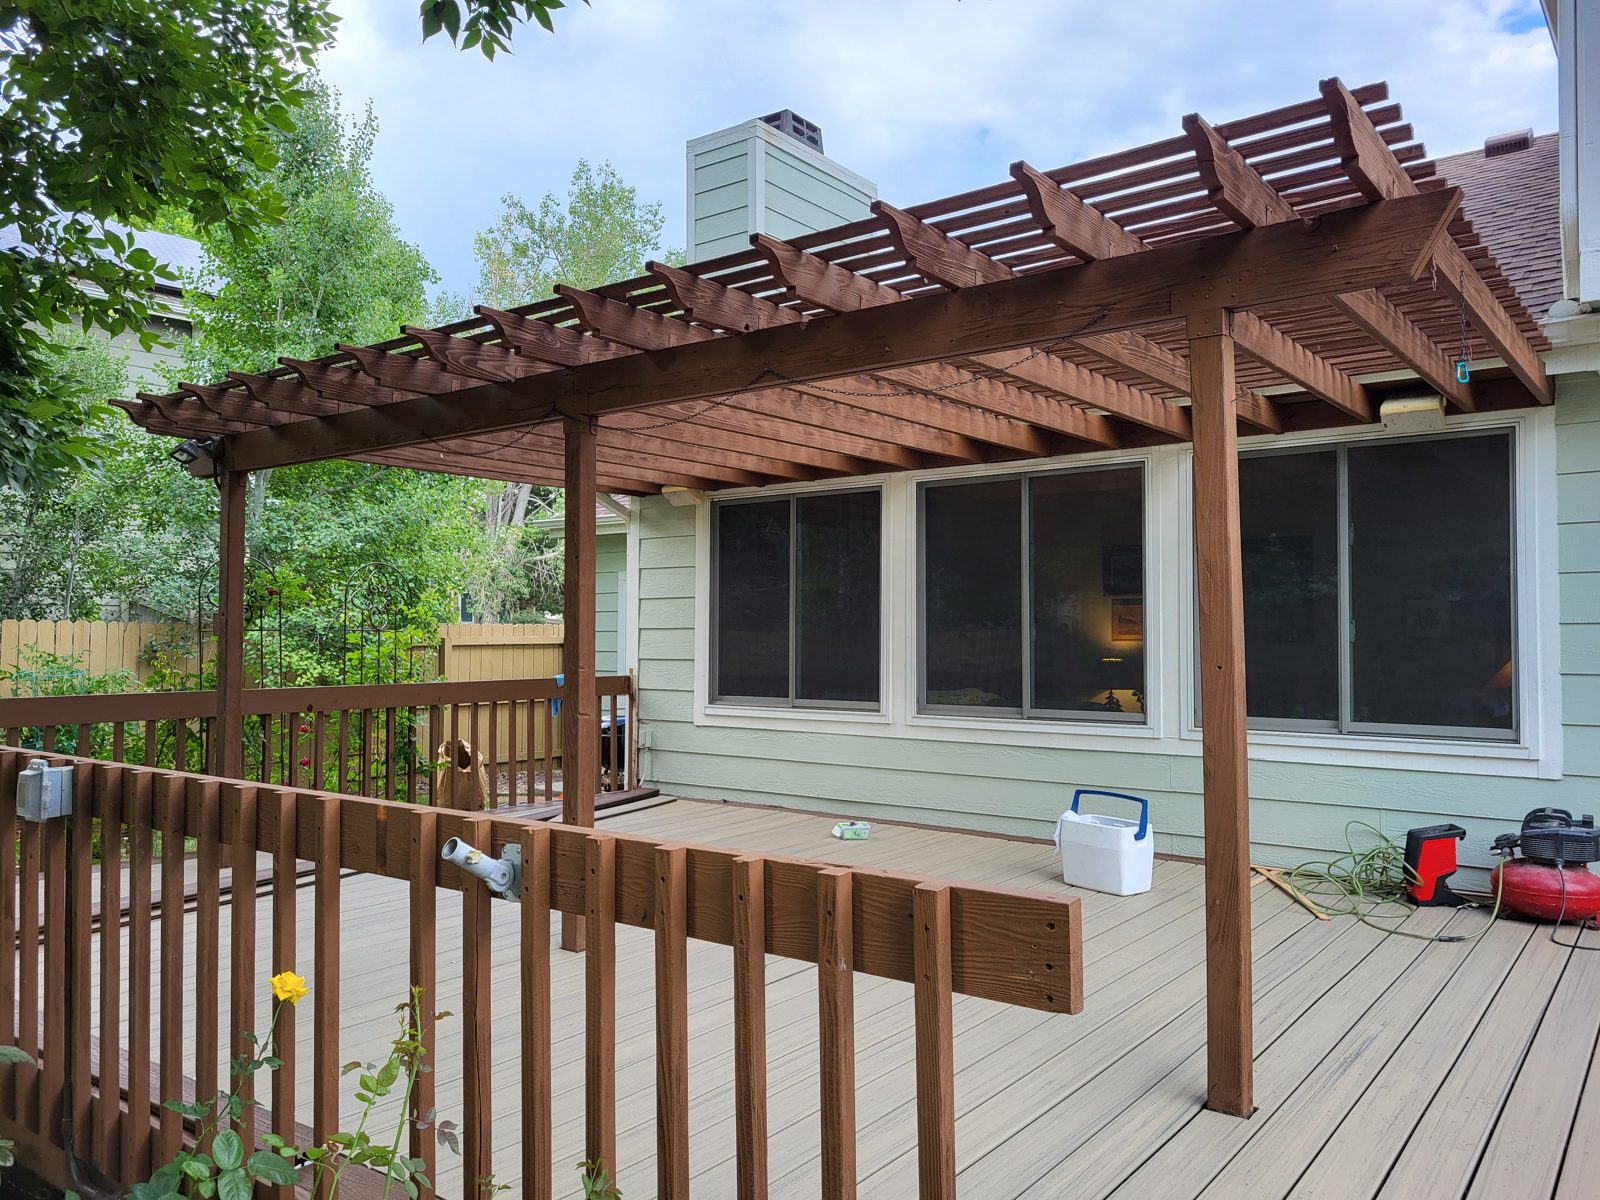
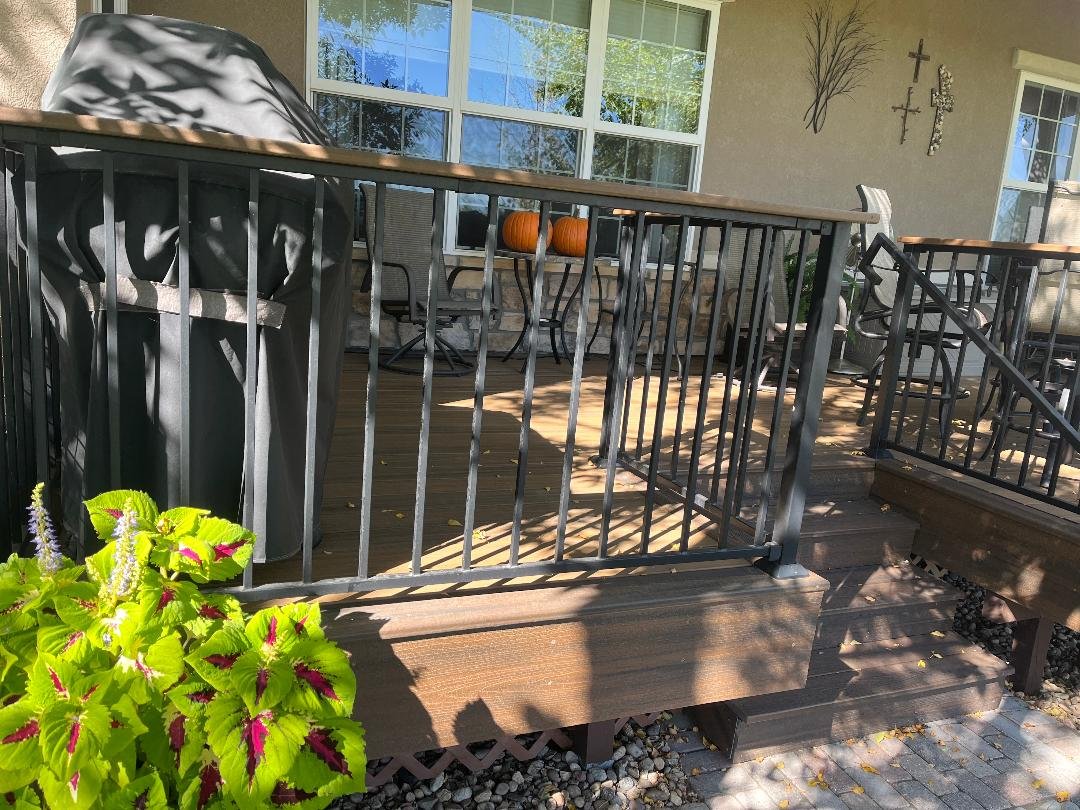
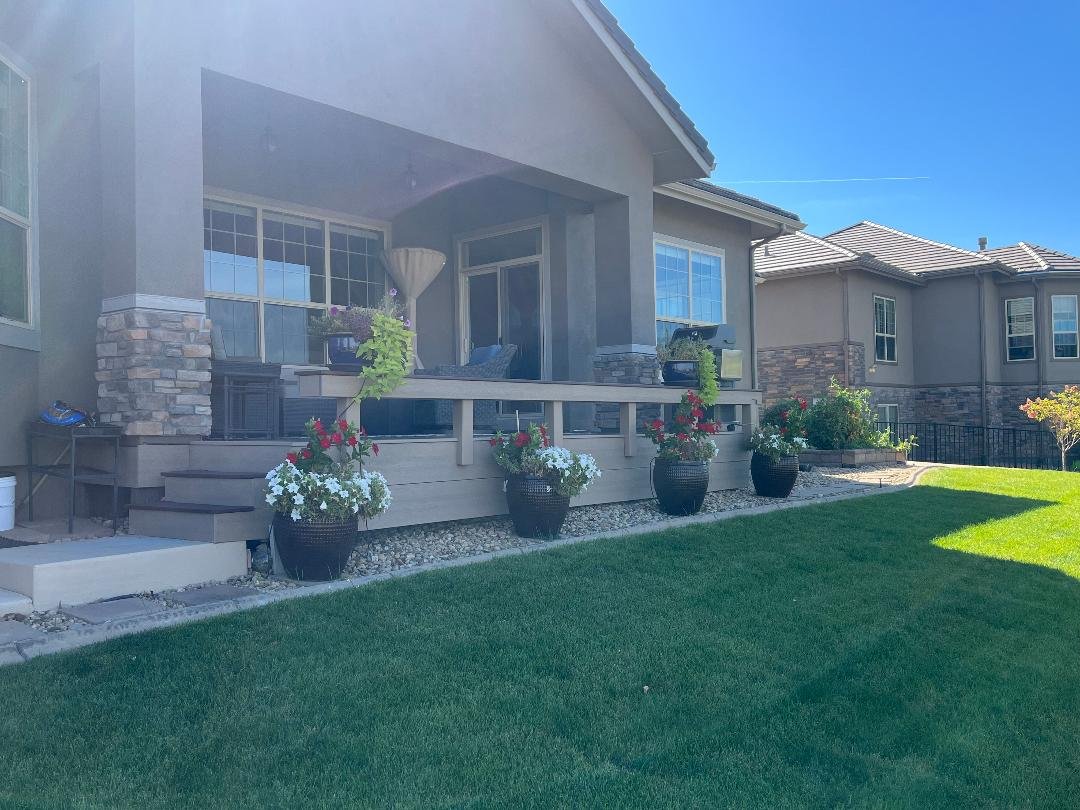
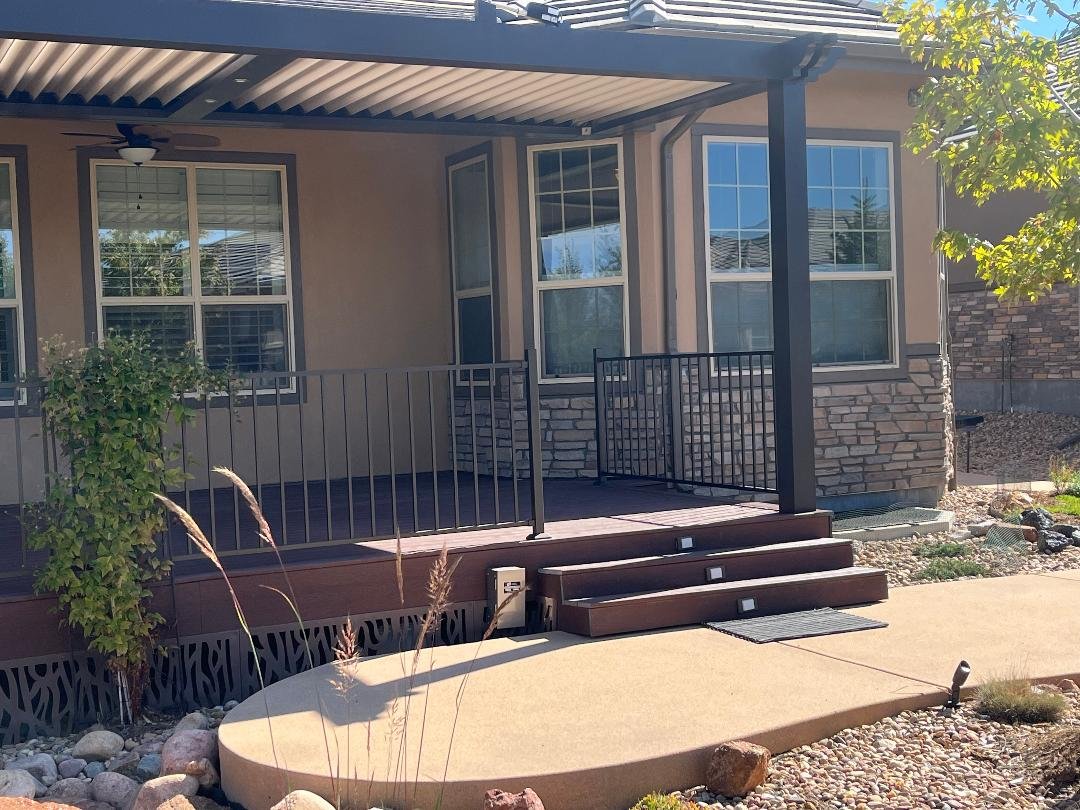
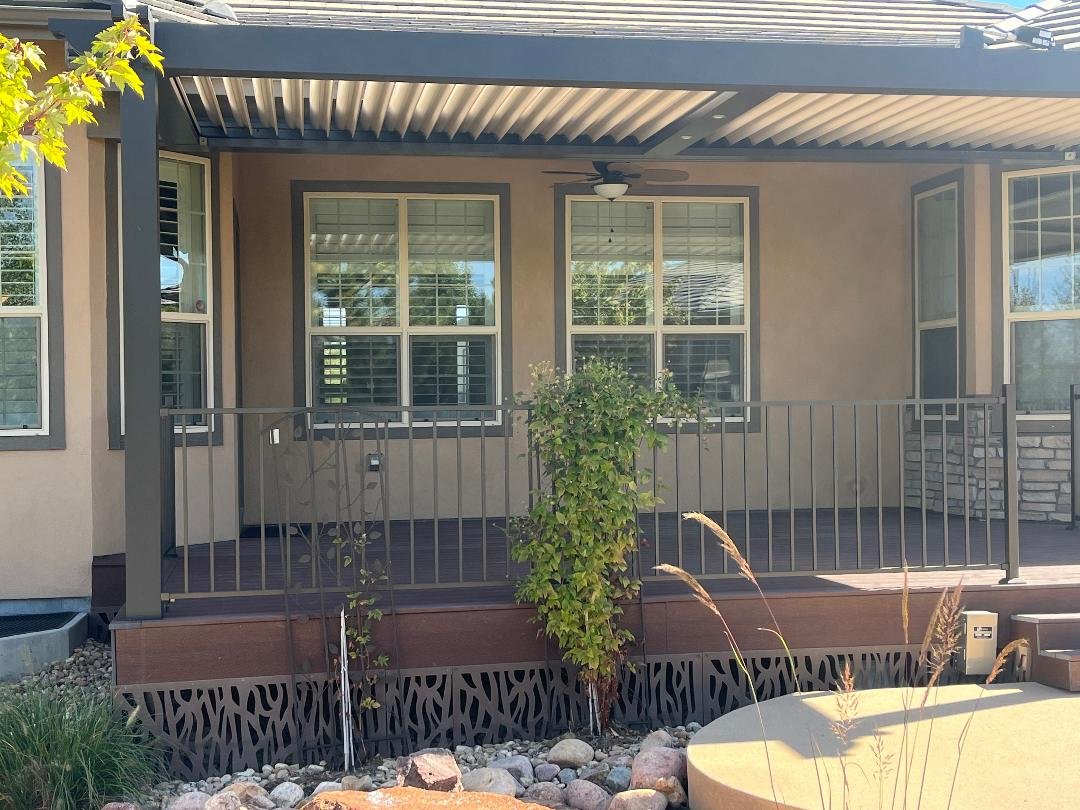
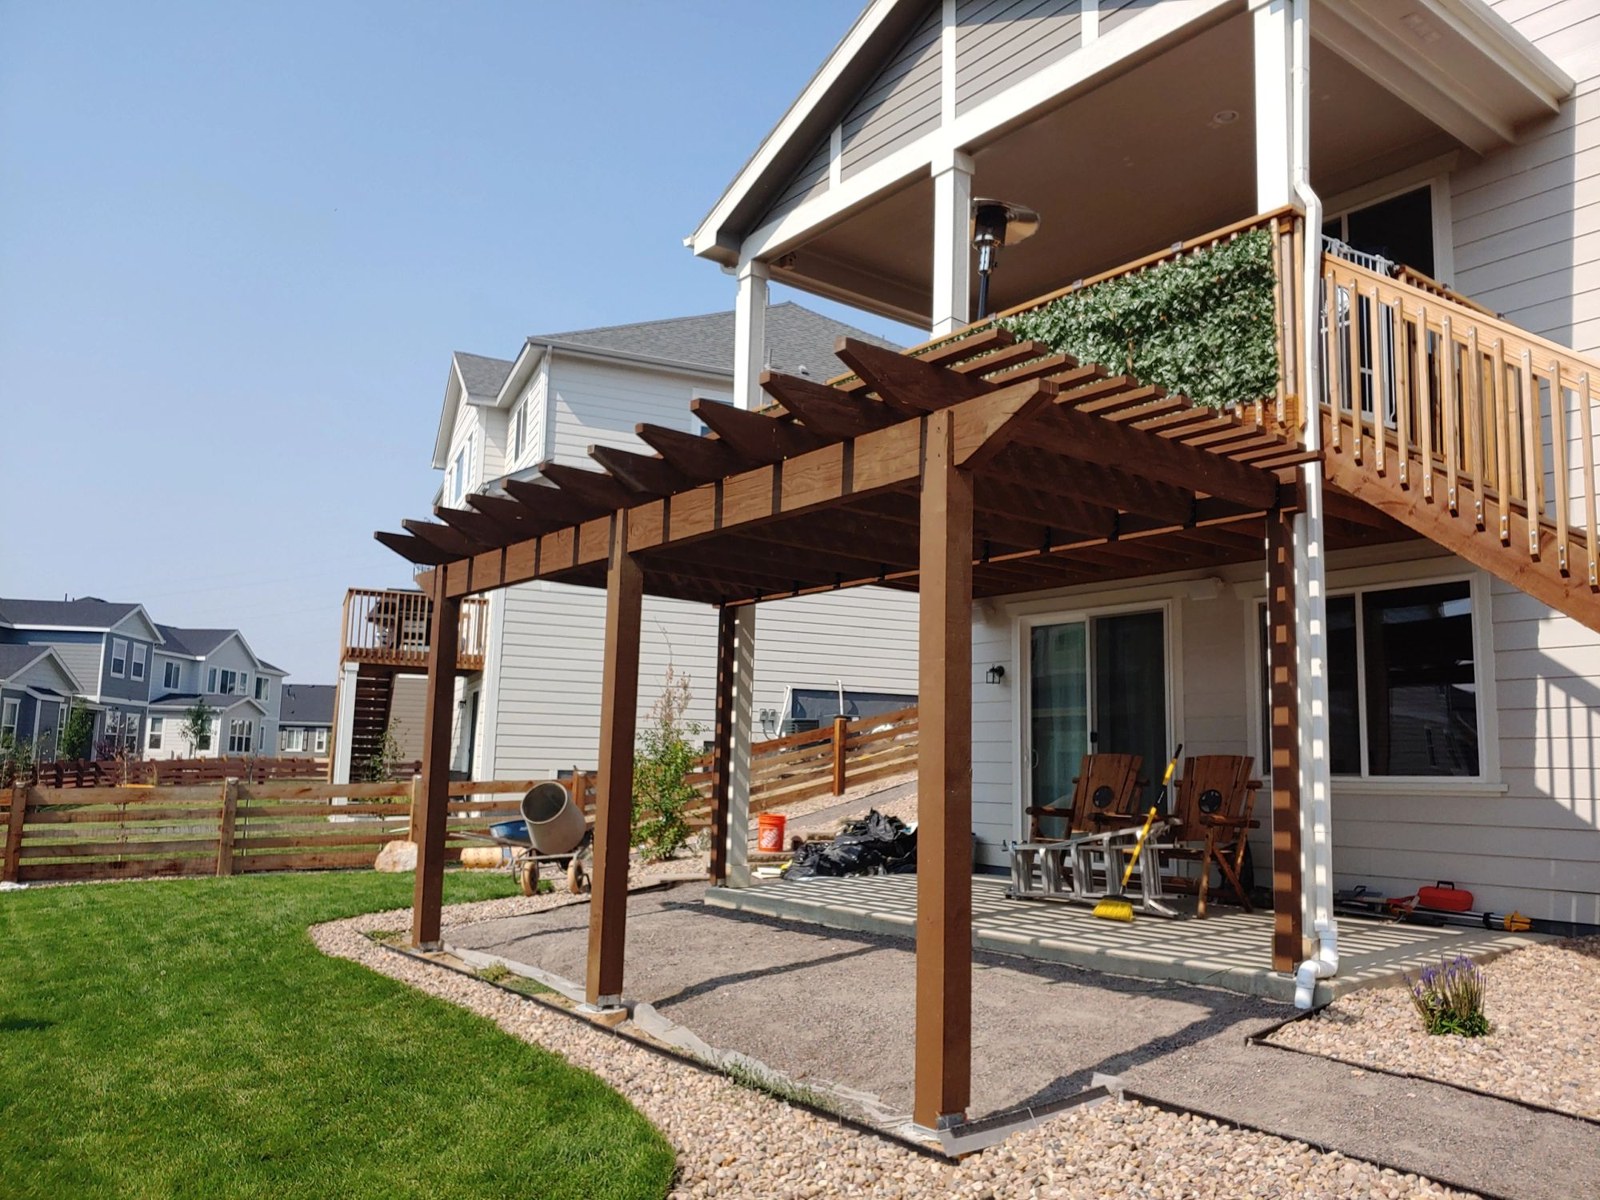
A new deck build with coordinated railing and stair details.01Existing deck refinished by Transcendent Construction02Deck stairs and landing seen from the yard03Metal railings shown across the deck04Wood deck railing beside a garden05Wood pergola over a deck06Deck and black railings viewed from the lawn07Railing and deck seating area08Porch steps and railing details09Deck entry steps and black railings10Deck stairs from a side angle11Porch railing and entry steps12Deck railing across the house frontage13Deck corner and railing from the lawn14Metal railing detail15Porch deck and entry steps16Deck work only; overhead pergola not included17Deck work only; overhead pergola not included18Deck seating area and wood railing19Wide view of an existing deck refinished by Transcendent Construction20Deck fascia and edge finish.21Wood pergola over the patio.22
04 / 5 photographs
Details throughout the home.
Doors, built-ins and flooring deserve a place alongside the larger remodels.
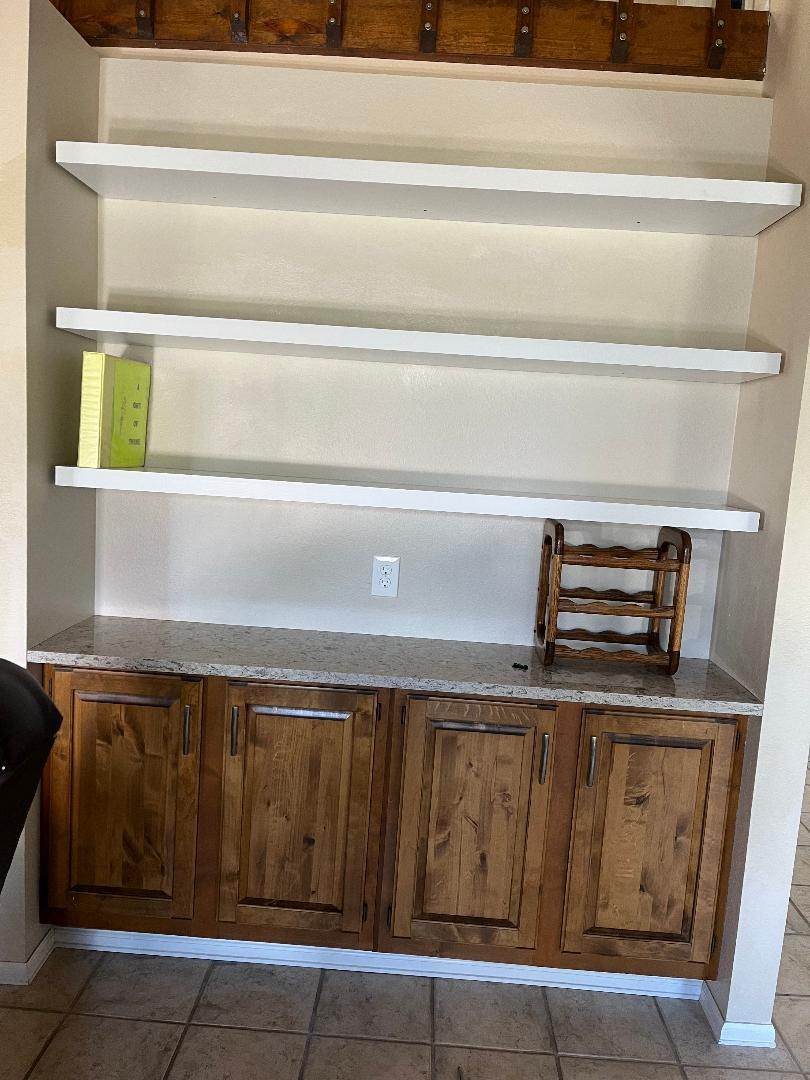
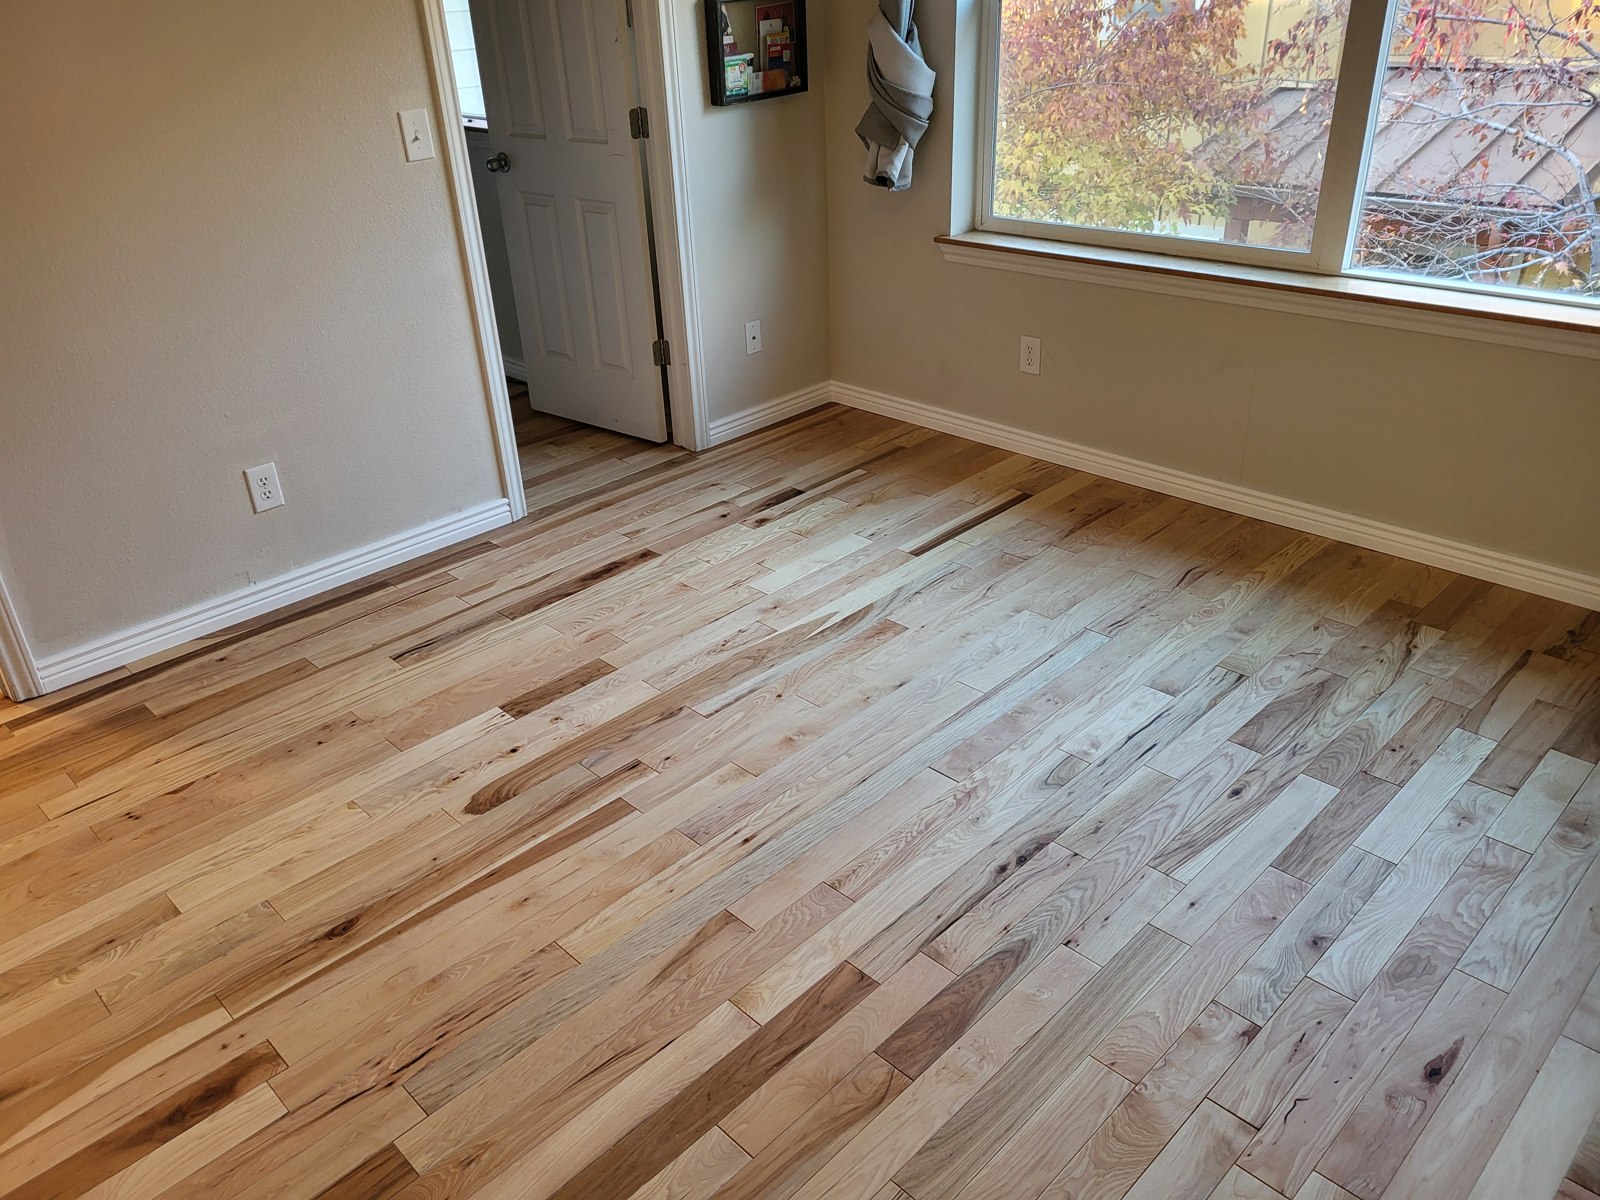
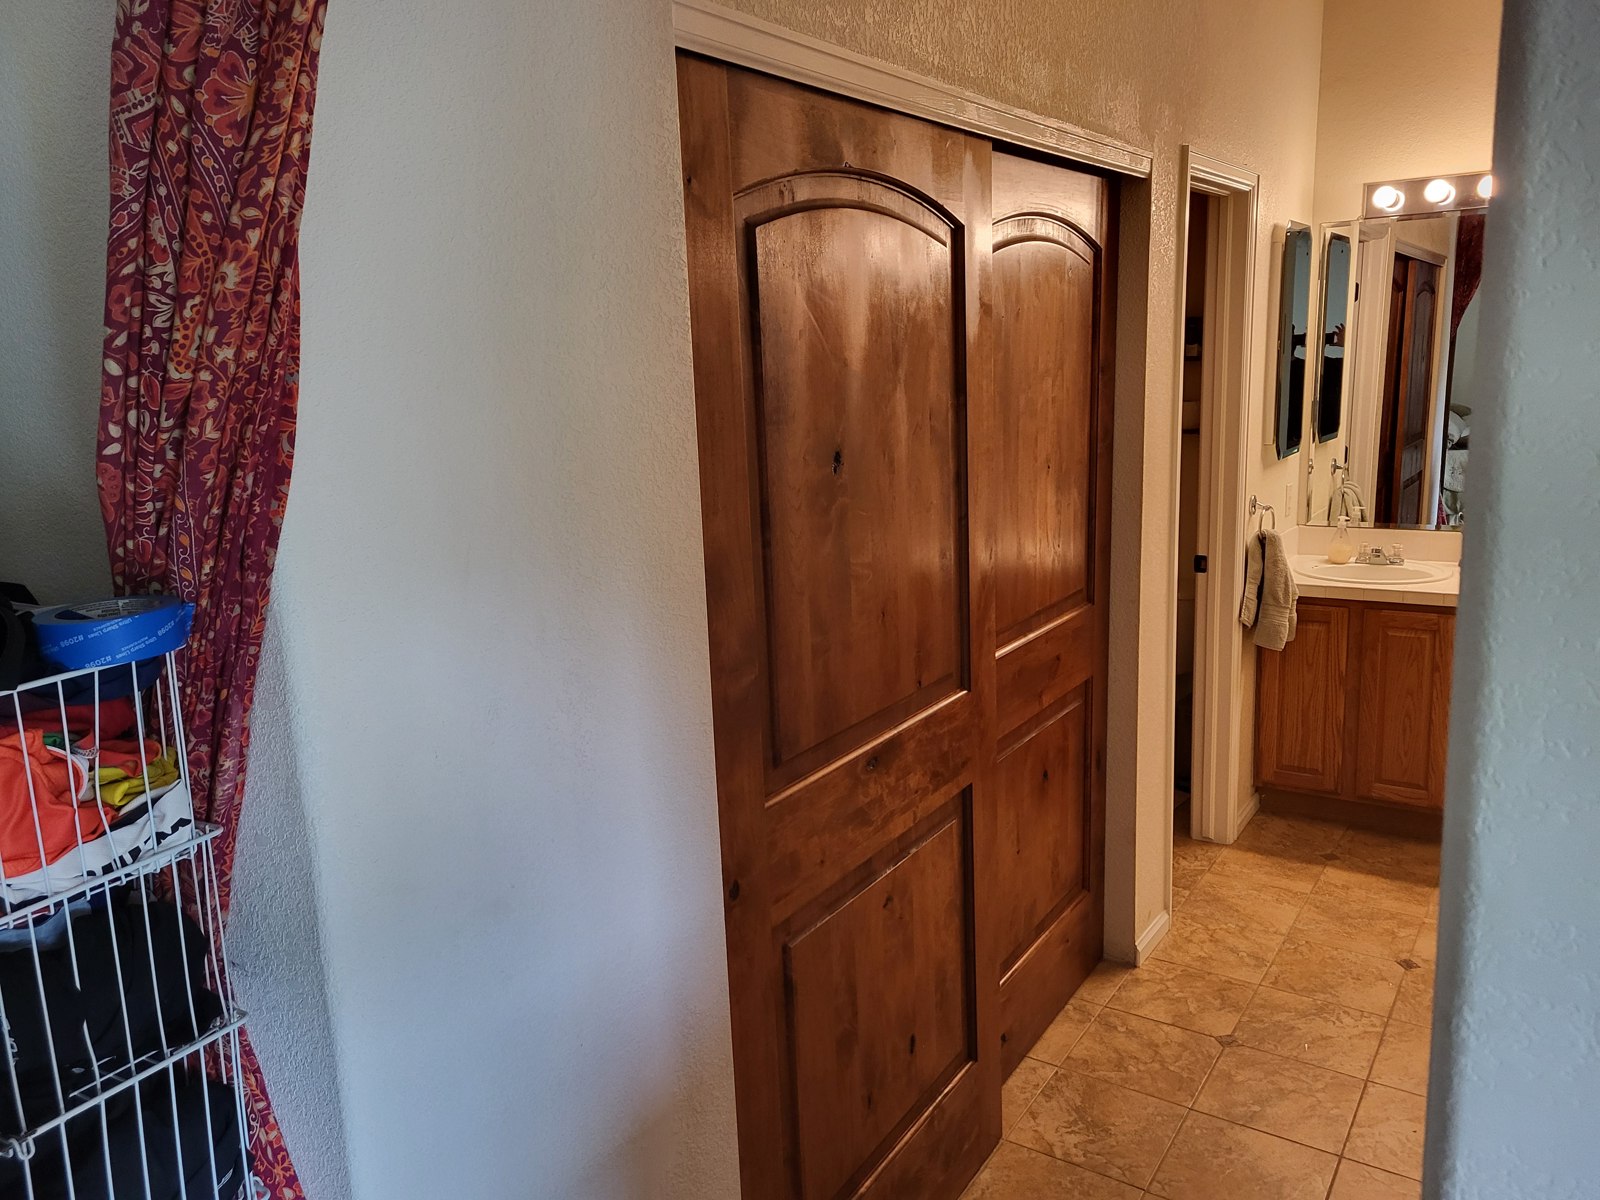
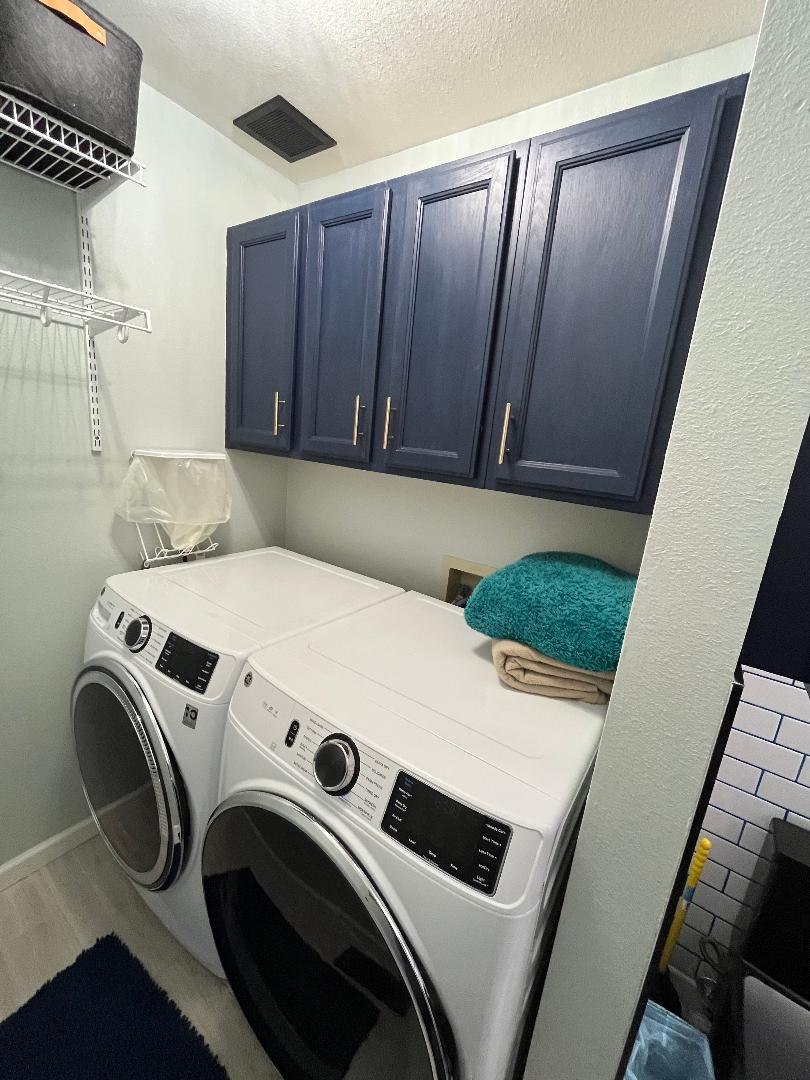
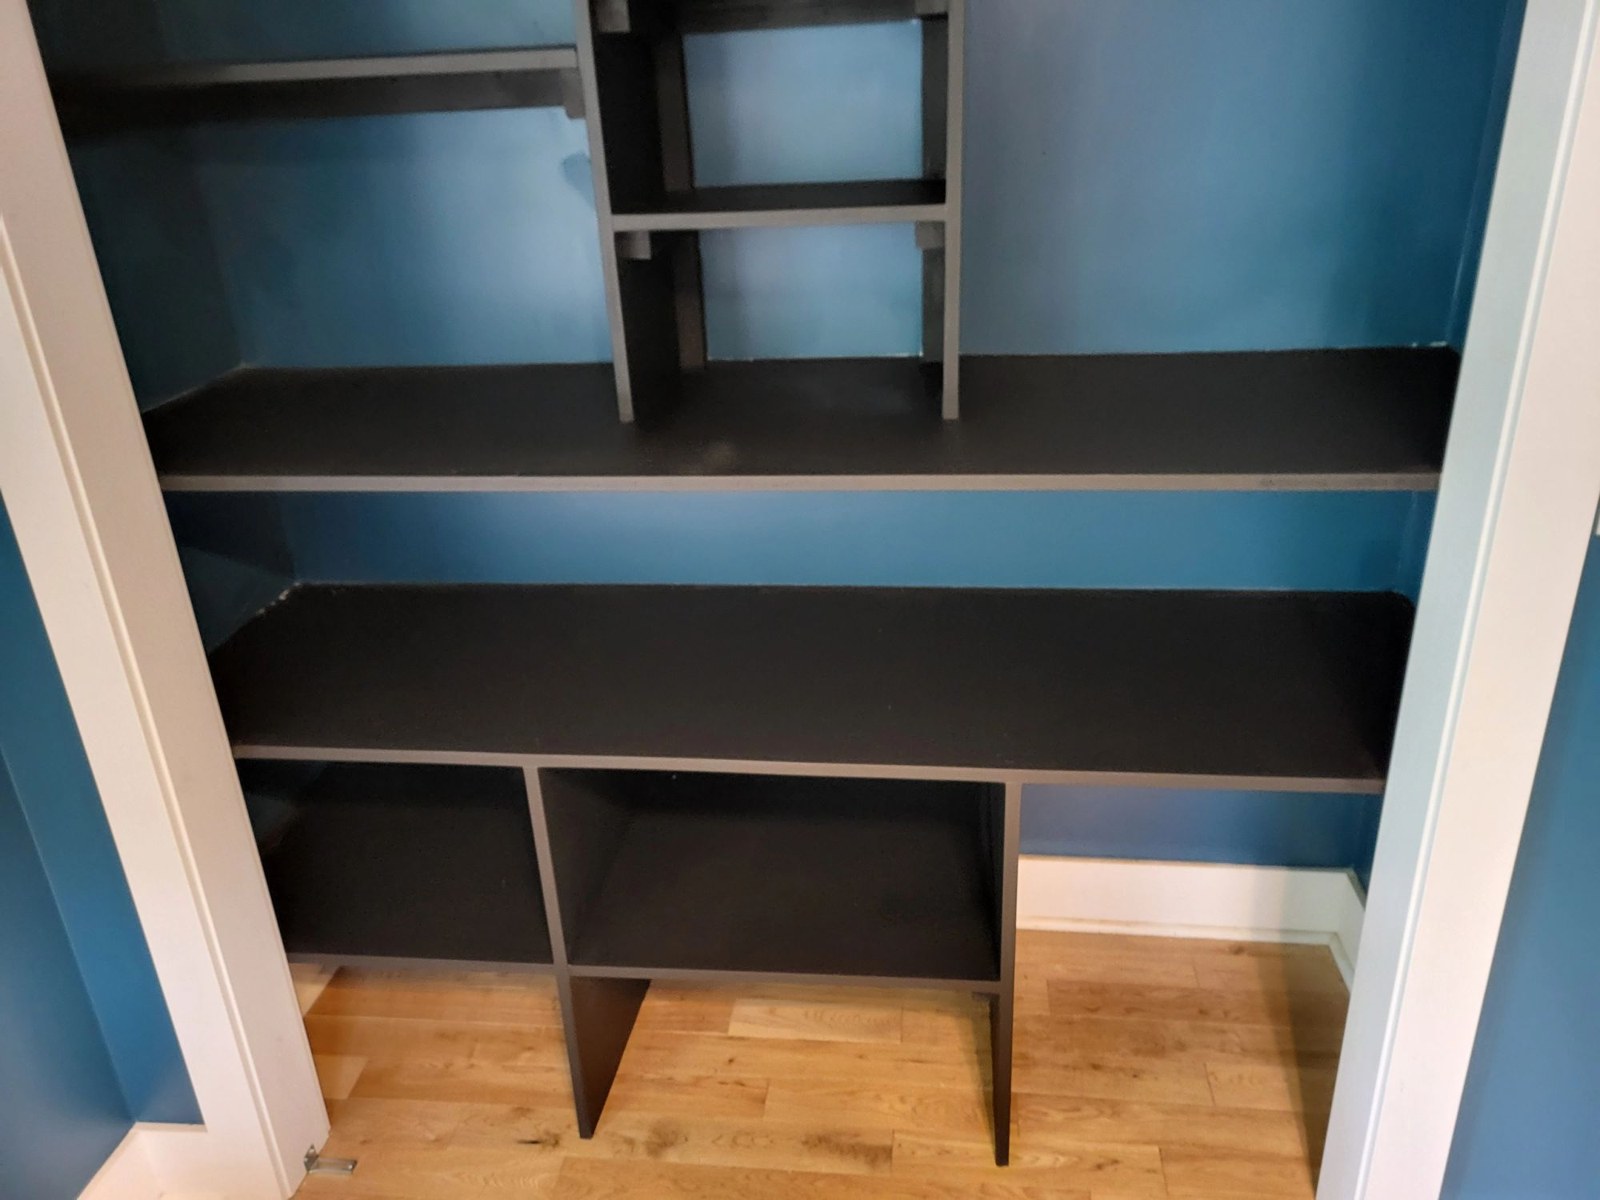
Built-in shelves and cabinet storage.01Flooring through connected living spaces.02Paired wood doors from a roughly 13-door project.03Bathroom and laundry finish details.04Closet shelves and storage compartments against blue walls.05
From the project archive
The work behind the finished room.
Follow a project through its photographs—not just the final reveal.
Bathroom highlight
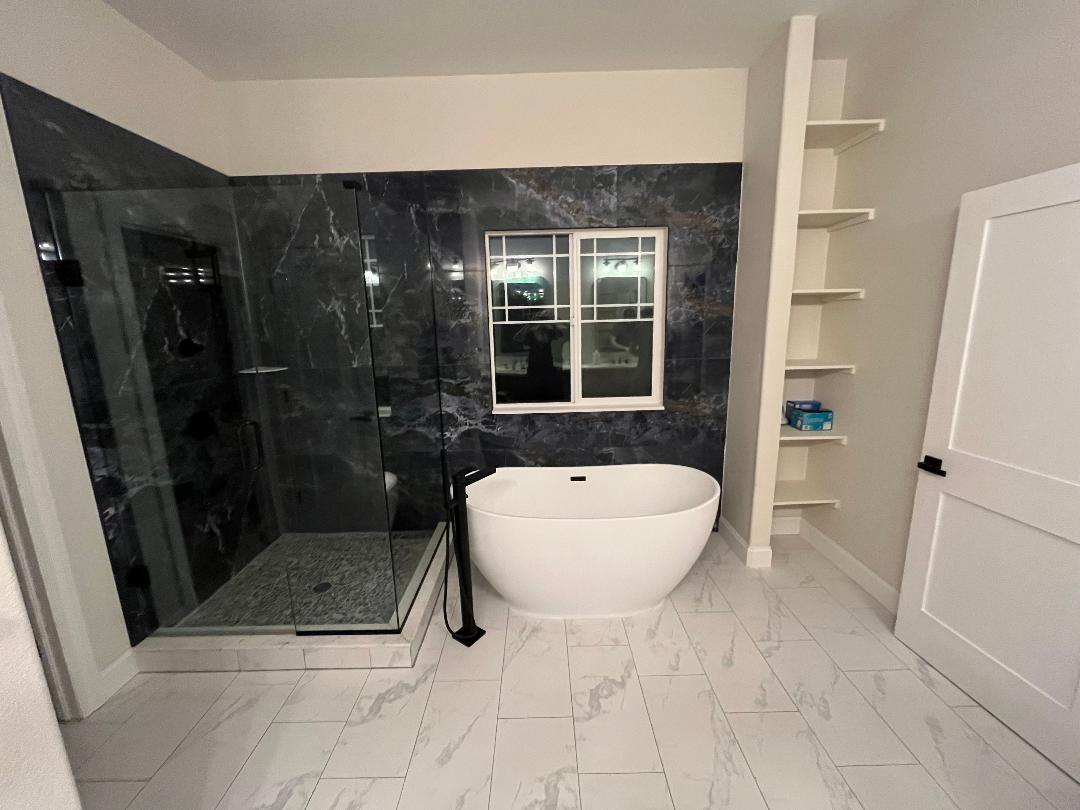
Deep blue tile, a freestanding tub, and a wide-window view
Blue patterned tile anchors the shower and tub, while the light floor and long vanity keep the room balanced. Follow this room from wall preparation to the finished tub and shower.
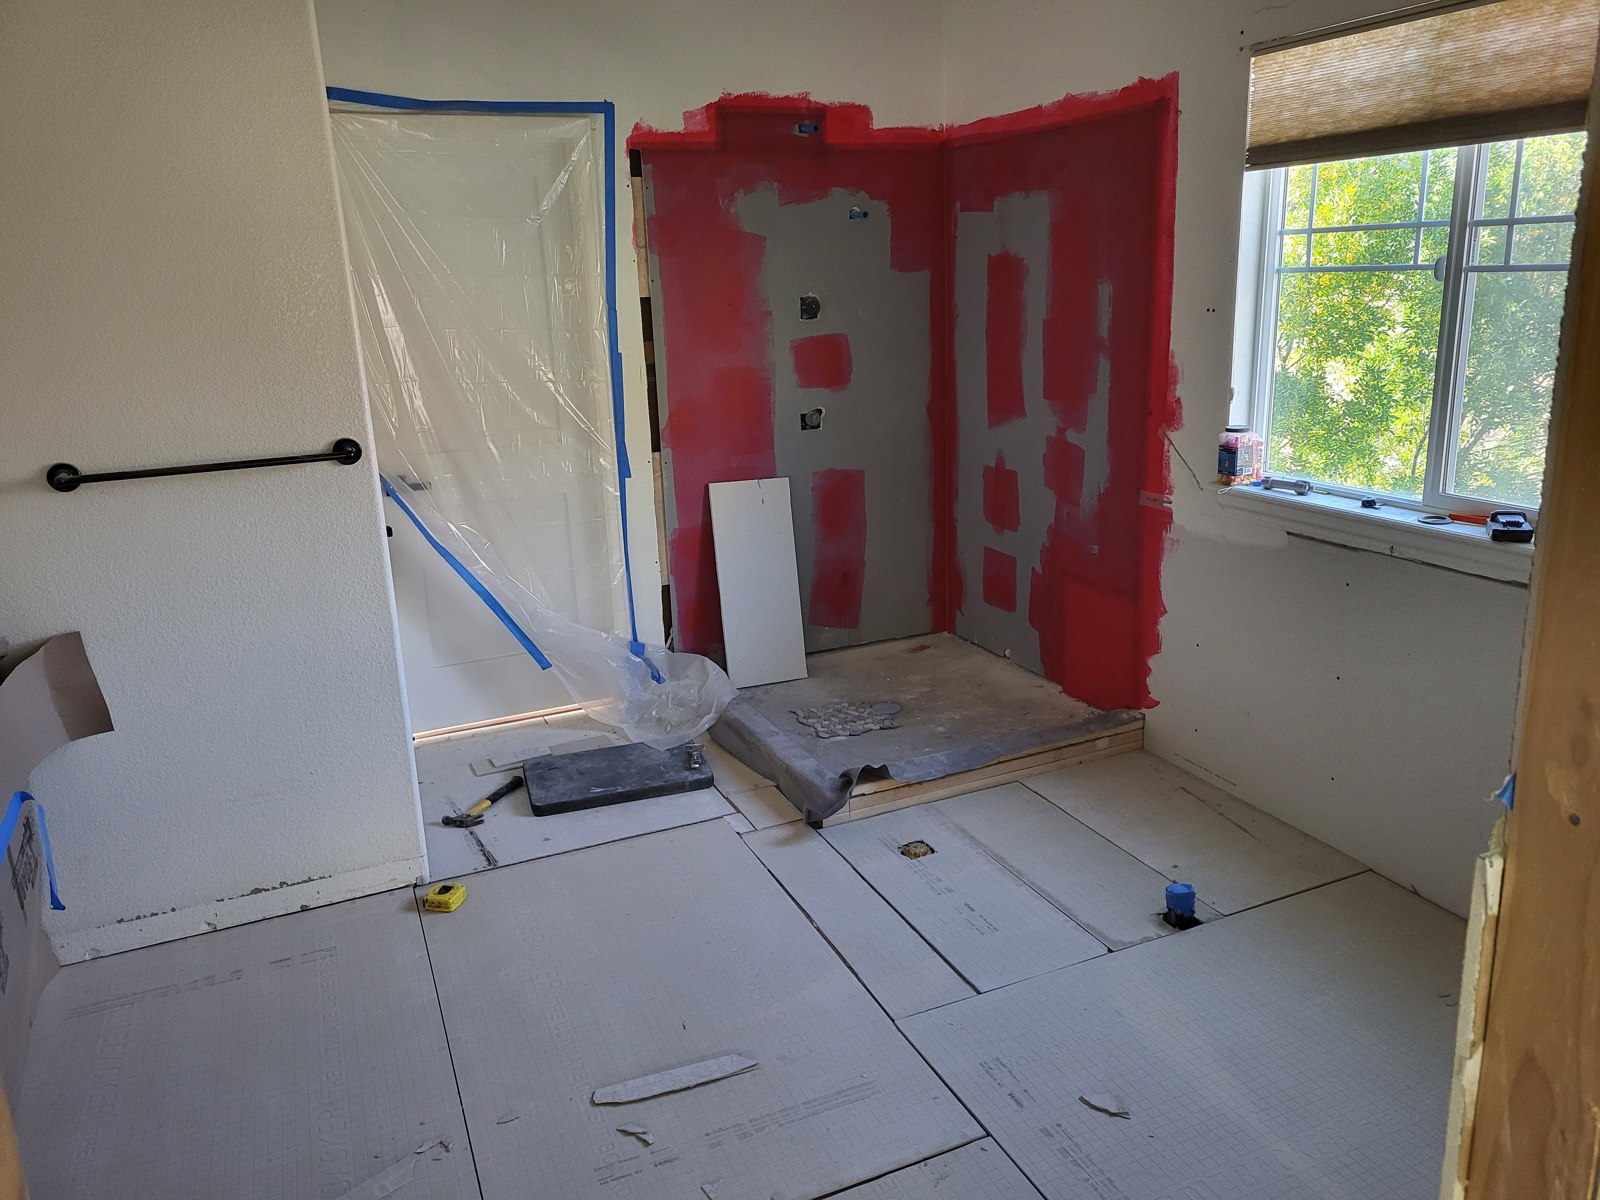
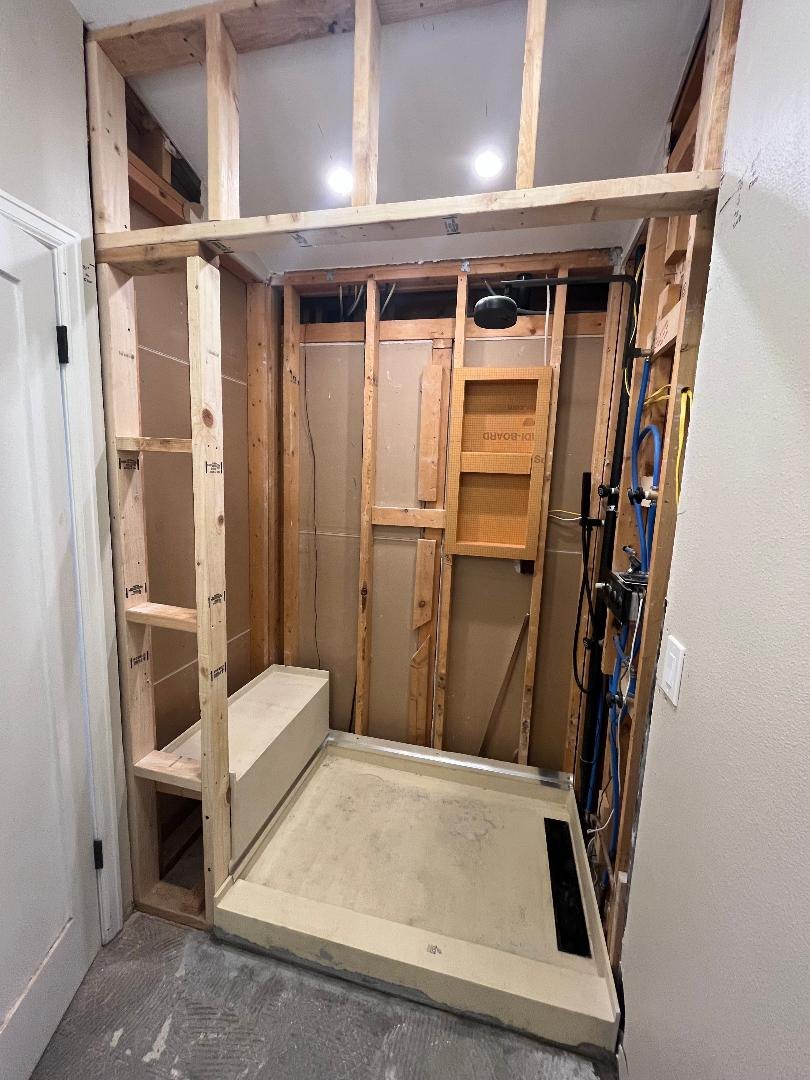
During01
Shower wall preparation beside the wide window
Finished02
Finished shower and freestanding tub beneath the wide window
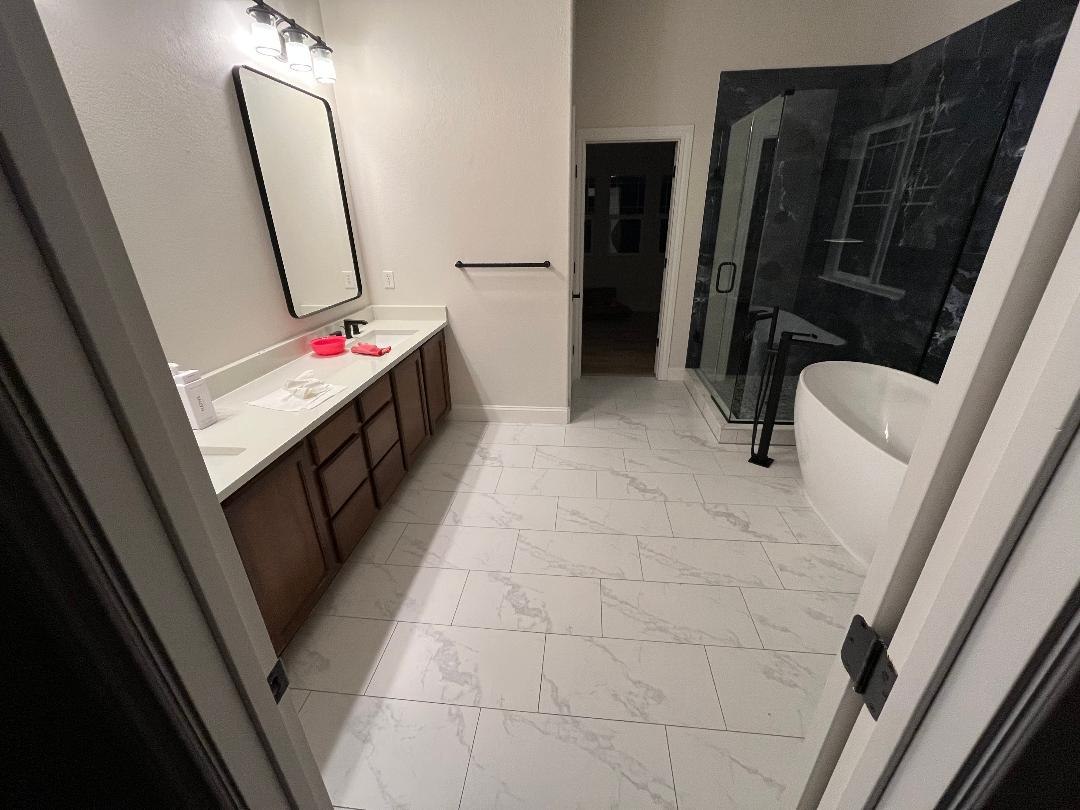
Finished room03
Long vanity, light floor, tub and shower in the same room
Wall preparation, followed by the finished tub, shower, and long vanity.
Blue tile wrapped around a second, distinct bathroom
This separate bathroom carries the blue tile around a freestanding tub, floating vanity, and shower. The two narrow windows distinguish it from the wide-window bathroom above.
During01
Opened room before its new finishes
Finished tub wall02
Freestanding tub below the two narrow windows
Finished shower03
Glass enclosure and blue tile in the same bathroom
The room during construction, followed by finished tub and shower views.
Bathroom highlight
Blue scalloped glass, framed in black
The blue glass feature wall gives this shower its character. Black trim and a dark vanity frame the color, while lighter wall and floor tile keep the small room feeling open.
Look beyond the shower: the wall tile continues around the vanity, bringing the room together without competing with the scalloped pattern.
During01
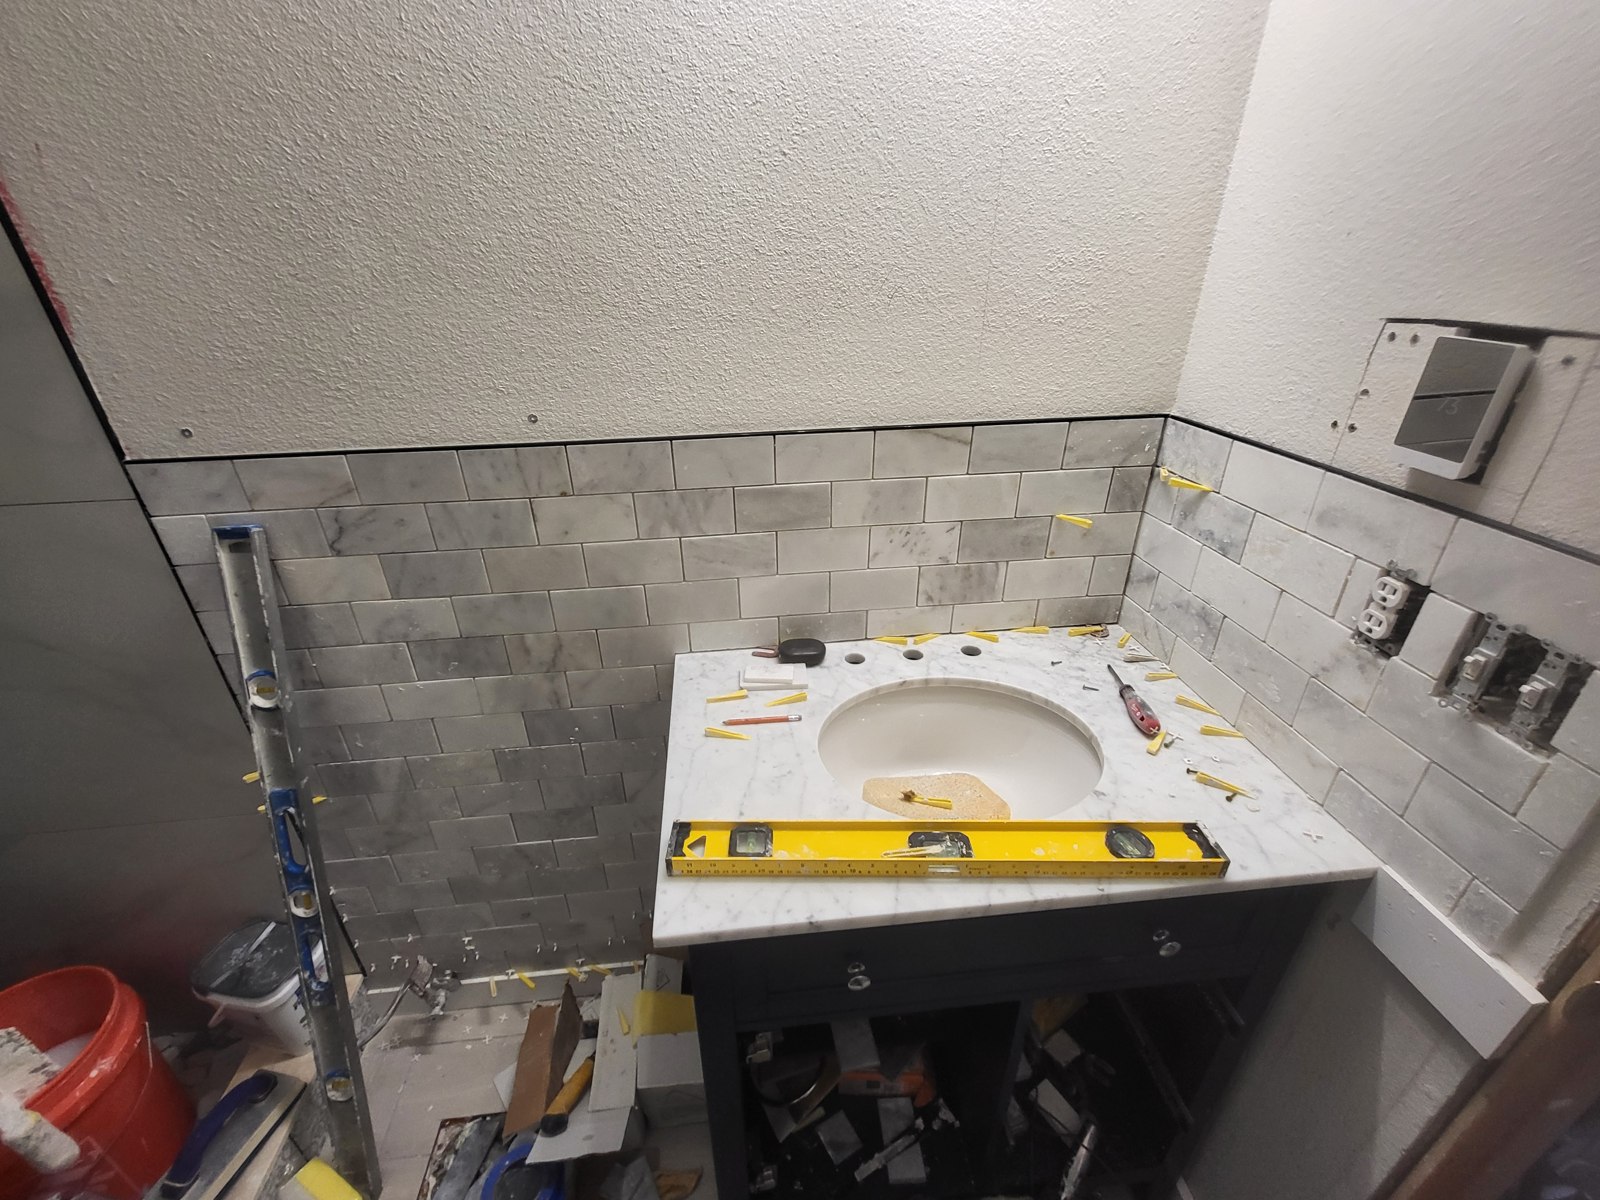
Wall tile installation around the vanity area
Finished room02
Blue scalloped-glass shower wall with black trim
Finished detail03
Dark vanity and wall cabinet with light tile surrounds
Tile installation, the finished shower, and the coordinated vanity.
Project study / 01
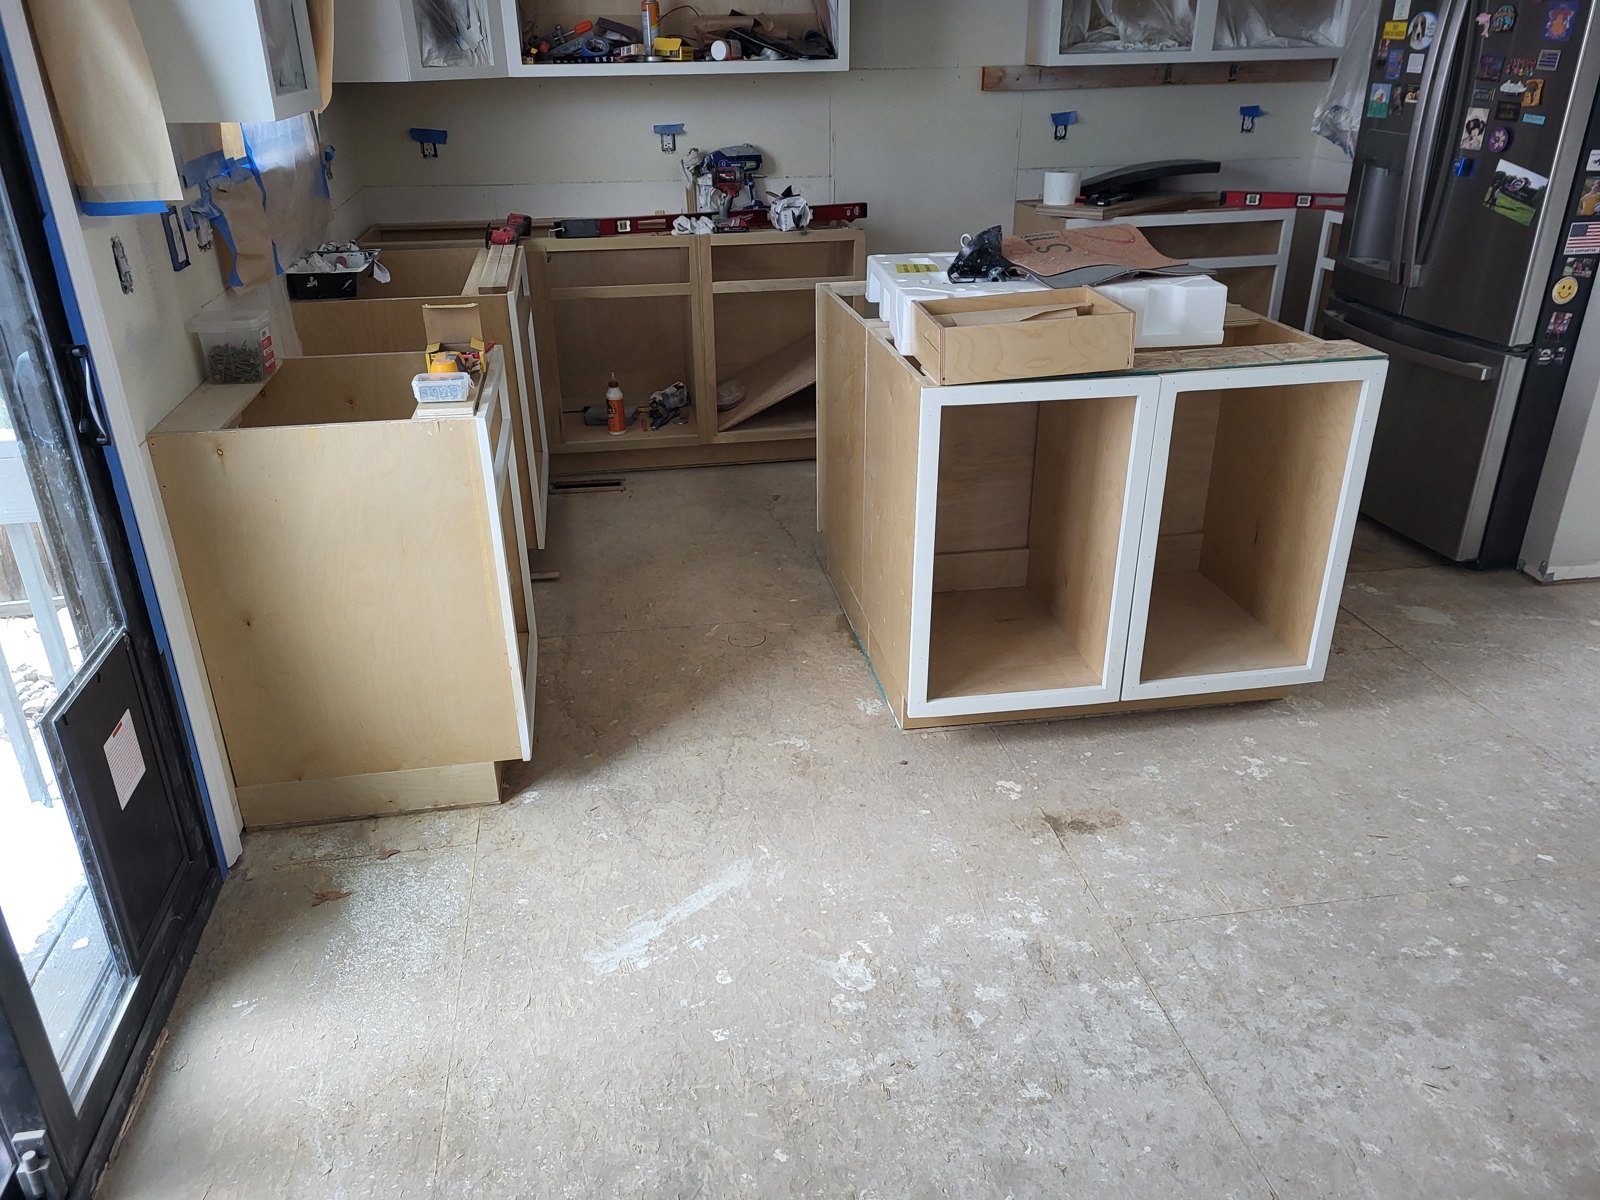
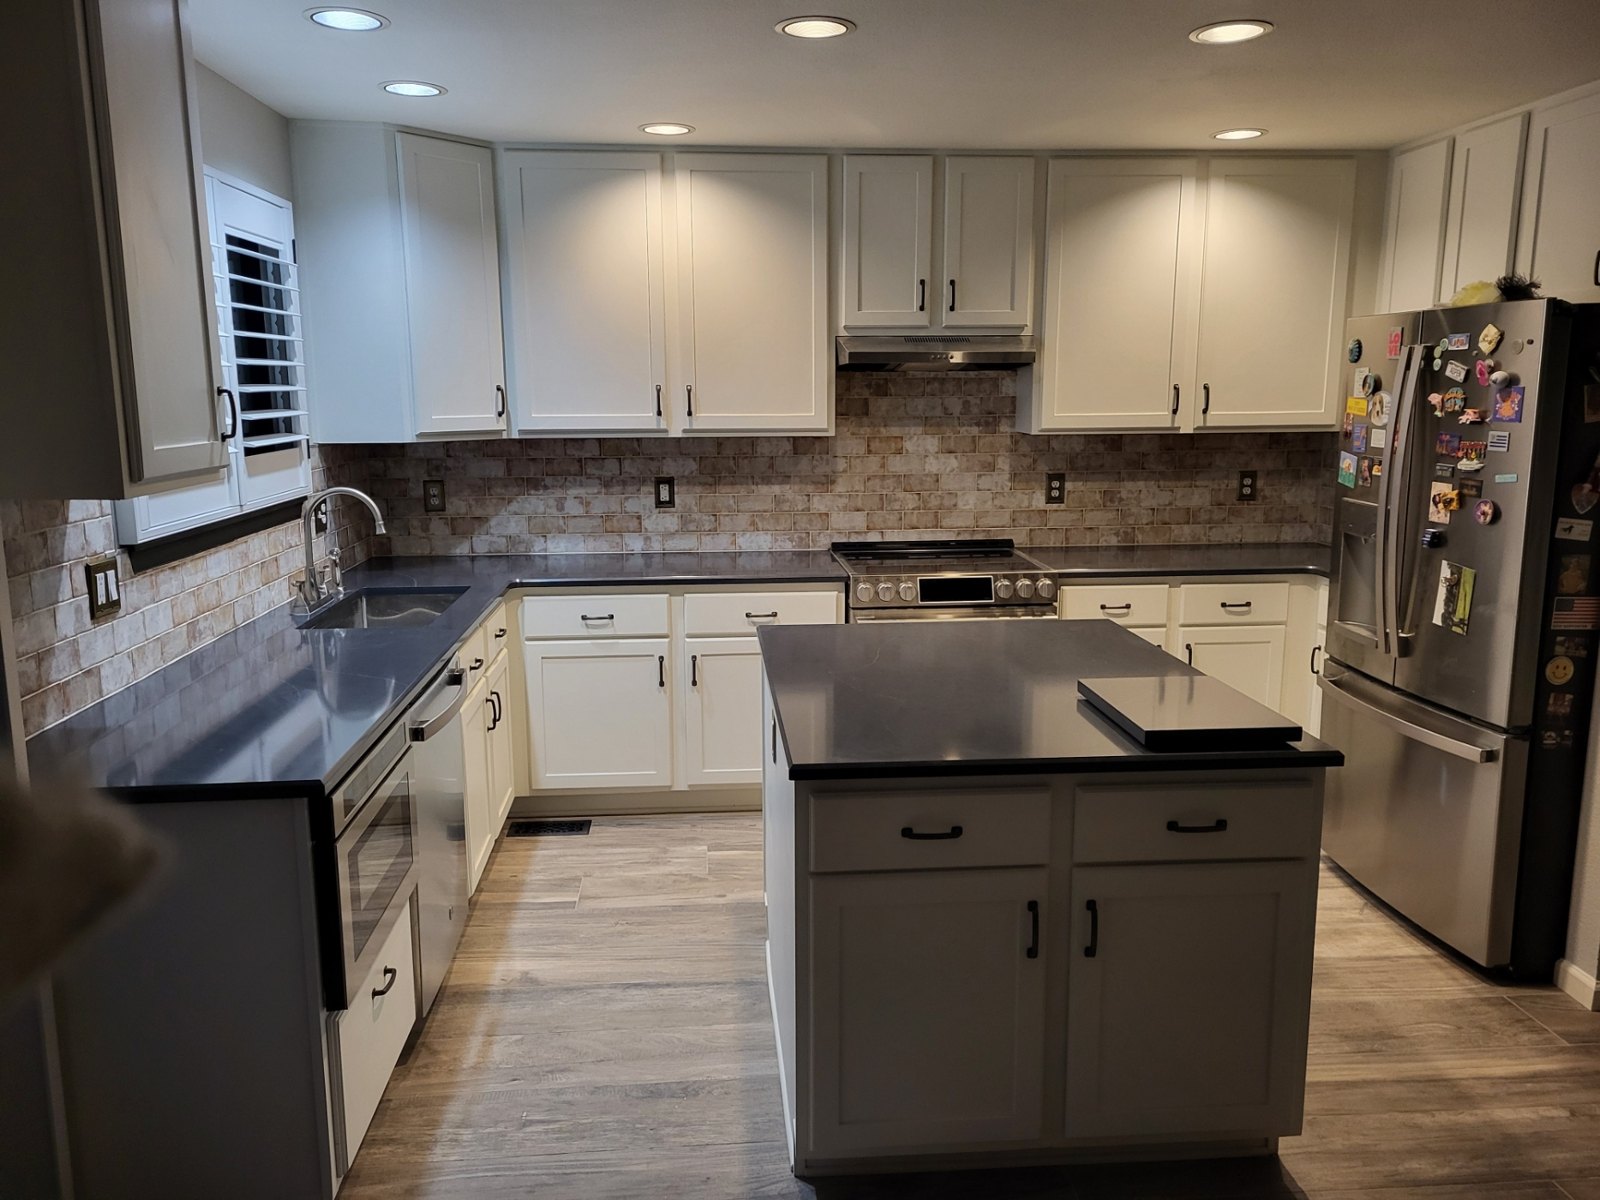
Custom cabinetry, from boxes to finished kitchen
We built the cabinets, doors and drawers from scratch, taking the cabinetry right up to the ceiling. Soft-close hinges and drawer glides keep things quiet, while a built-in trash drawer and custom microwave drawer give everyday essentials a place of their own. We rebuilt the island to make more room, then brought the space together with a tile floor, backsplash and a countertop made by Don’s Countertops.
Some of the best improvements are the ones you don’t see in the finished photos. We found an old, leaking copper line feeding the fridge, with water barely trickling through. Replacing the old shutoff and water line with modern connections made a big difference to the fridge’s water flow. A beautiful kitchen matters—but so does everything working better when you use it.
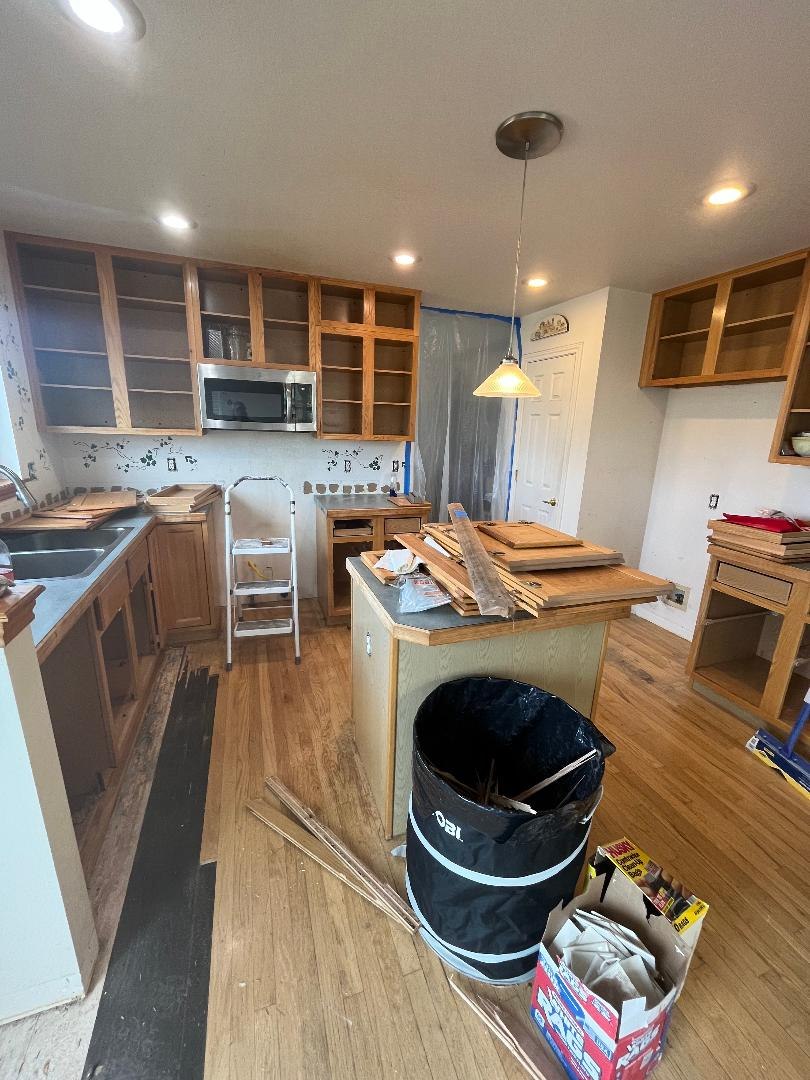
Before01
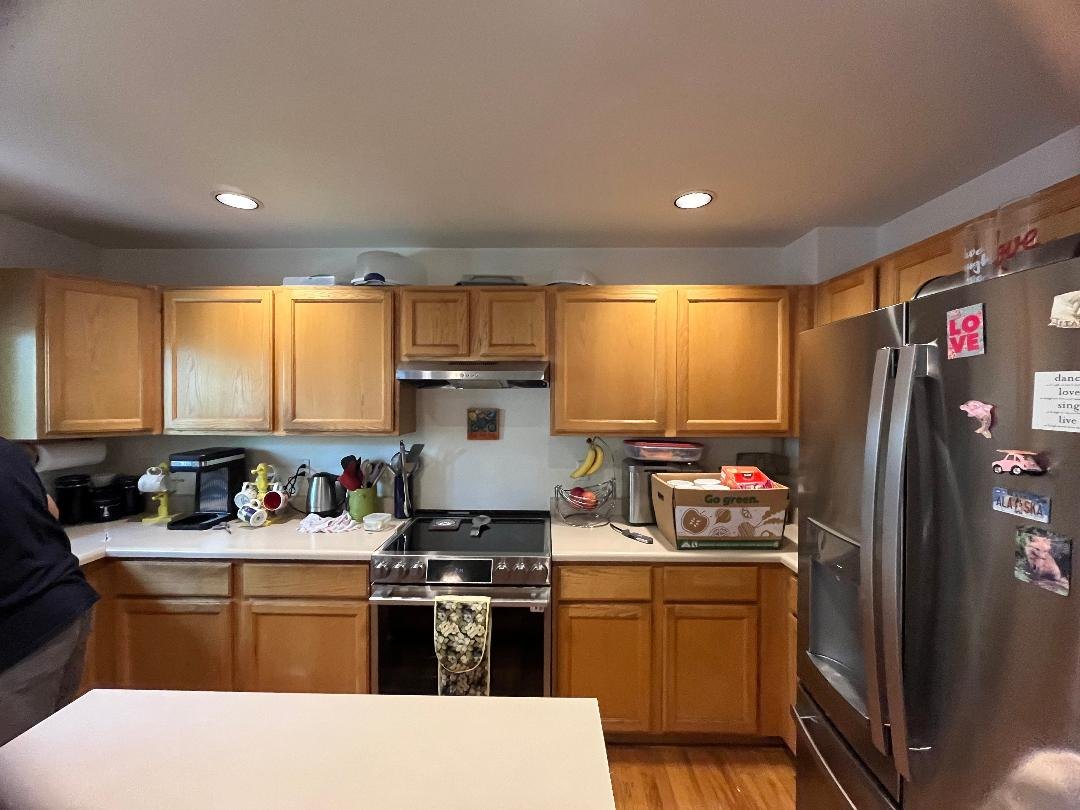
Before: kitchen facing the range, island and refrigerator
During02
During: cabinet boxes and island
After03
After: finished kitchen
The original room, cabinetry in construction, and the finished kitchen.
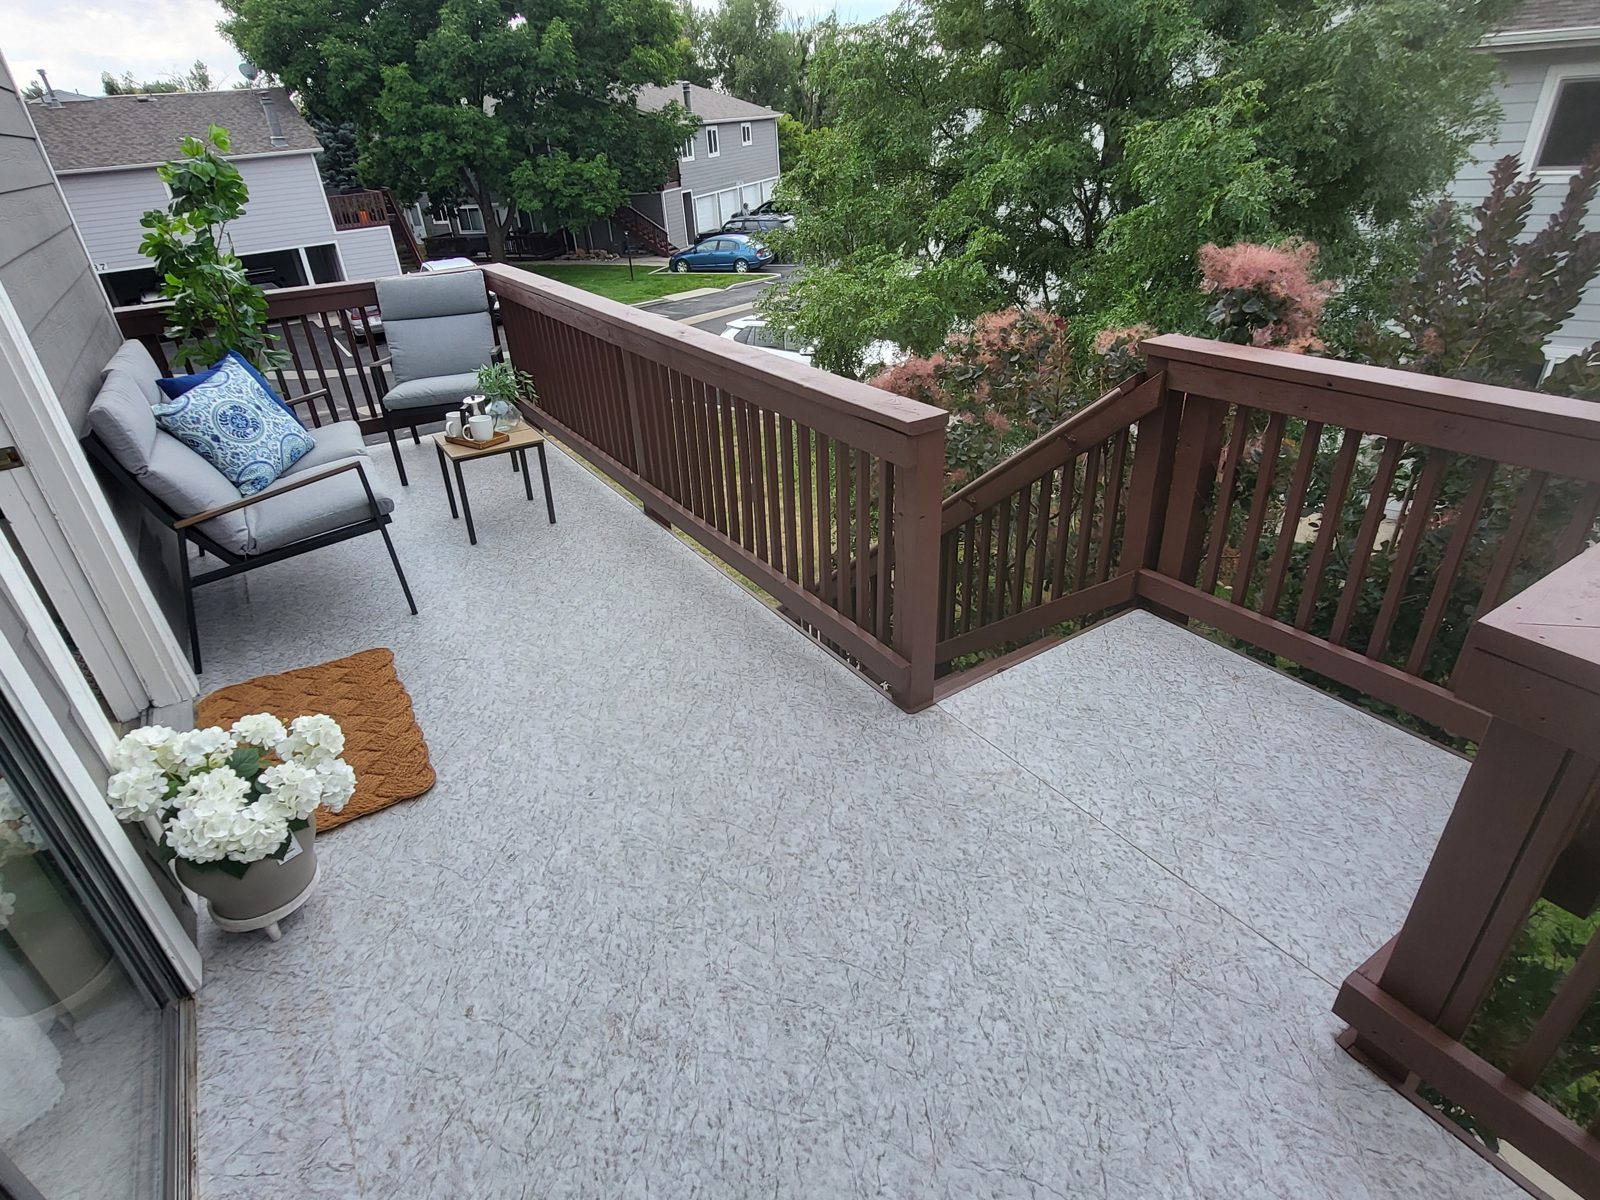
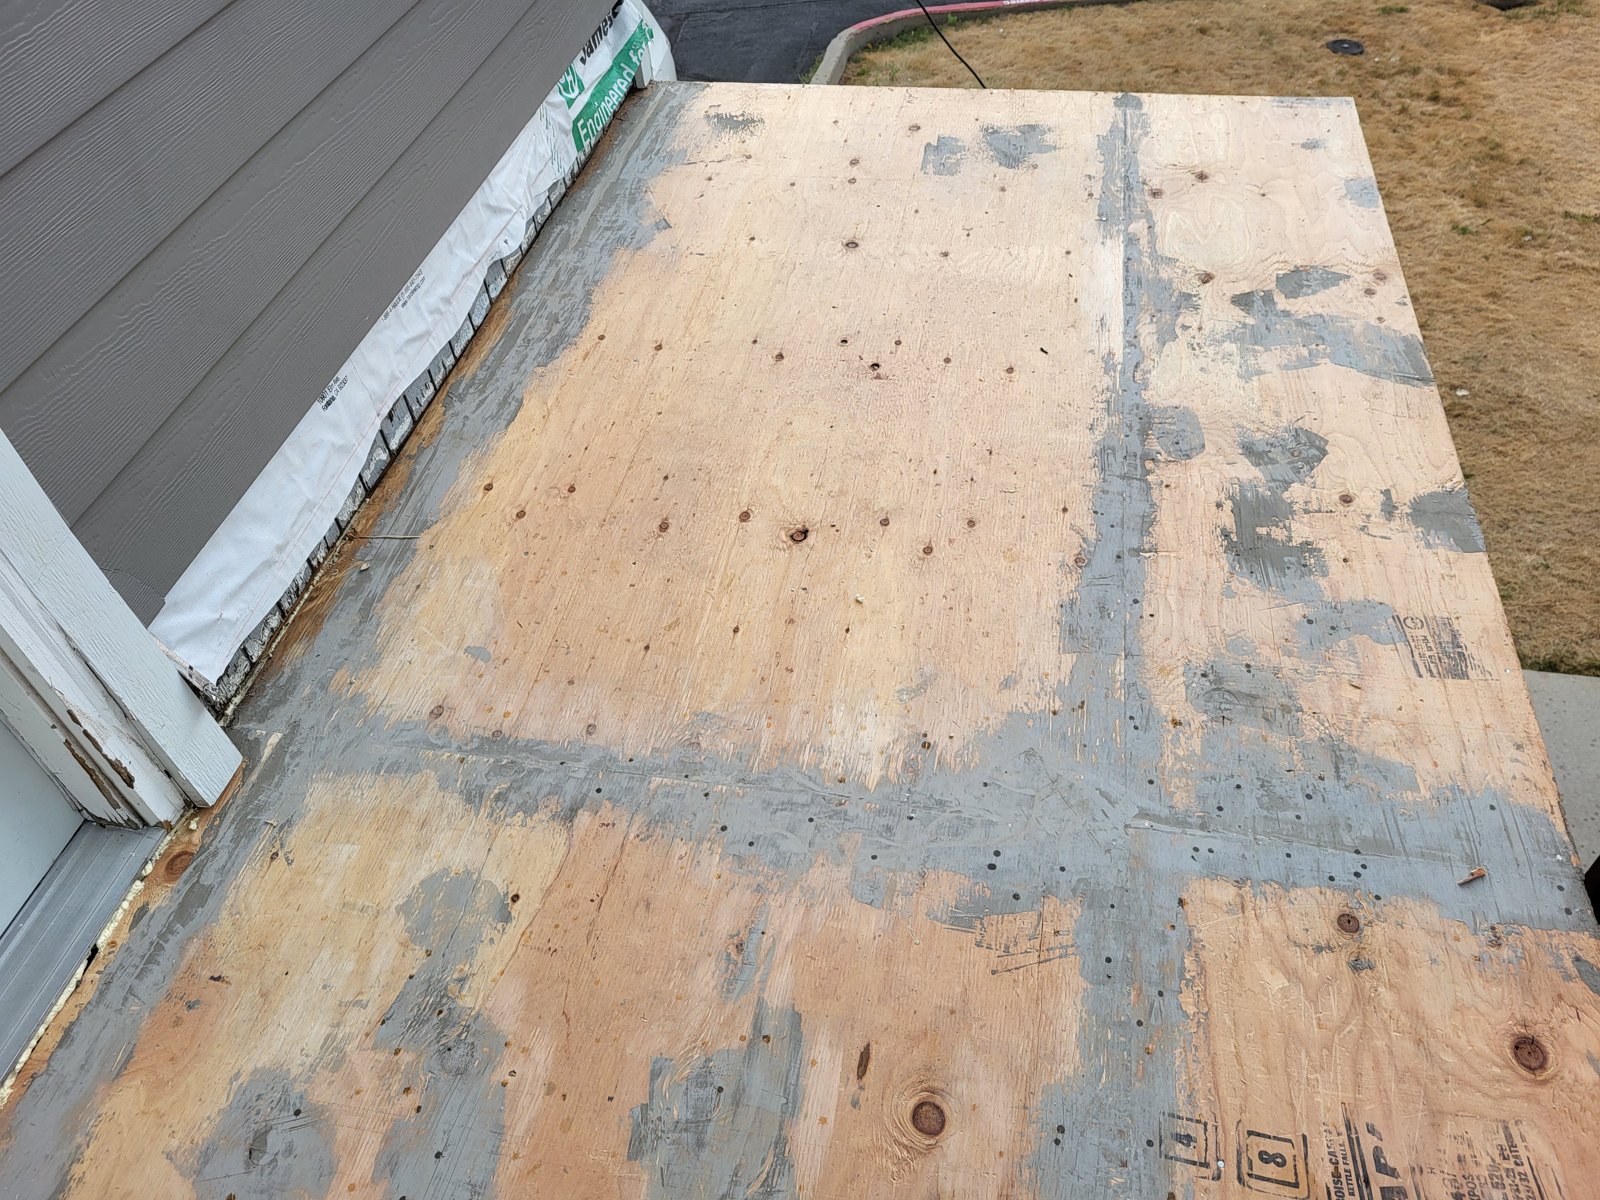
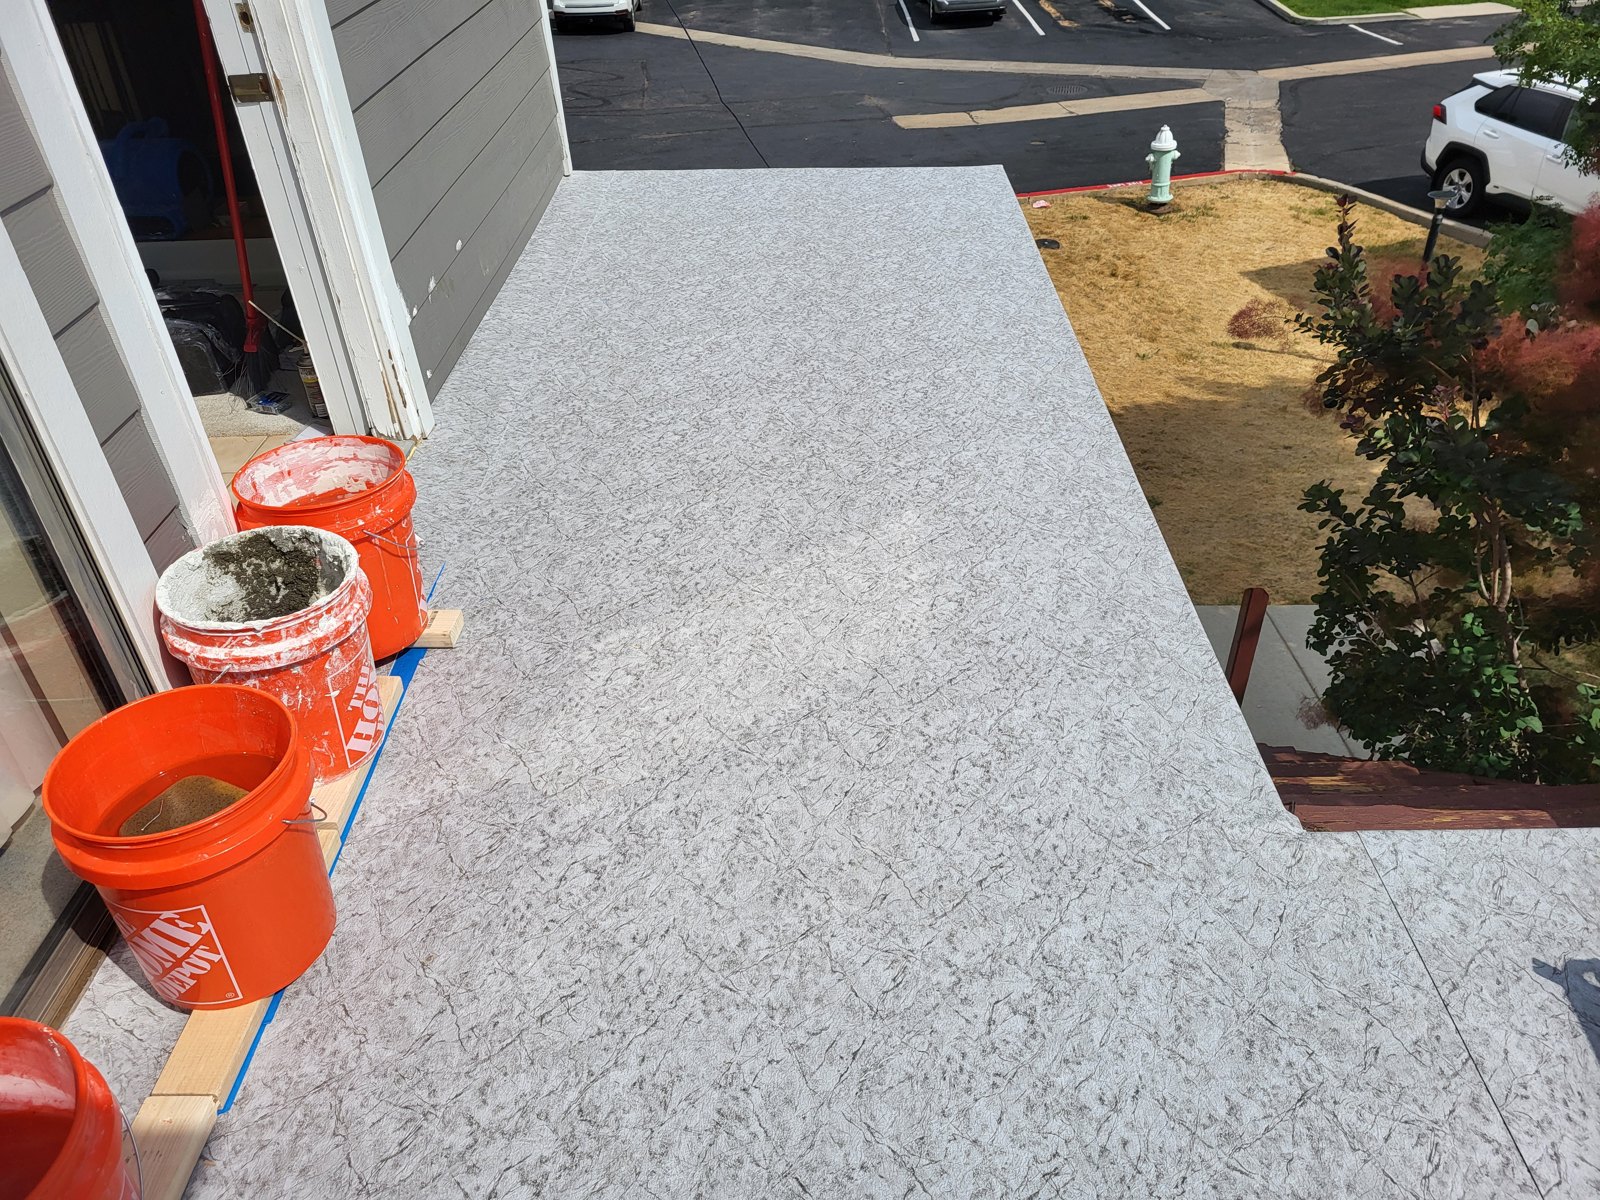
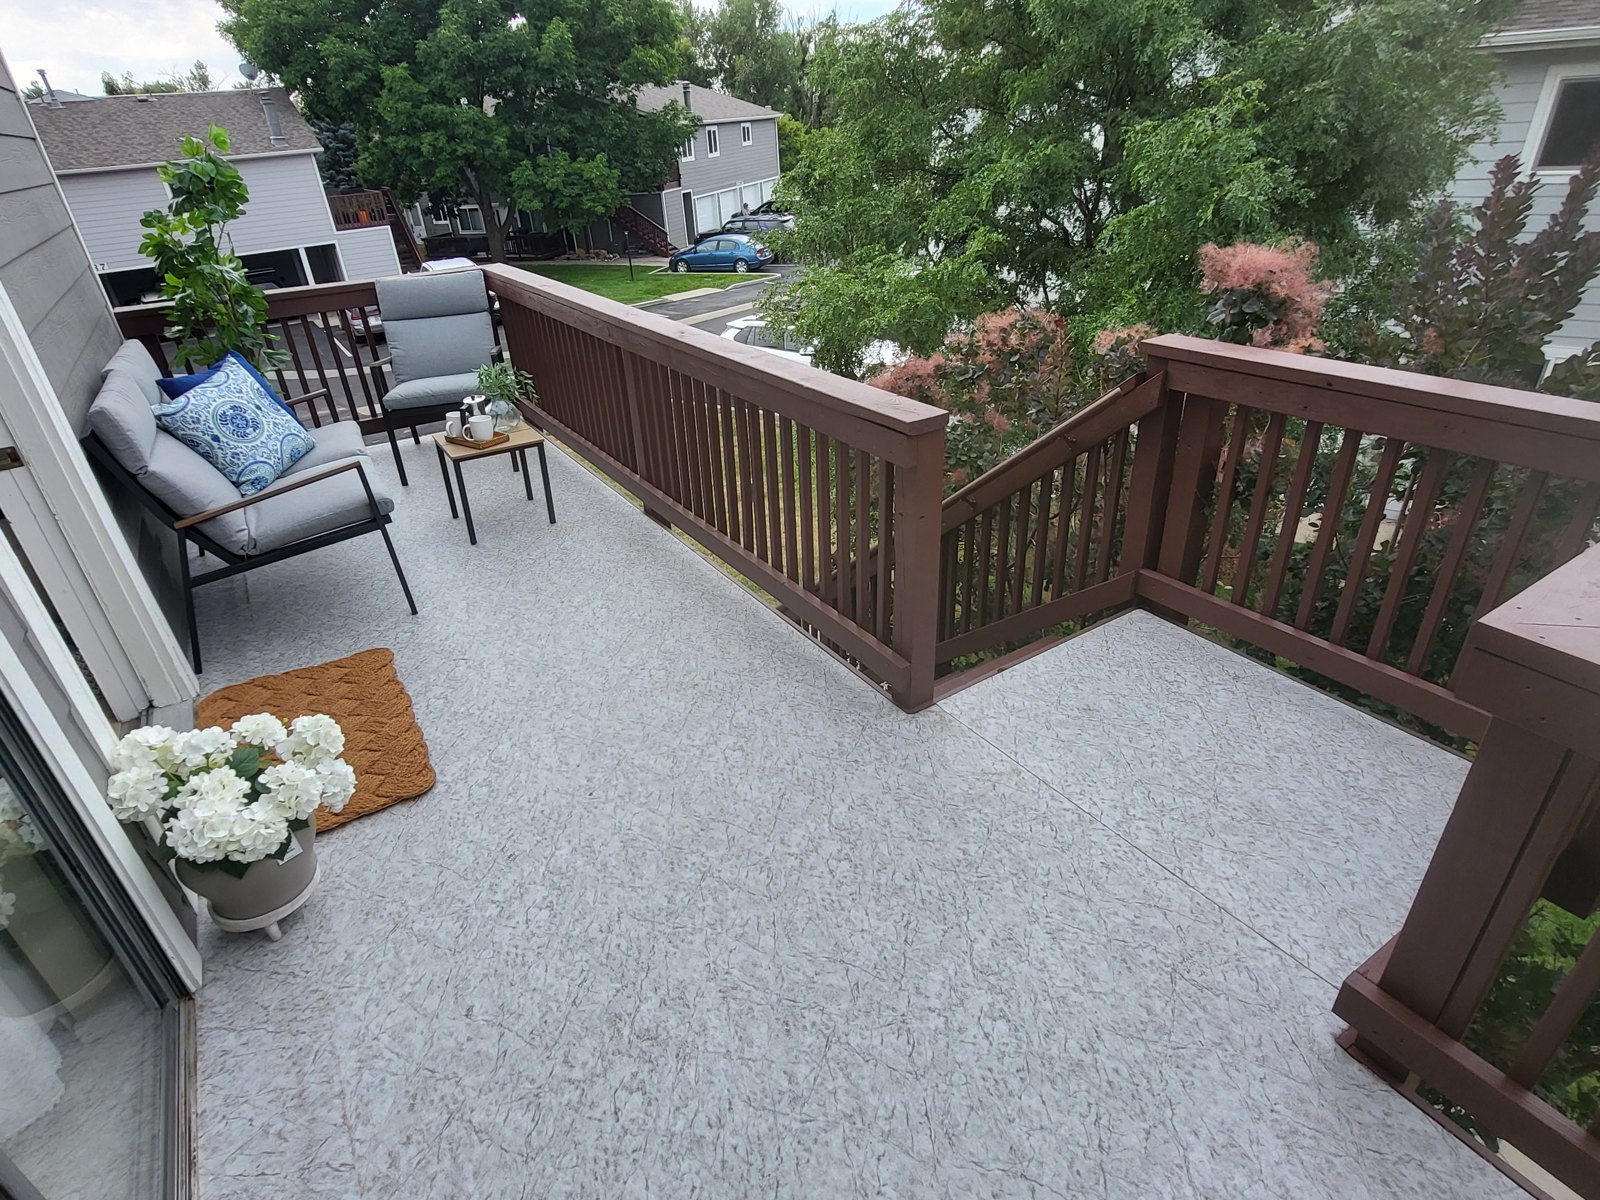
For this specialty project, Transcendent used a waterproof vinyl product sourced from Canada over a plywood deck surface. The sequence shows the exposed surface, installation underway and the completed surface with seating. This is a different approach from conventional deck boards.
Before01
Starting condition: exposed surface
During02
During: surface work underway
After03
Later view: surface and seating
From the exposed deck surface to the finished vinyl covering.
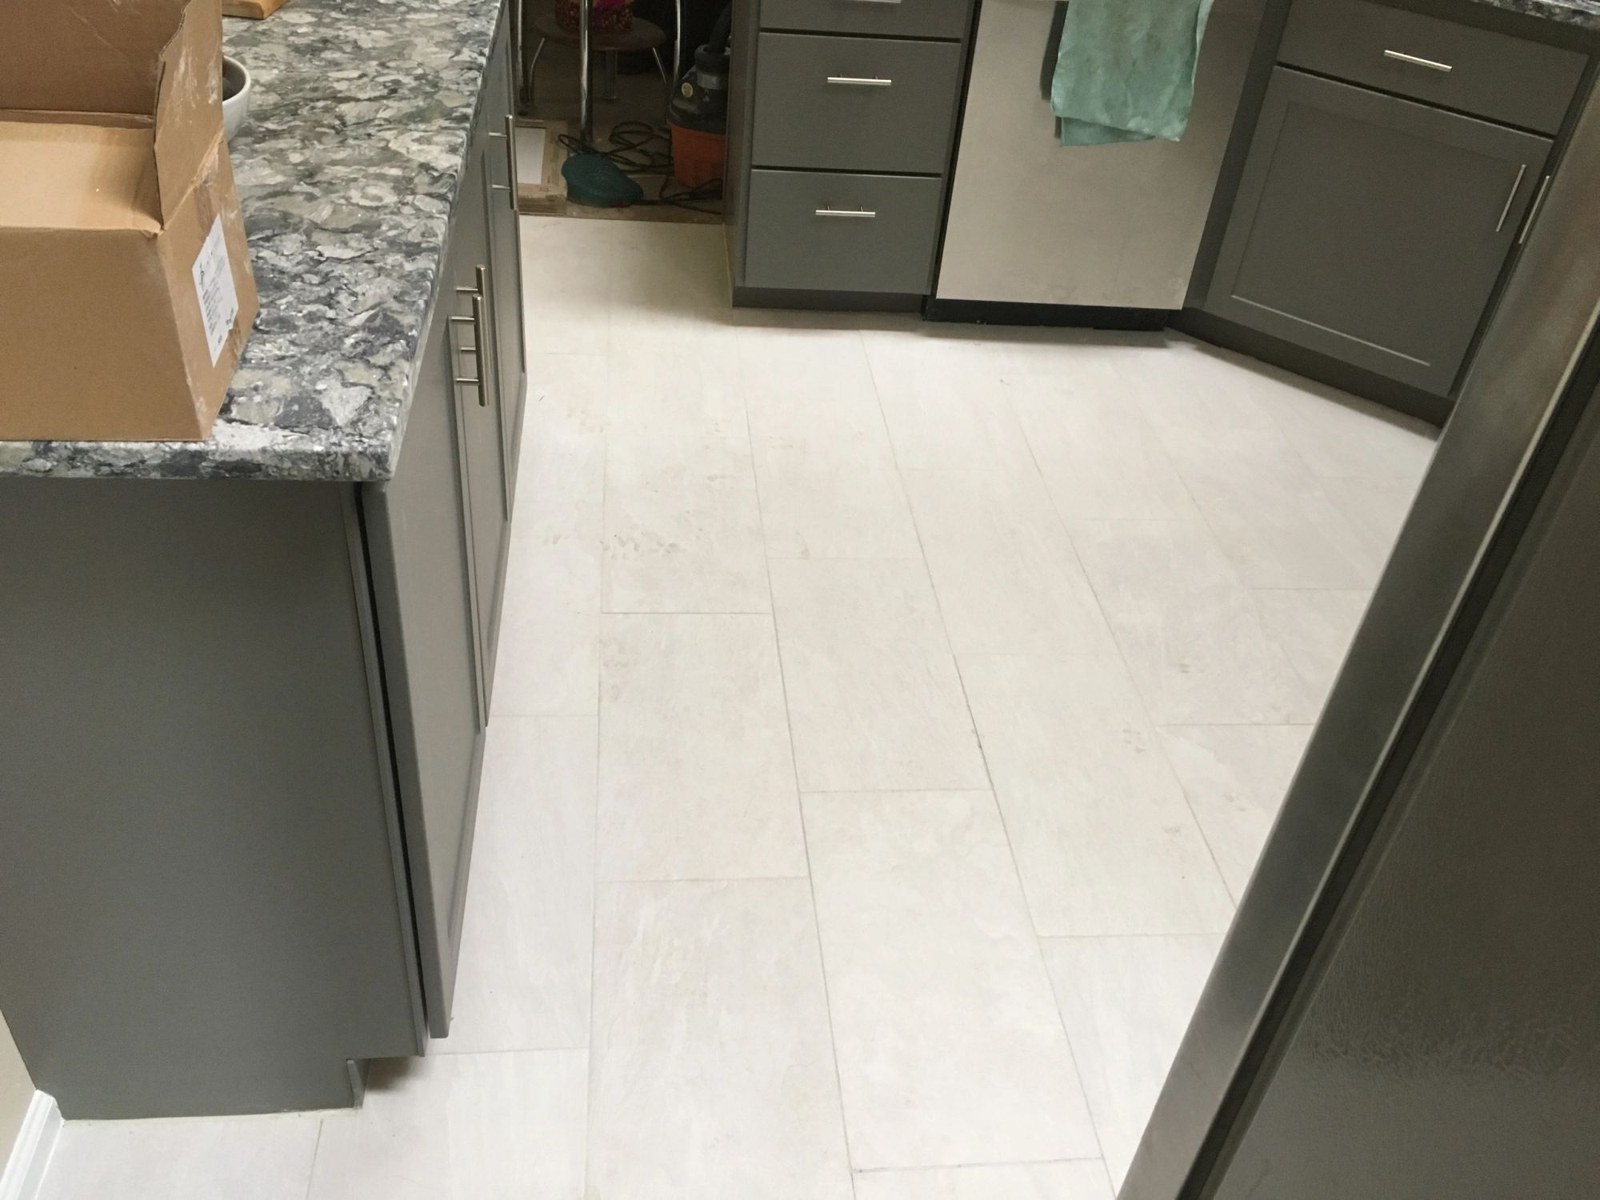
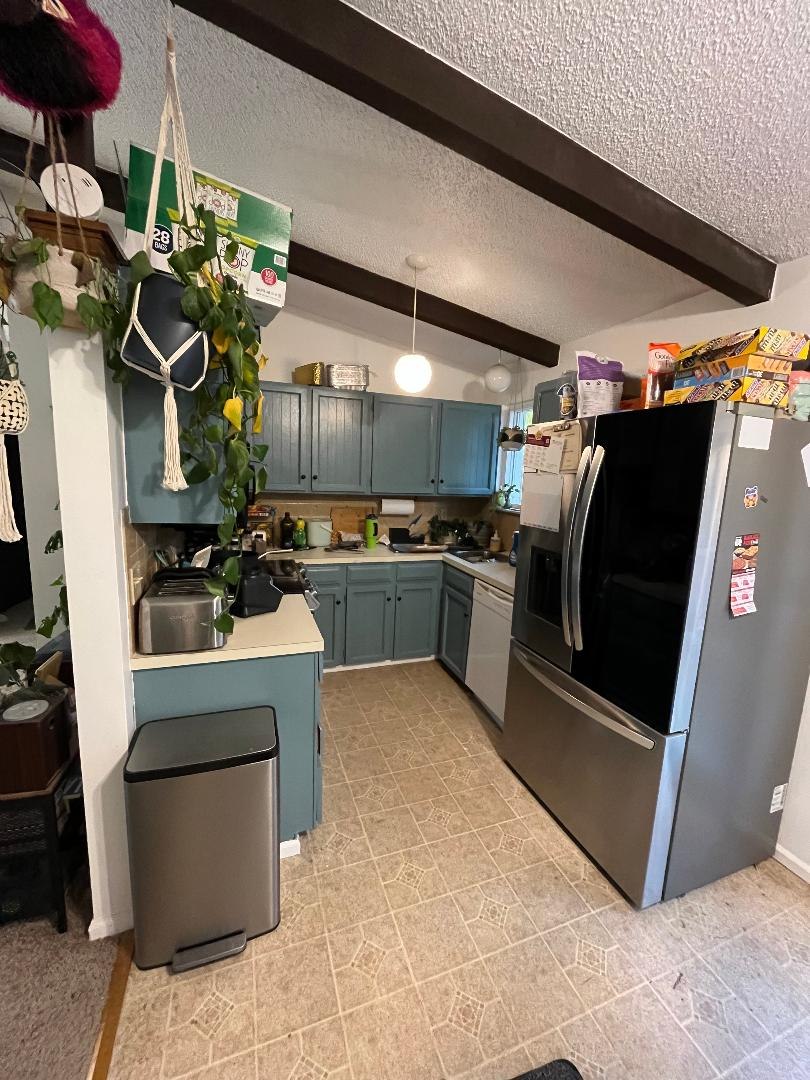
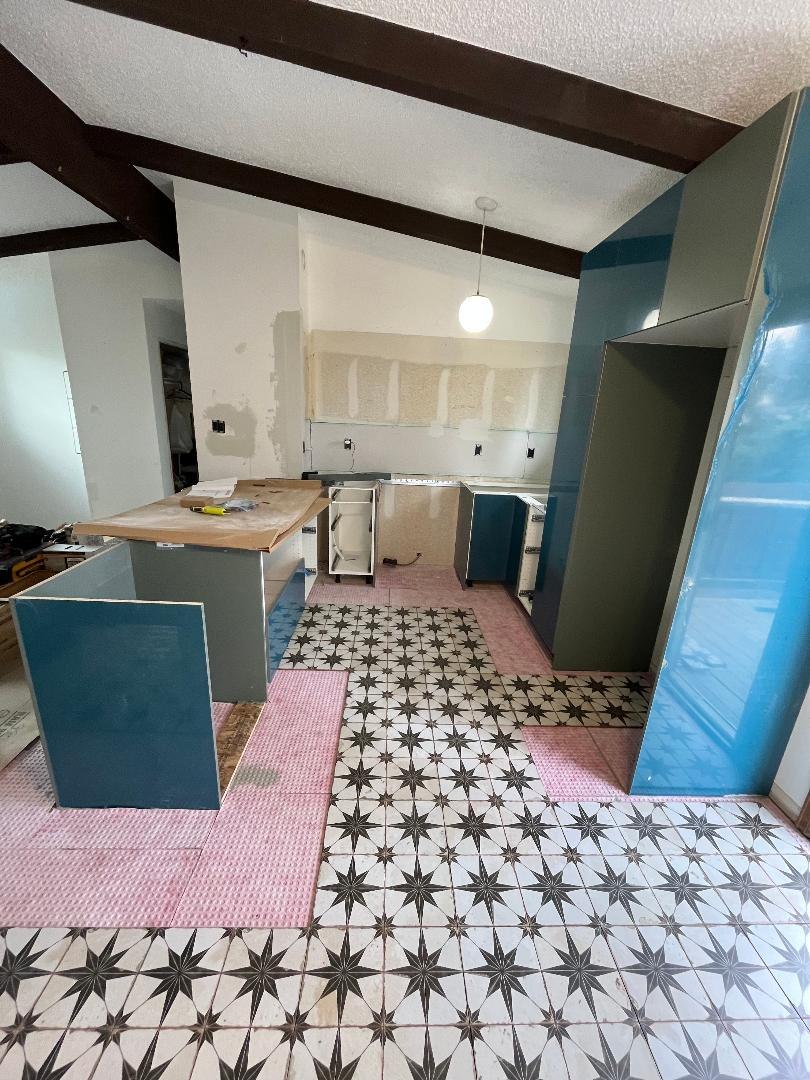
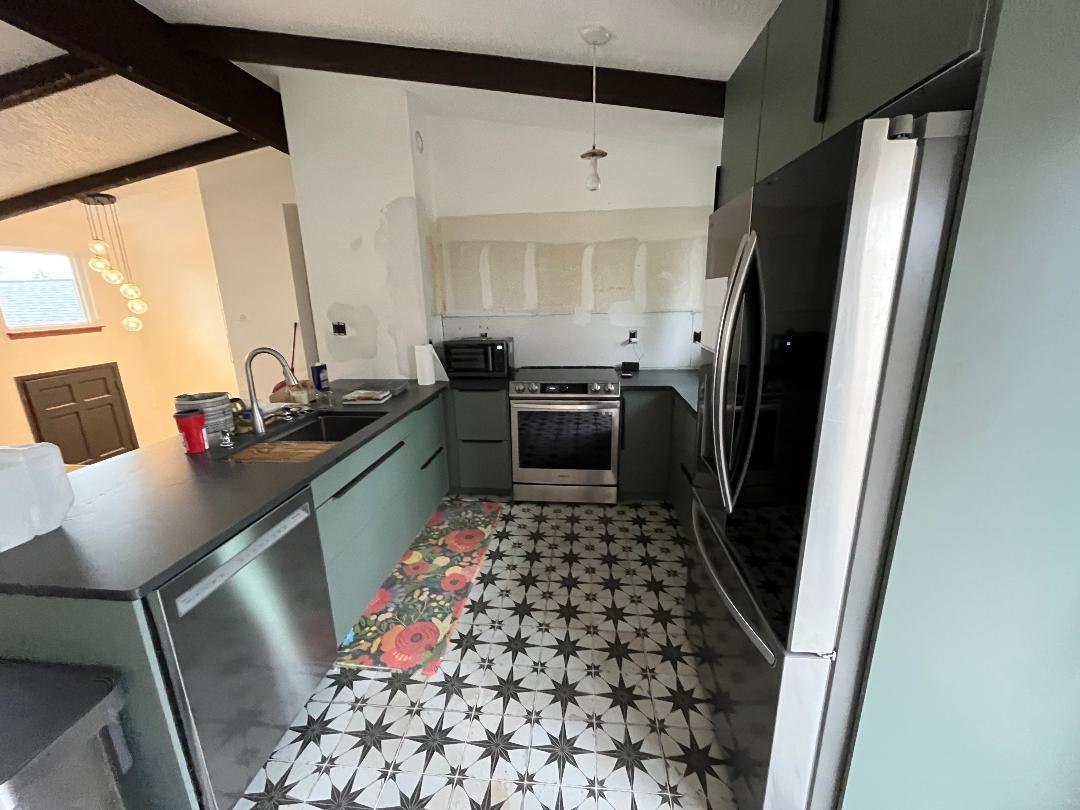
A bold patterned floor changes the feel of this kitchen. Follow the installation through to the later cabinet and appliance view—the walls are still unfinished in that photograph.
Before01
Before: wider kitchen view with original floor, cabinets and refrigerator
During02
During: floor installation
Later progress03
Later progress: walls unfinished
A kitchen in progress, with wall finishes still underway in the last view.
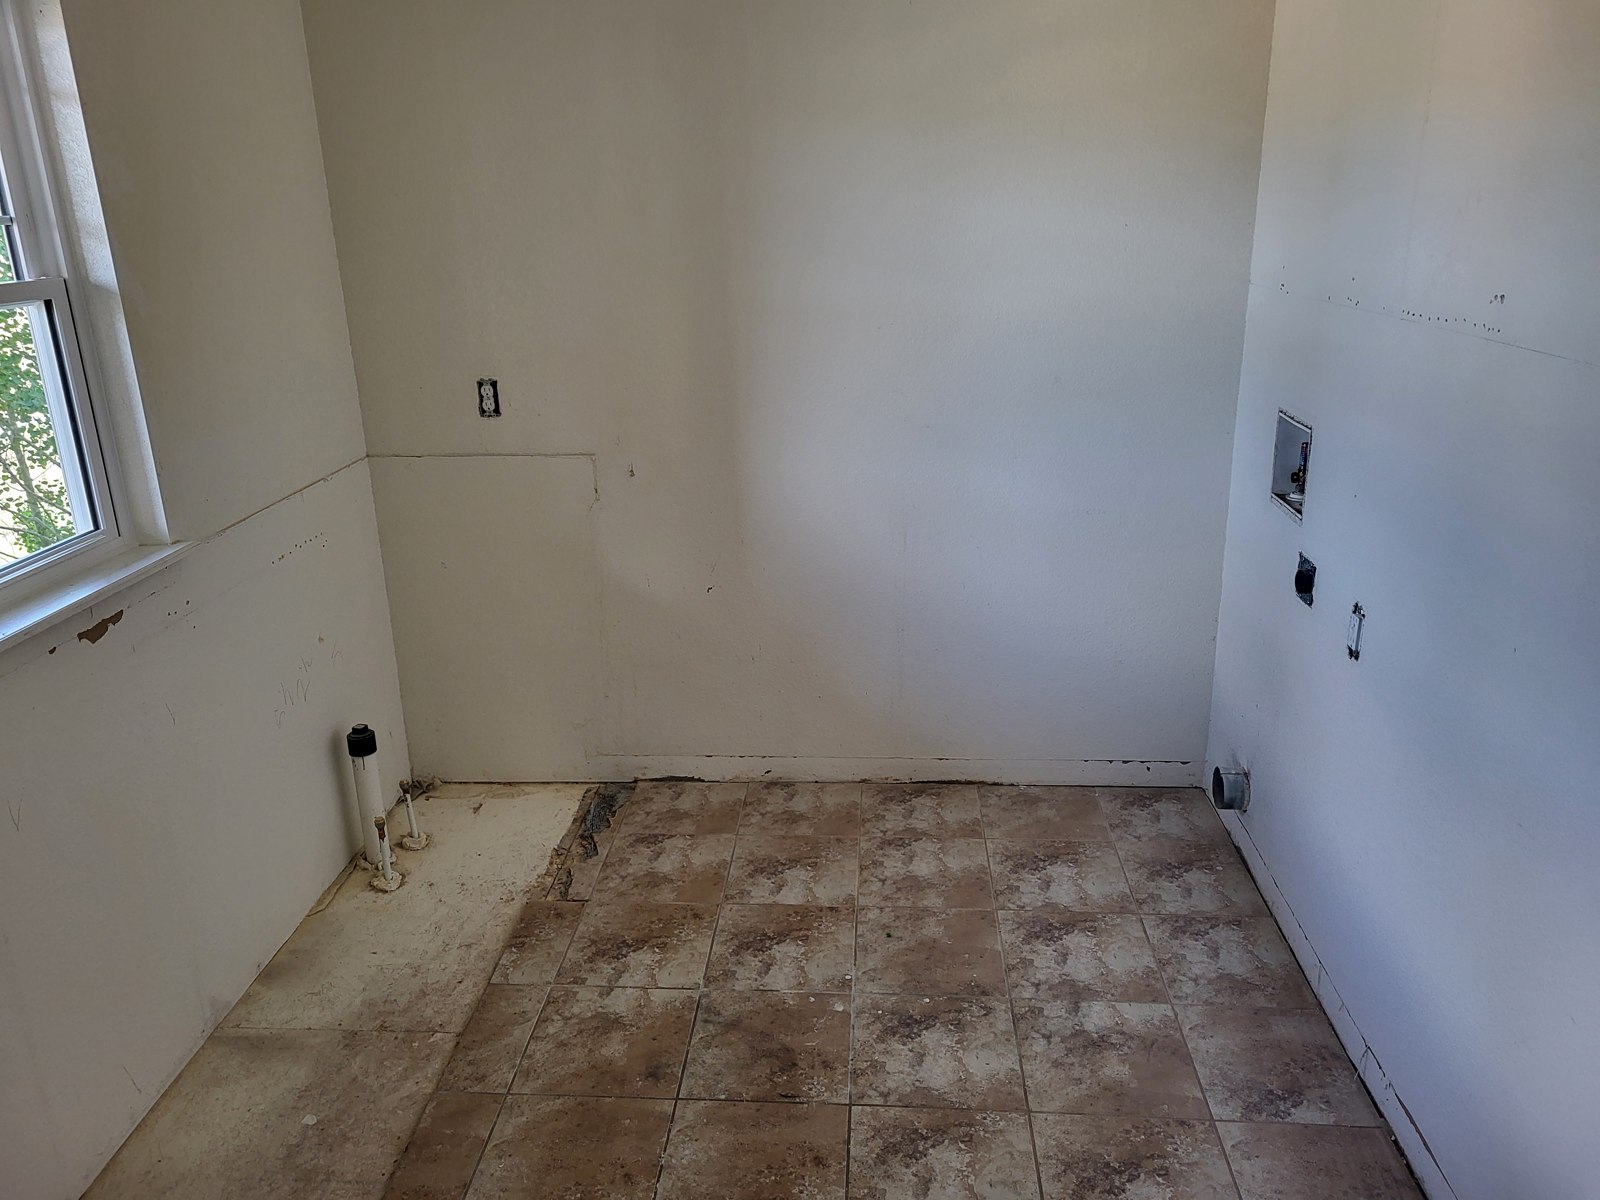
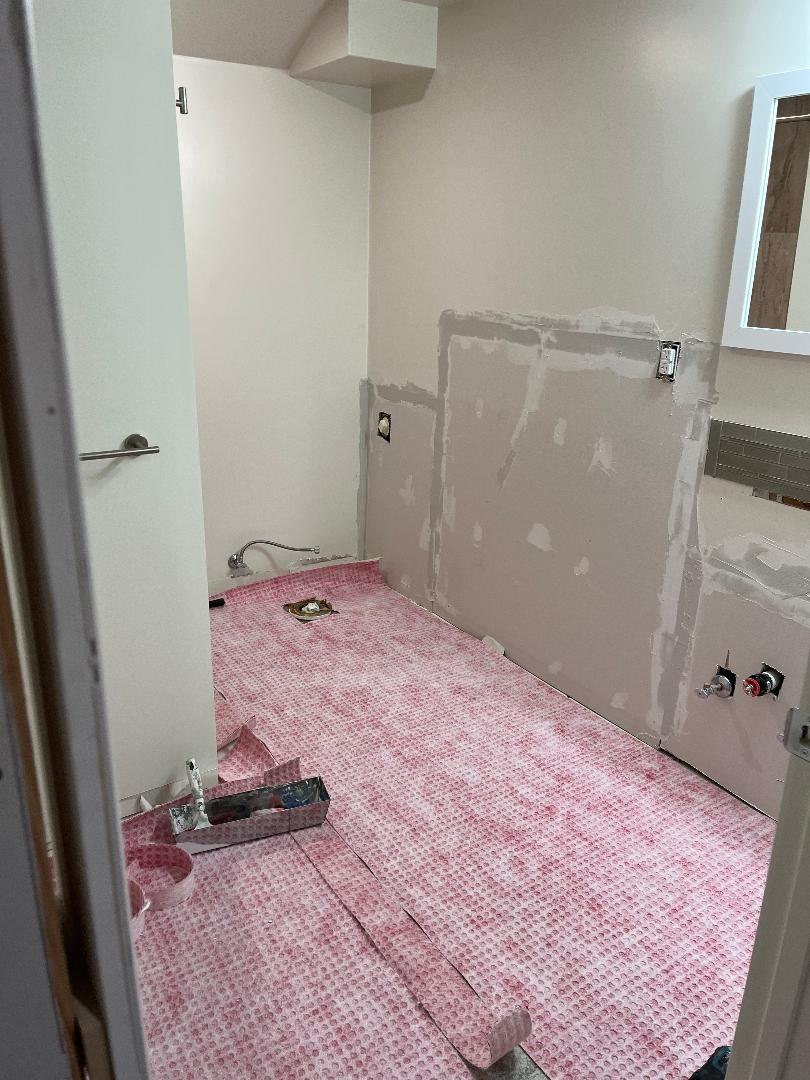
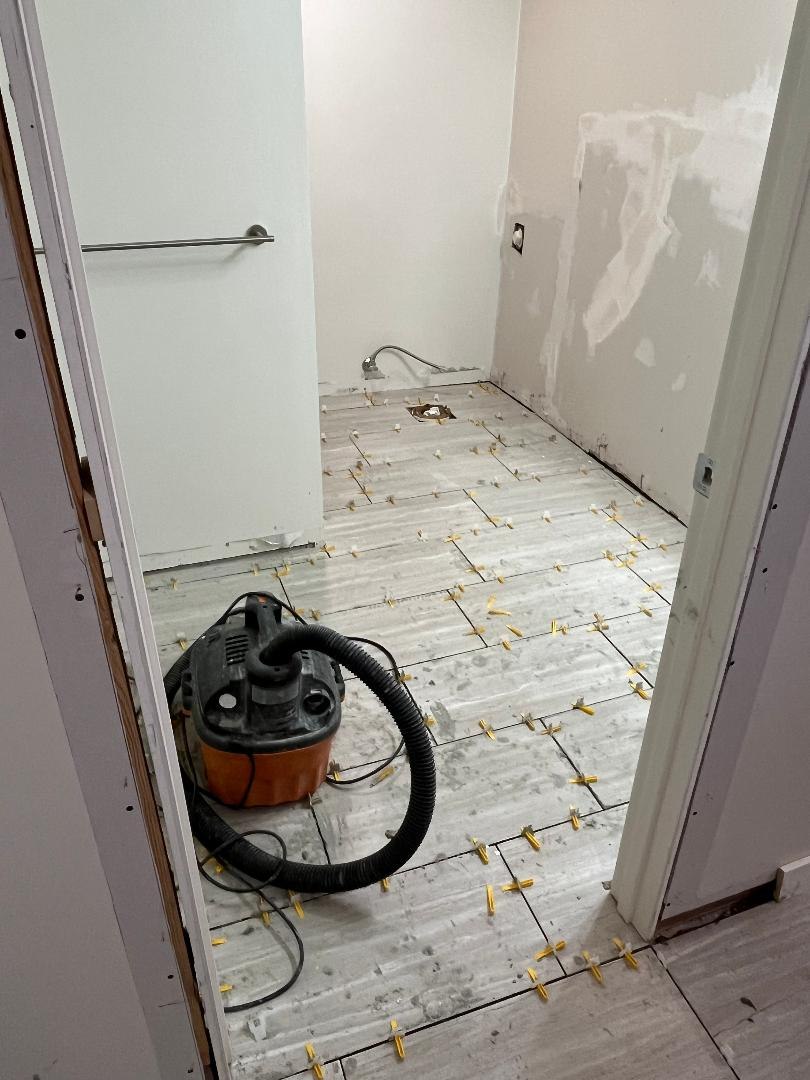
Look beneath the finished room: floor preparation, tile setting, and a later view with the vanity and fixtures in place. Similar viewpoints make the change easier to follow.
During01
During: floor preparation
During02
During: tile installation
Later view03
Later view: fixtures installed
Floor preparation, tile installation, and the finished room.
Patterned wallpaper, pale paneling, and a deep green ceiling give this small room a distinct personality. Explore the room view and the details around the vanity and window.
Room view01
Room view
Vanity-side detail02
Vanity-side detail
Wallpaper and paneling detail03
Wallpaper and paneling detail
Three views of the wallpaper and paneling details.
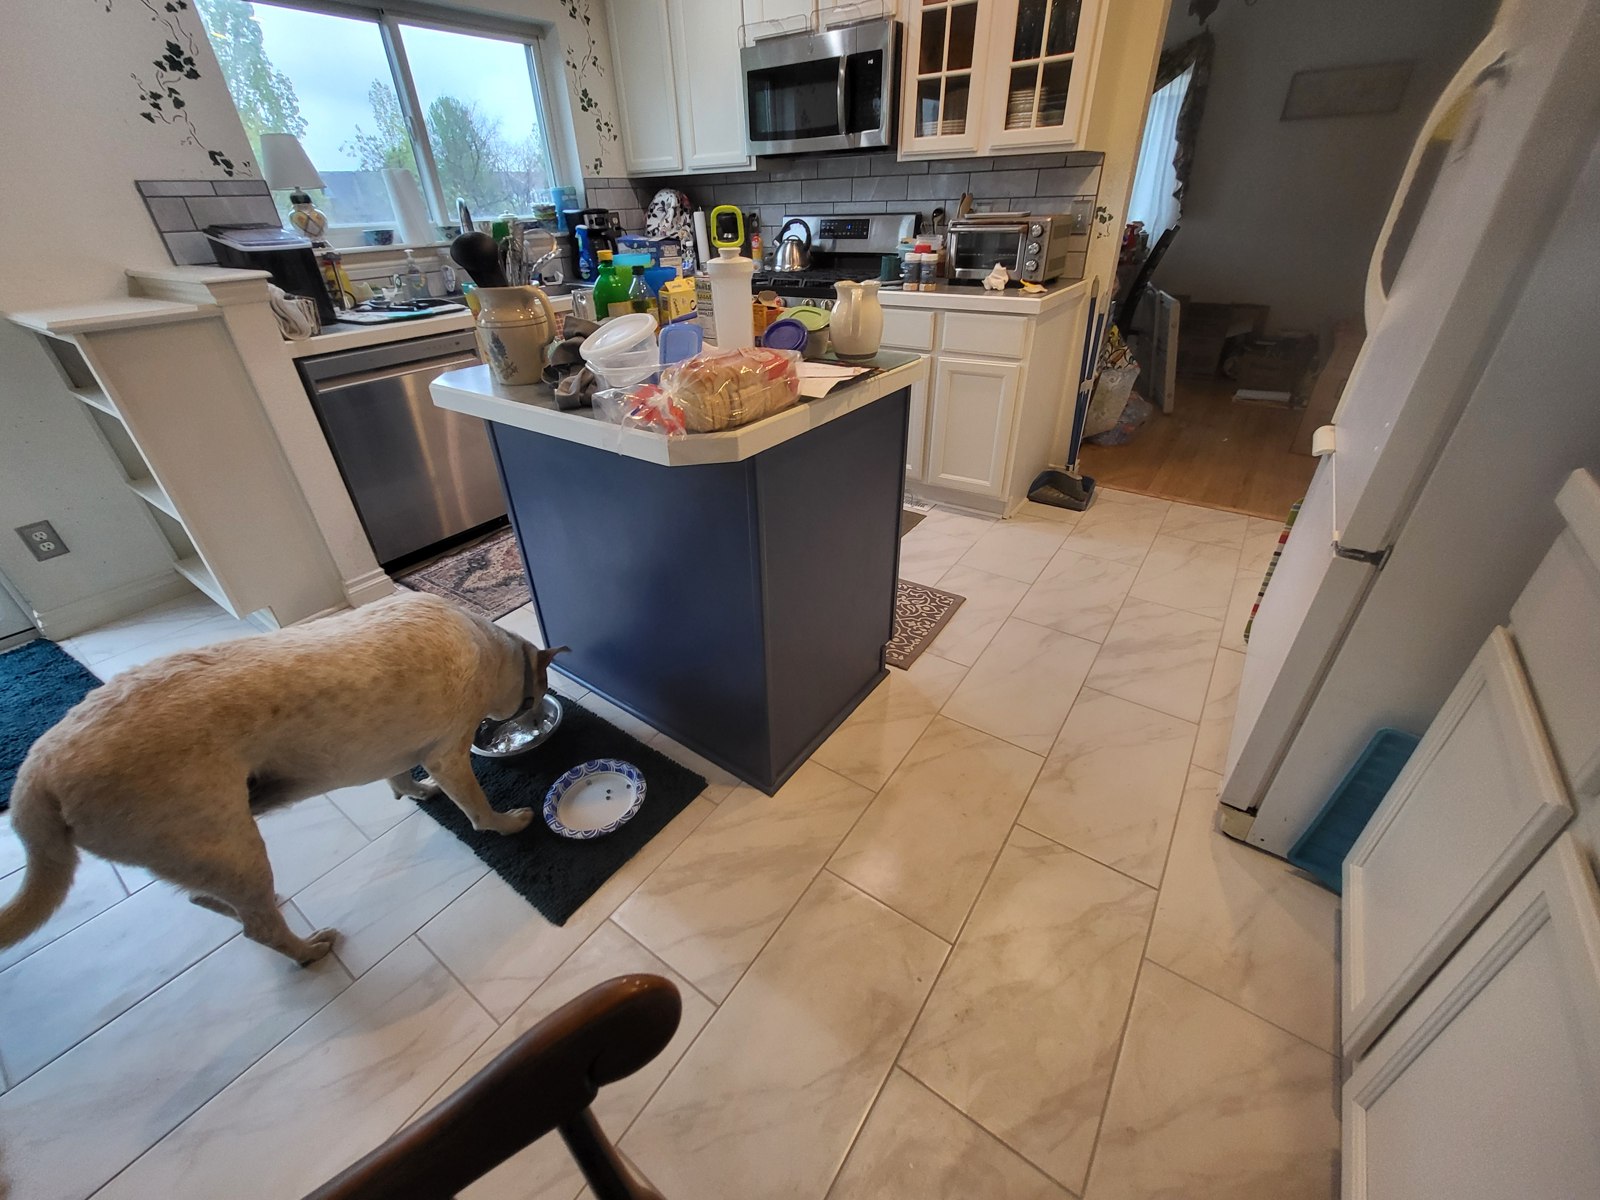
Painted cabinets, a blue island, and a new tile floor
We painted the kitchen cabinets, doors, and drawers, installed a tile floor, and added a backsplash. Light cabinetry and a blue island give the room a fresh look.
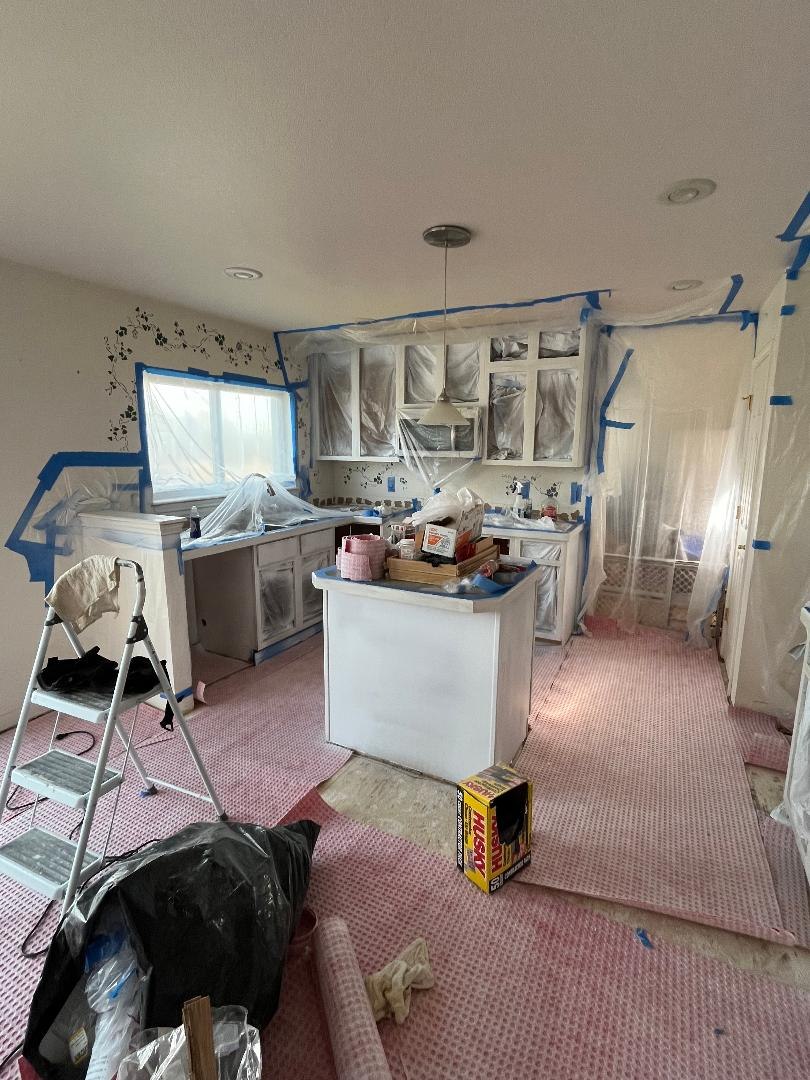
Follow the work from cabinet preparation and masking to the finished kitchen, with the doors and drawers back in place.
Early work01
Early work: doors removed and surfaces exposed
During02
During: cabinet coating and masking
Finished03
Finished: painted cabinets, blue island, tile floor and backsplash
Cabinet preparation and masking, followed by the finished kitchen.
Explore more rooms and details, from tile and cabinetry to flooring and finish work.
Project study / 09
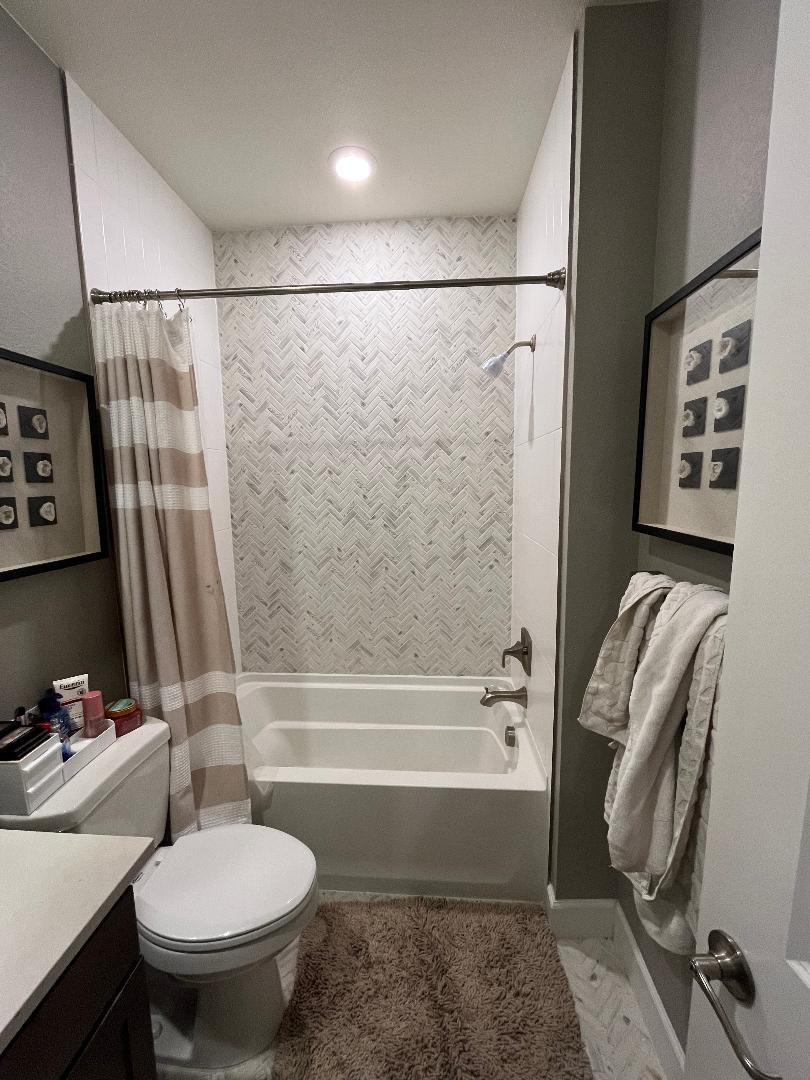
A dark herringbone wall changes a compact bathroom
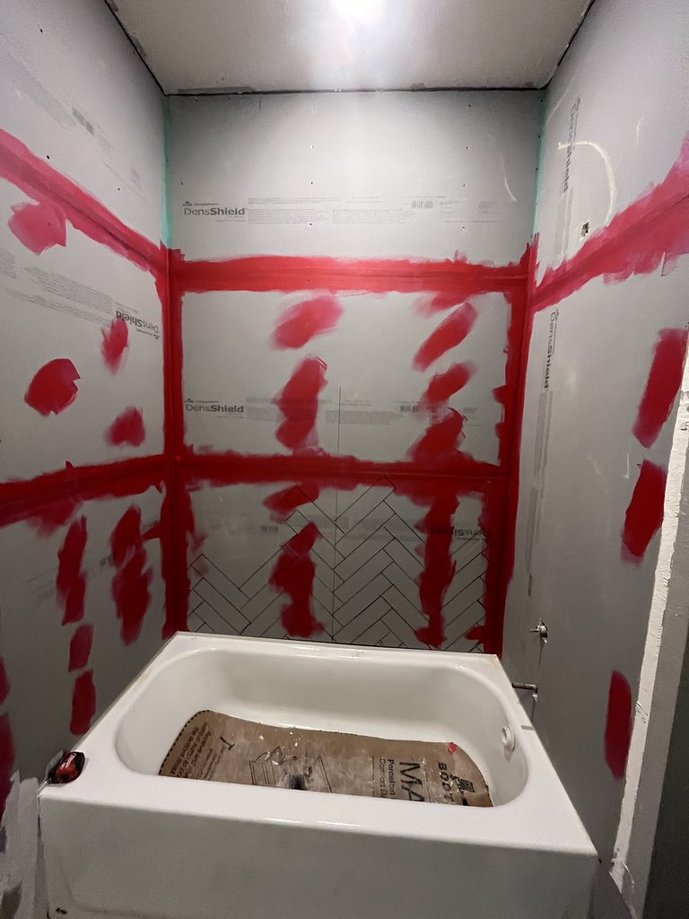
The original tub wall in this bathroom already had a pale herringbone pattern. In the finished room, a dark version of that pattern draws the eye from the doorway, framed by light side walls and a patterned floor. Our project photographs show the change in the room and the work between those two views.
See the room before choosing the details
The finished design concentrates the deepest color on the wall behind the tub. Light rectangular tiles cover the side walls, and the bathroom floor combines light octagonal shapes with small dark accents. The doorway view shows how those patterns sit together in a compact space.
For a homeowner considering a similar look, that full-room view is useful. Compare a feature tile with the floor and the surrounding walls, as well as with the fixtures. A sample shows the color up close; a layout discussion helps you decide how much of the room that color will occupy.
Follow the work before the finished view
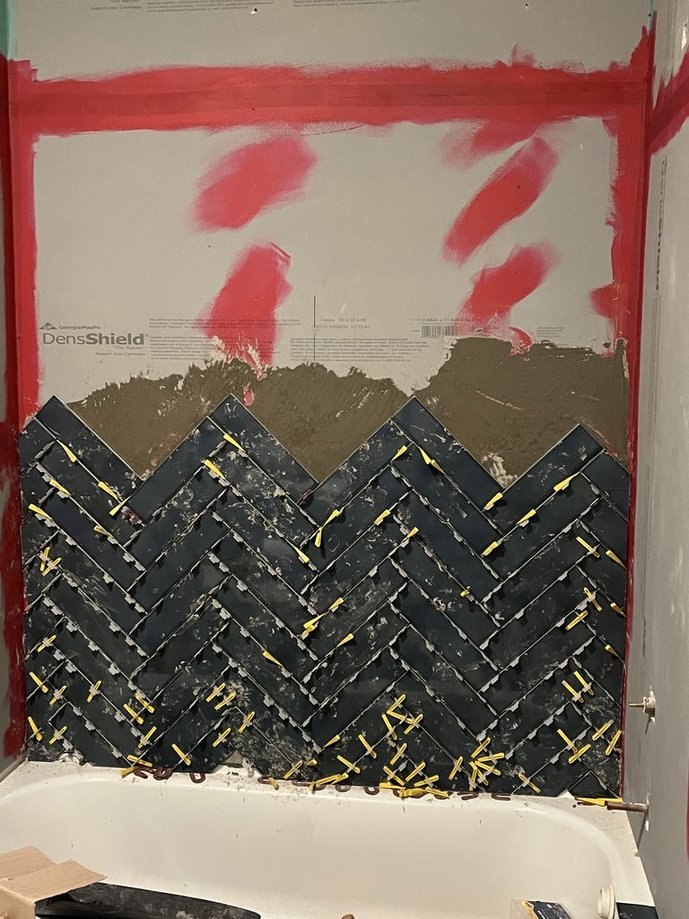
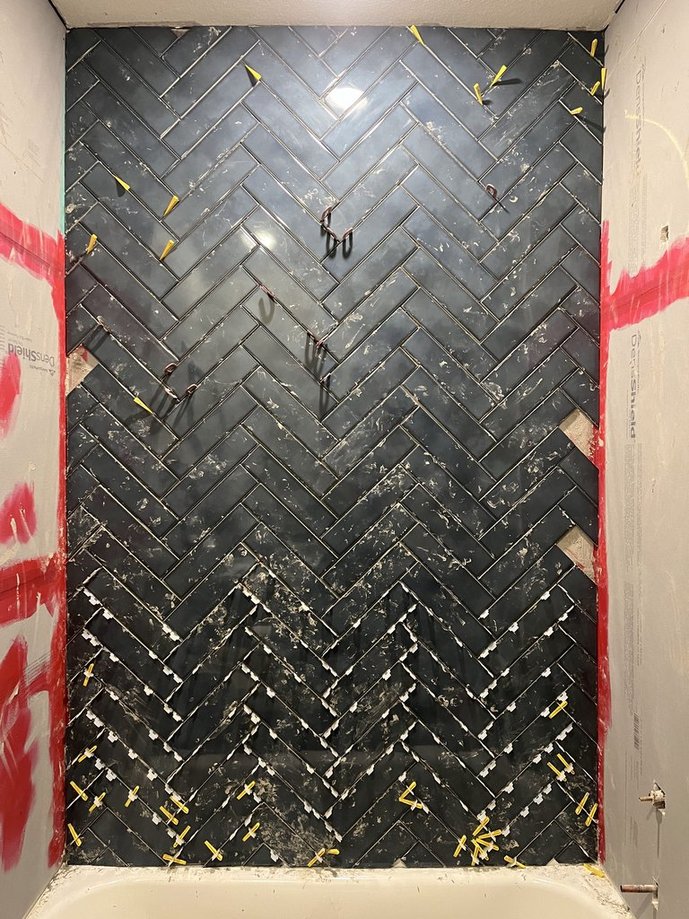
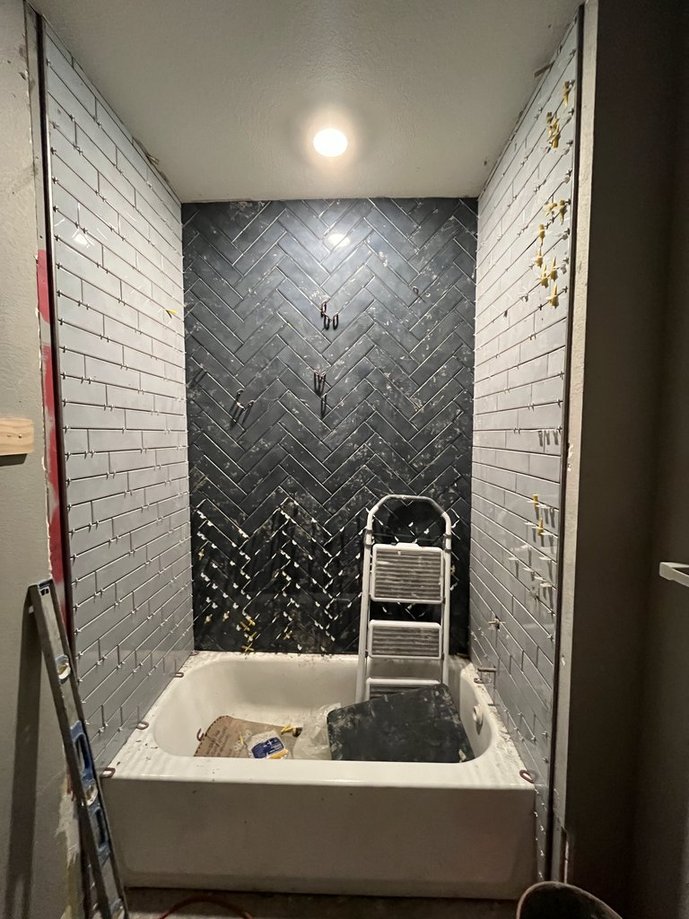
The preparation photo shows wall boards, treated seams and the herringbone layout marked on the lower wall. Later photographs show the dark tile partway up the tub wall, with spacers still in place. Wider progress views show the feature wall alongside the lighter side-wall tile. The finished photograph brings the wall pattern and floor into one view.
These stages are worth including in a bathroom conversation. Ask how the walls will be prepared, how the tile pattern will meet the corners and tub, and how exposed edges will be finished. With herringbone, look at the pattern across the whole wall so the cuts and boundaries are part of the plan.
Make the scope as clear as the tile choice
Before comparing proposals, identify the work around the tile: removal, wall preparation, the tub and fixtures, flooring, trim and any plumbing changes. Confirm what will stay, what will be replaced and who supplies each item. Also discuss bathroom access while the work is underway.
You can start that conversation with photographs of your current room and a short list of what you want to change. If this project caught your eye, tell us whether it is the dark feature wall, the tile pattern or the way the finishes work together.
Planning a bathroom in the Longmont area? Send your town, the changes you have in mind, and your rough budget and timing if known. Mention “Herringbone Bathroom” so we know which project you mean.
Original room, preparation, installation and finished view. Select any photograph to view the full image.
Before01
Original room with a pale herringbone tub wall, vanity and toilet.
Wall preparation02
Wall boards and treated seams around the tub, with the herringbone layout marked below.
Pattern underway03
Dark herringbone tile partway up the tub wall, with spacers still in place.
Installation progress04
Dark herringbone tile reaches the ceiling while the side walls remain exposed.
Side walls taking shape05
Light rectangular side-wall tile beside the dark feature wall during installation.
Finished room06
Finished bathroom with a dark herringbone tub wall, light side walls and patterned floor.
Project study / 10
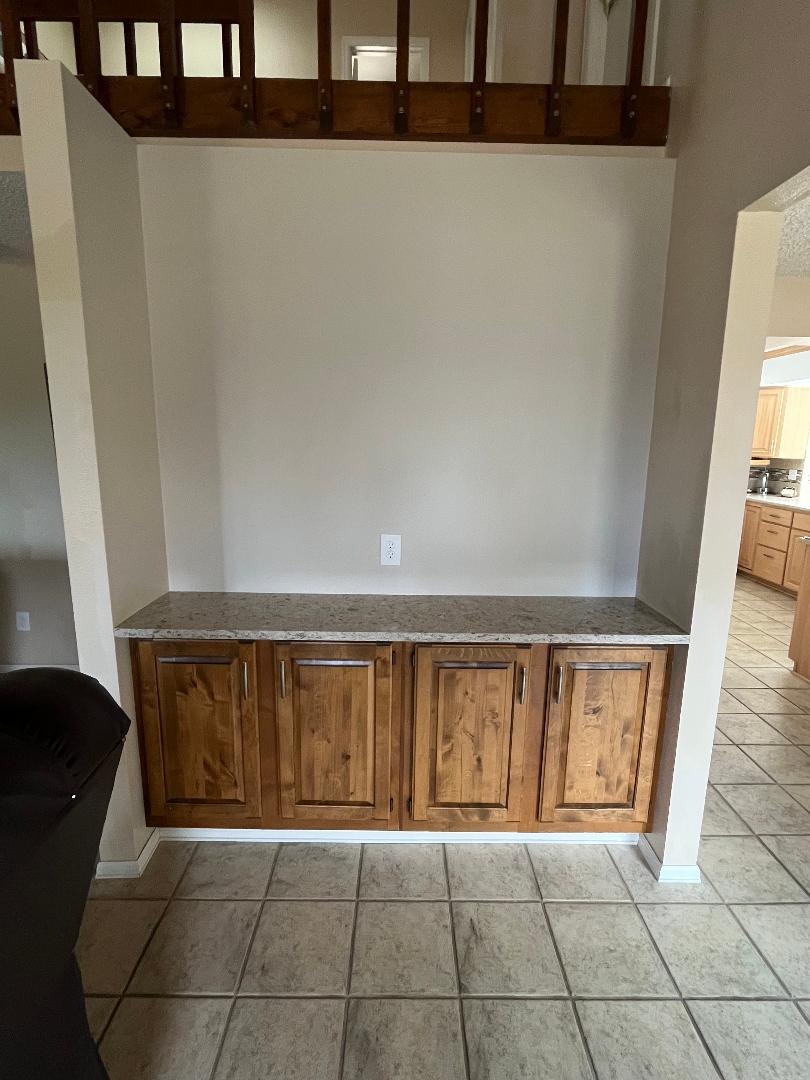
A brighter backdrop for built-in storage
The same cabinet bank and wall opening provide a clear comparison: the opening with shelves removed, followed by the finished shelves.
During01
Wall opening with shelves removed
Finished02
Light shelves above wood cabinetry
Shelving work underway, followed by the finished shelves.
Project study / 11
Warm flooring through connected rooms
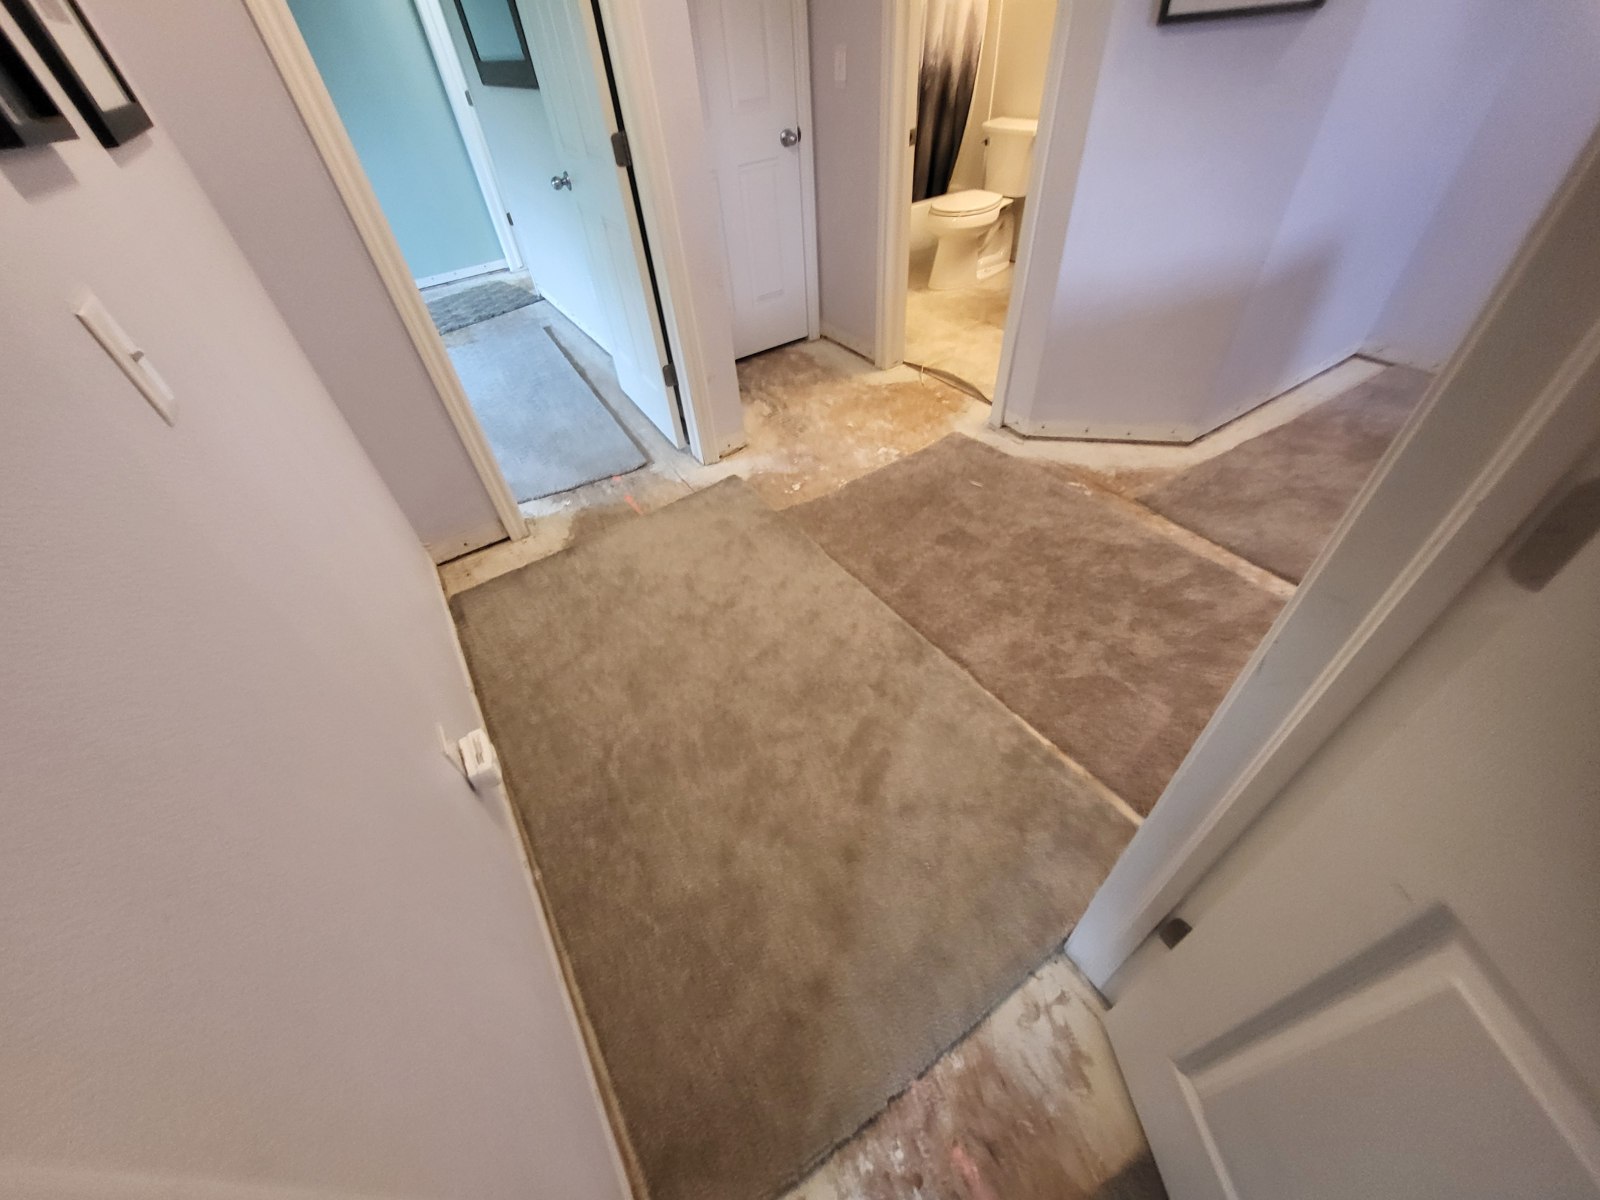
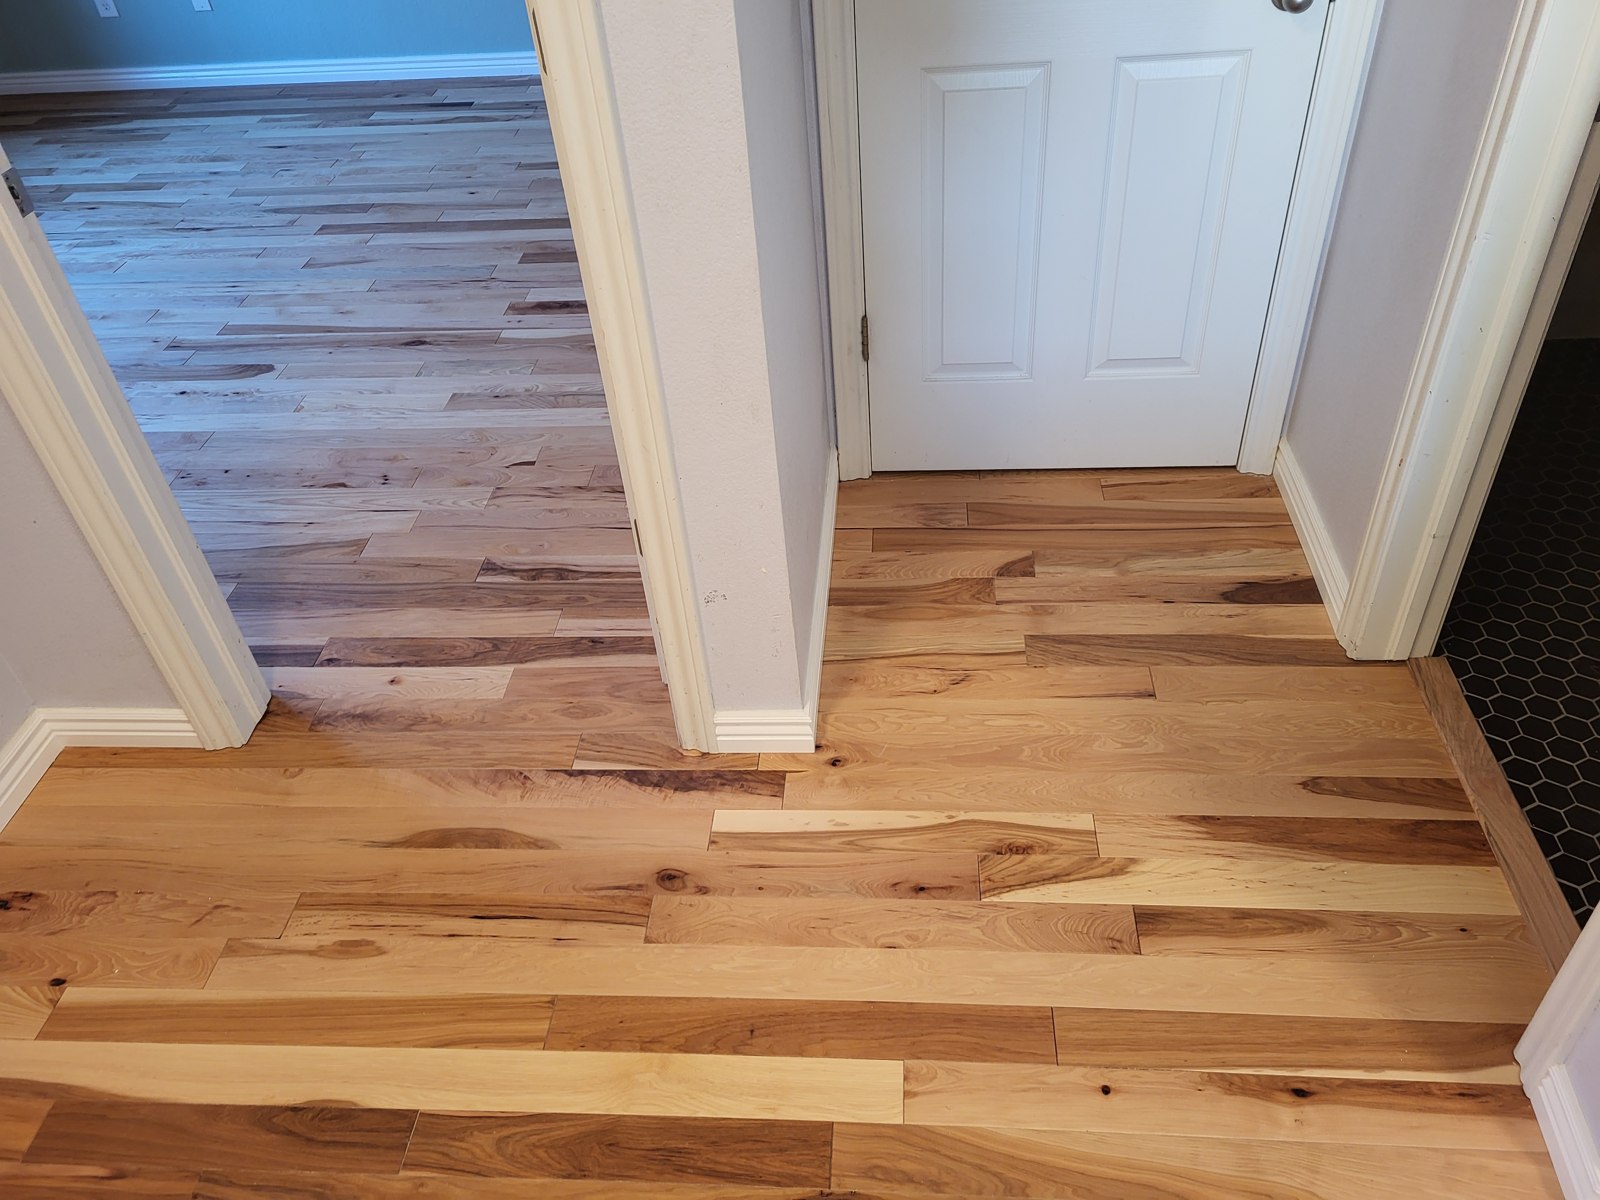
Follow the floor through the doorway and into the adjoining room. The preparation view and finished photographs show the change in surface and the transitions between spaces.
During01
Hallway floor preparation
Finished02
Wood flooring through connected doorways
Finished detail03
Finished floor in the adjoining room
Floor preparation followed by two views of the finished flooring.
Project study / 12
Prebuilt cabinetry with room for display
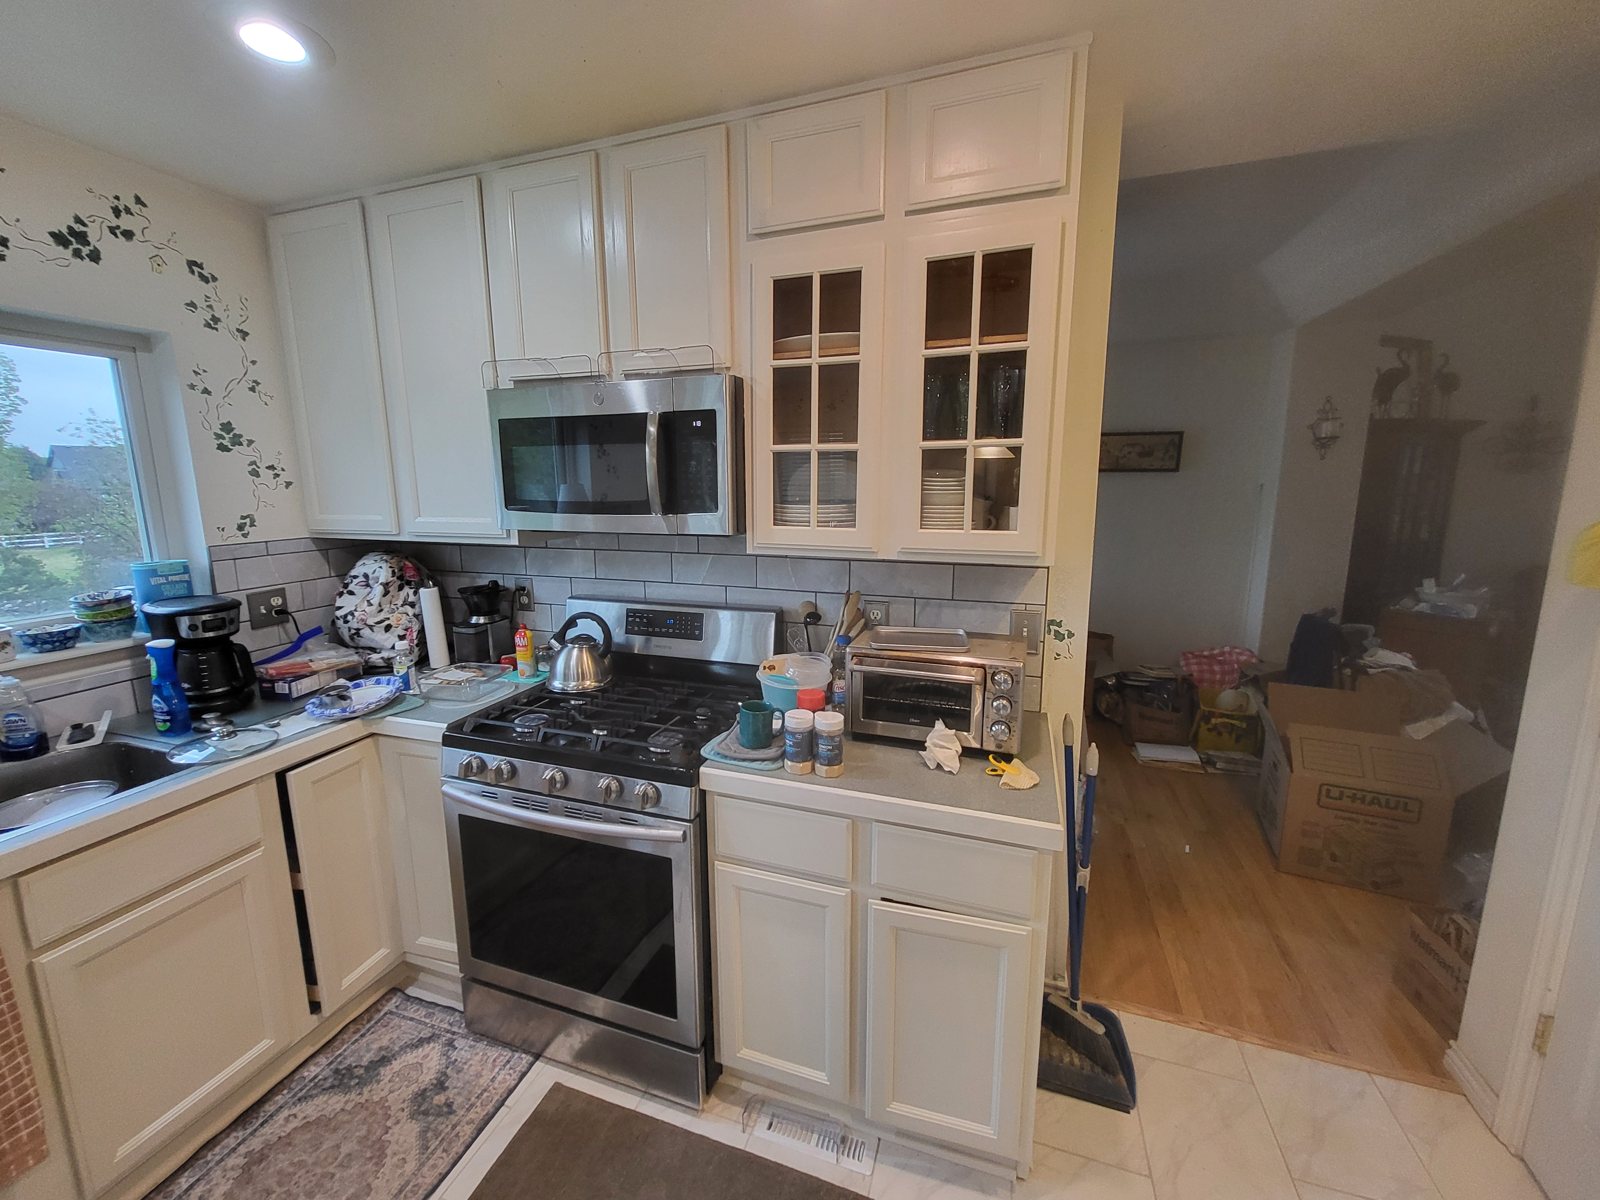
We installed prebuilt cabinetry in this kitchen. The range-side view shows the cabinet layout, while the opposite wall brings together glass-front storage and open shelves.
Compare the original bathroom with the finished room: patterned flooring and deeper wall color give the space a different character around the tub, shower, and vanity.
Before01
Original bathroom with pale tiled floor
Finished02
Finished room with patterned flooring
The original bathroom and its finished new look.
Project study / 14
From open framing to white tile
See how the tub area comes together, from exposed framing to tile installation and the finished surround. The half-height wall keeps the tub area connected to the rest of the room.
During preparation01
Tub with exposed wall framing
During installation02
White wall tile being installed
Finished03
Finished white-tile tub surround
Open framing, tile installation, and the finished tub surround.
Project feature / 15
A coordinated bathroom and laundry space
White wall tile, dark cabinetry, and warm hardware bring the bathroom and adjacent laundry area together. Compare the original vanity corner with the finished bathroom, then look at the storage above the washer and dryer.
Before01
Original bathroom vanity and toilet corner
Finished bathroom02
Dark vanity and white wall tile
Finished laundry03
Coordinated cabinets above the washer and dryer
The original bathroom corner, finished bathroom, and adjacent laundry area.
Project feature / 16
A closer look at an elevated deck
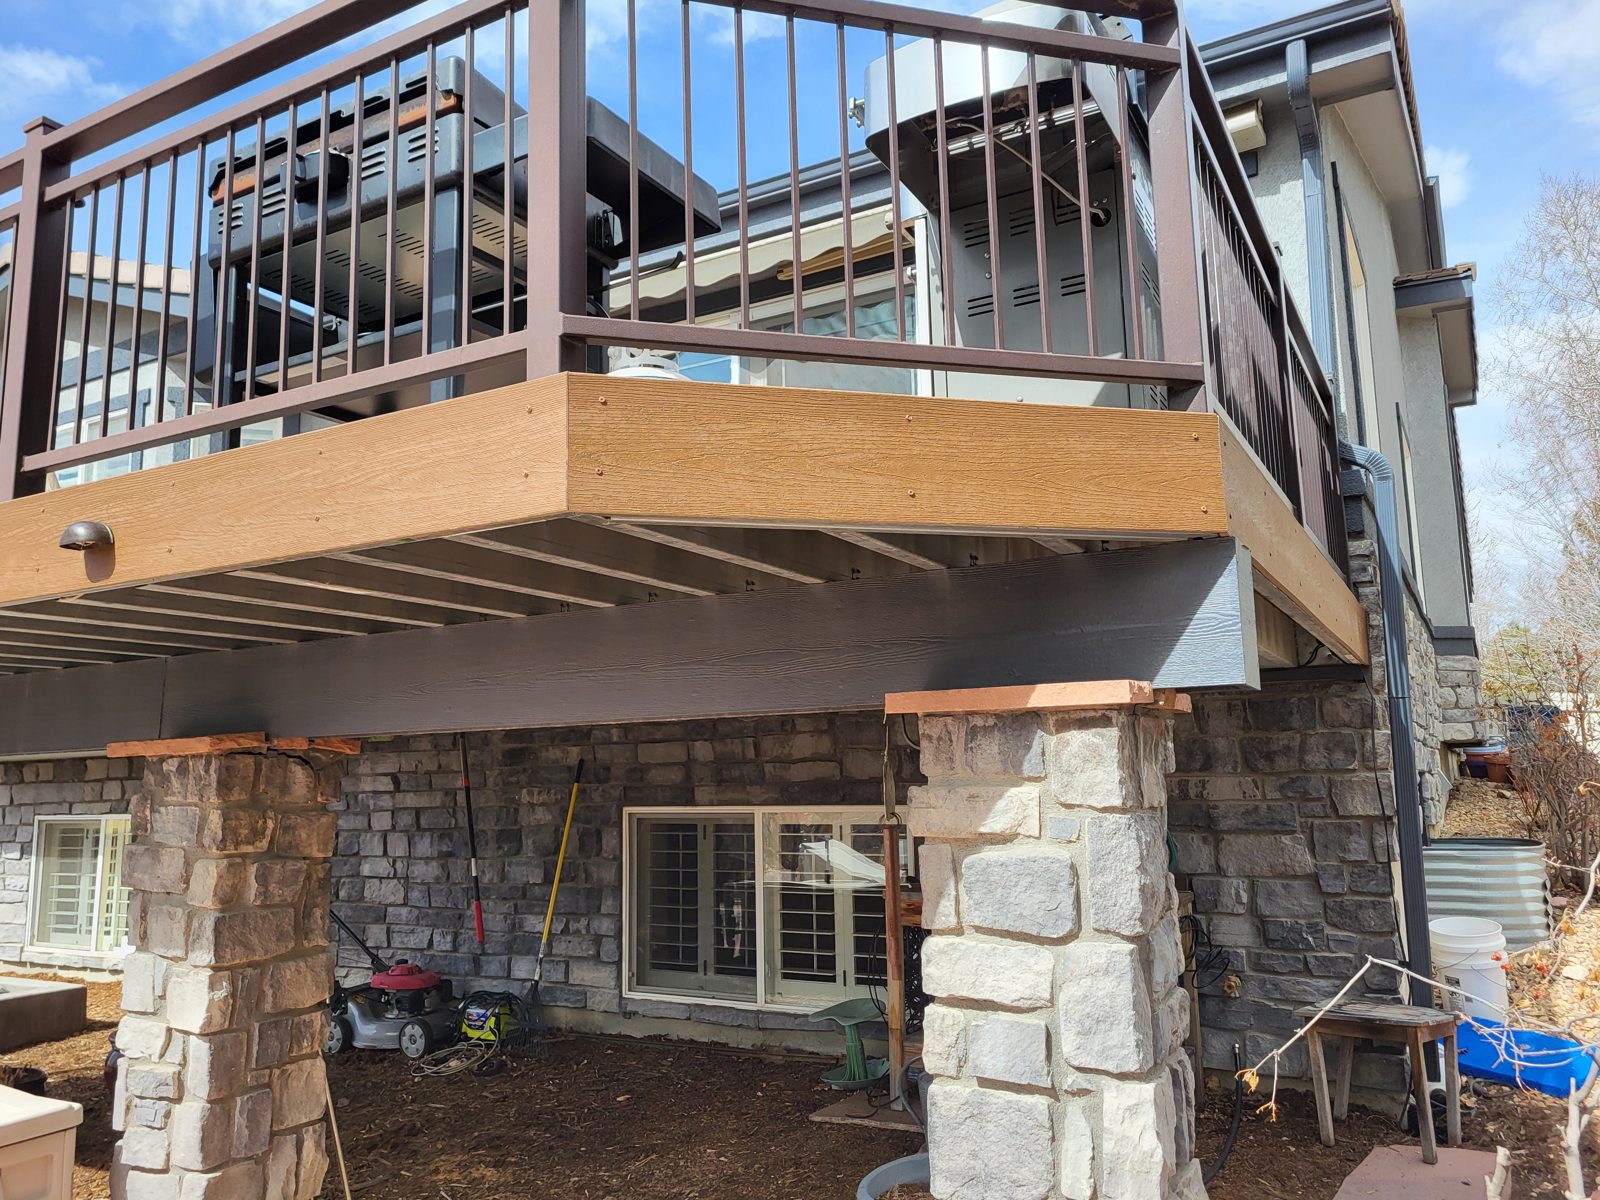
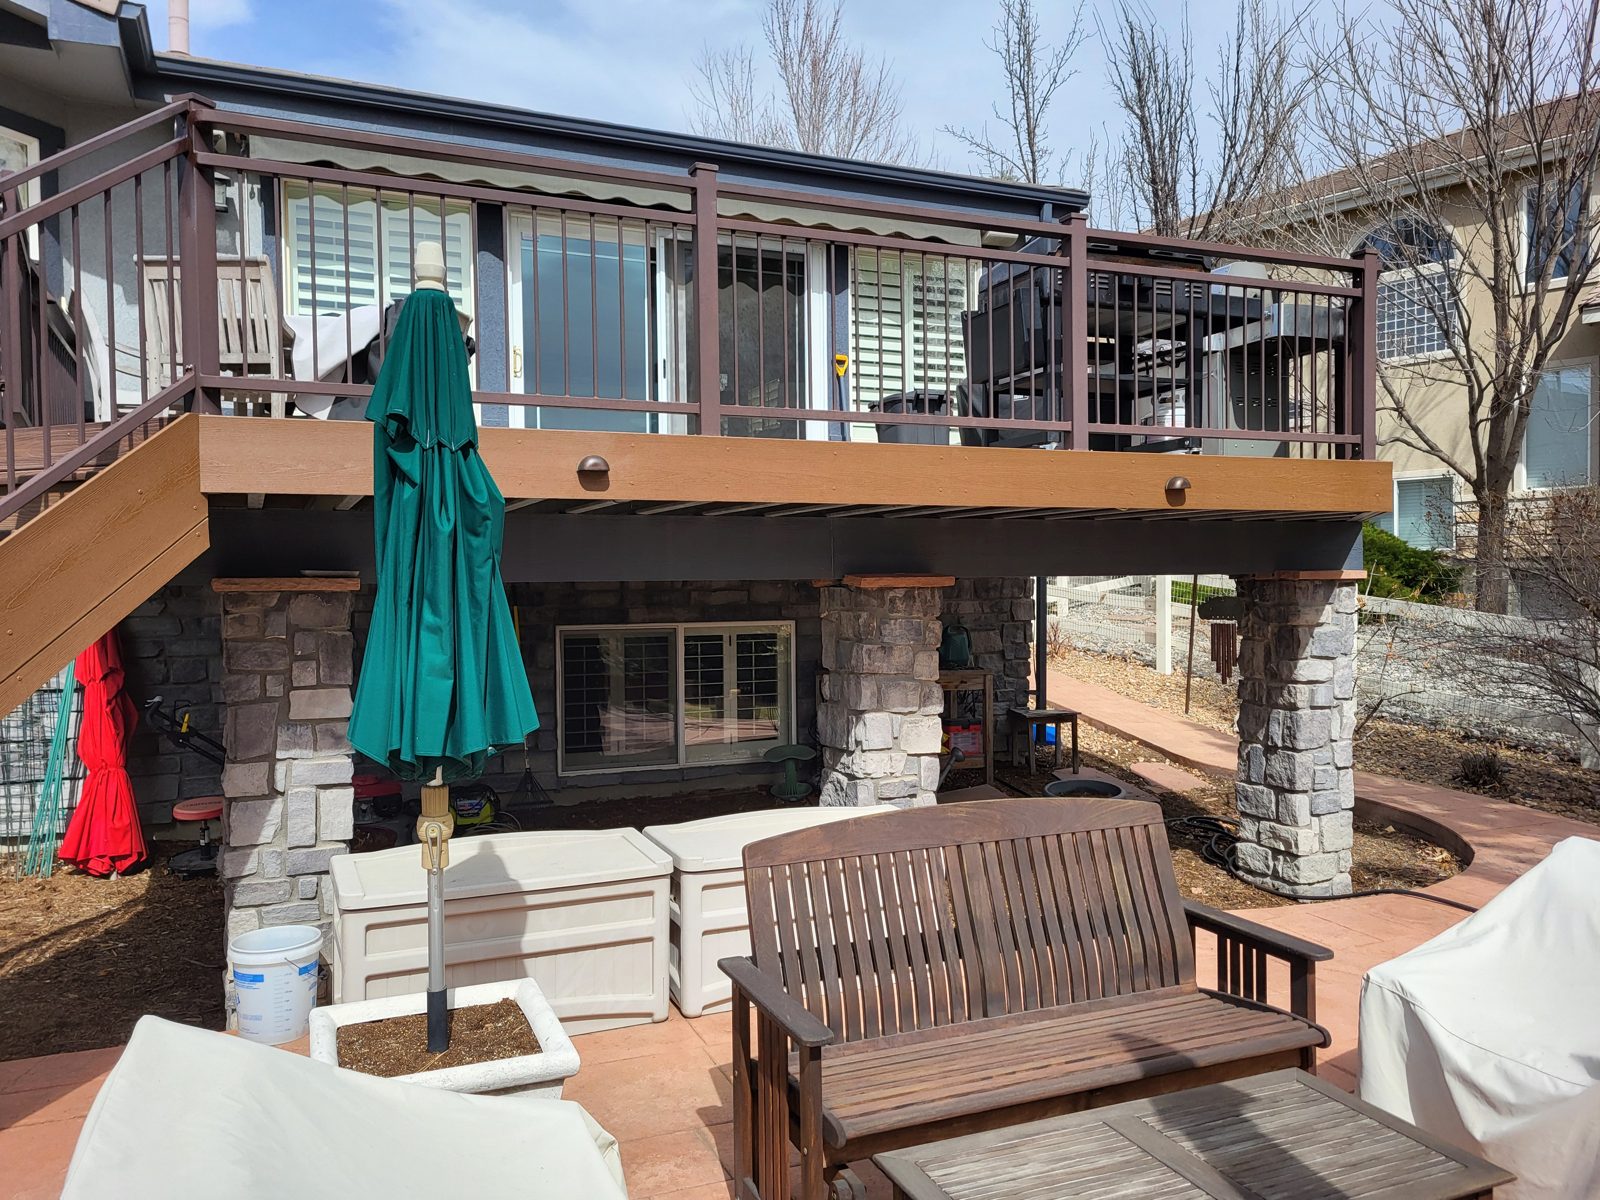
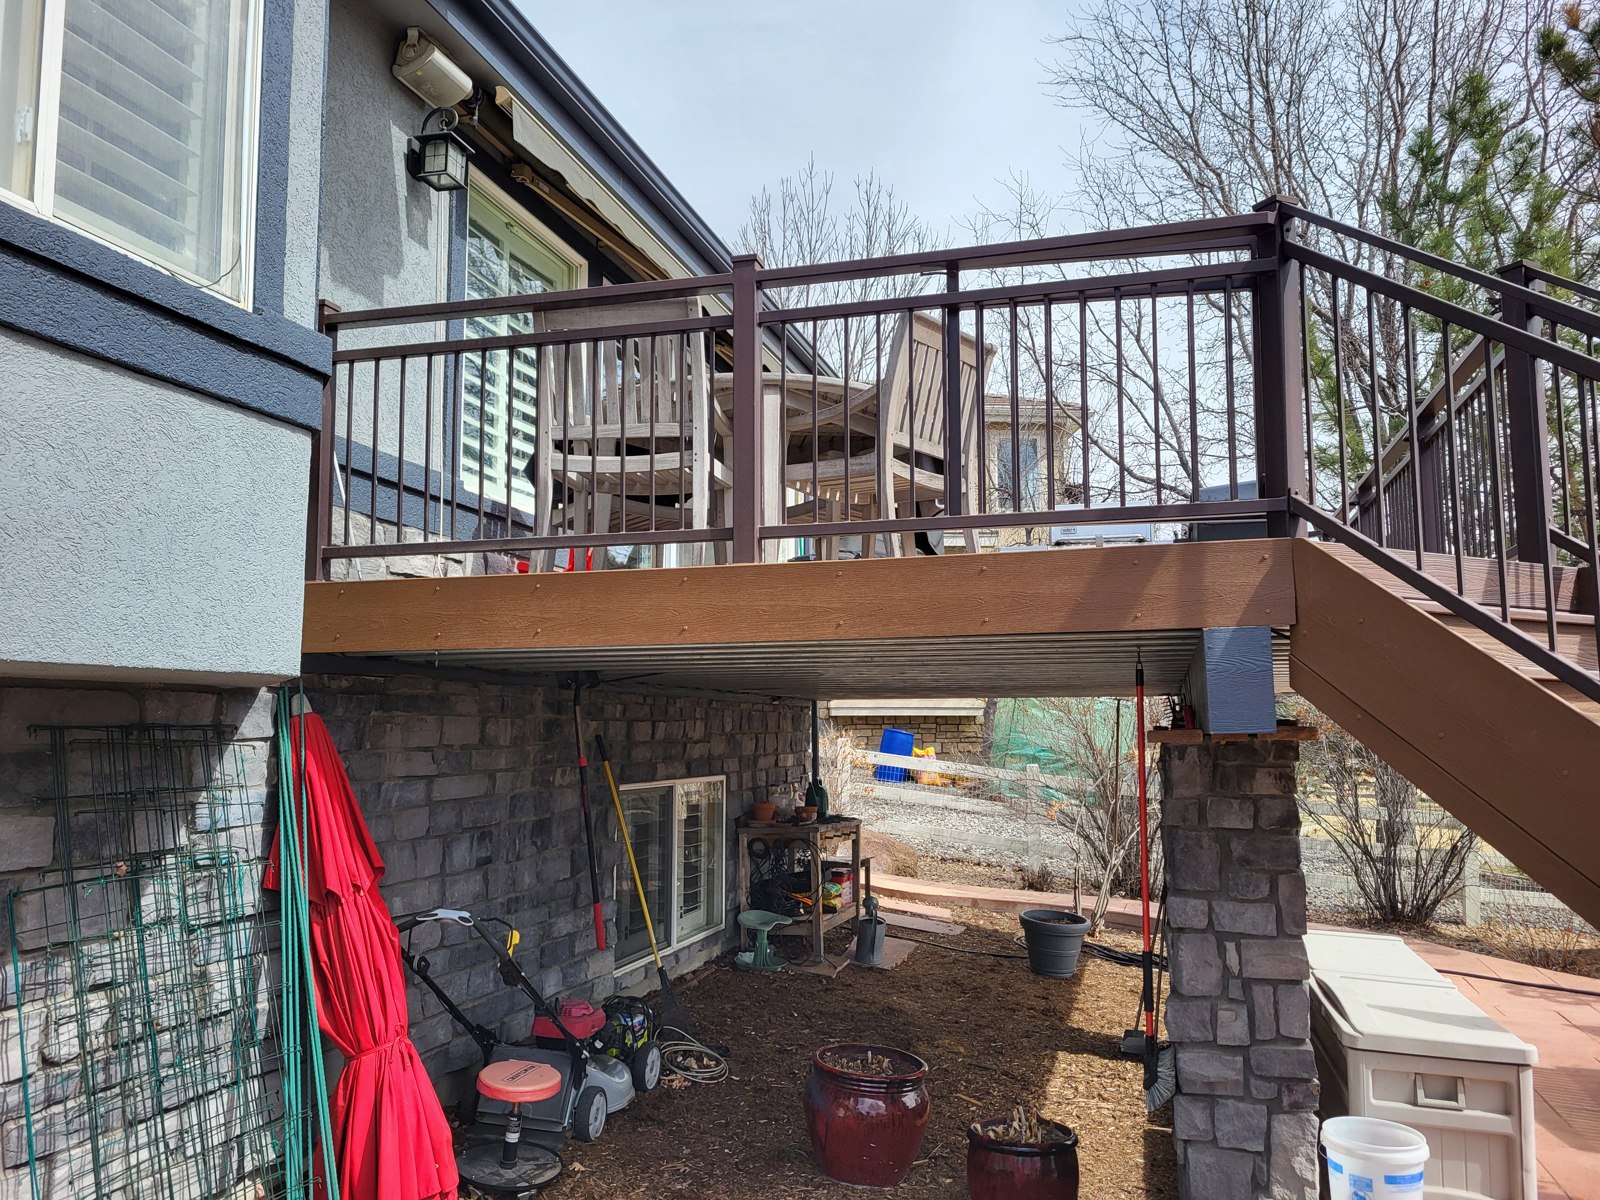
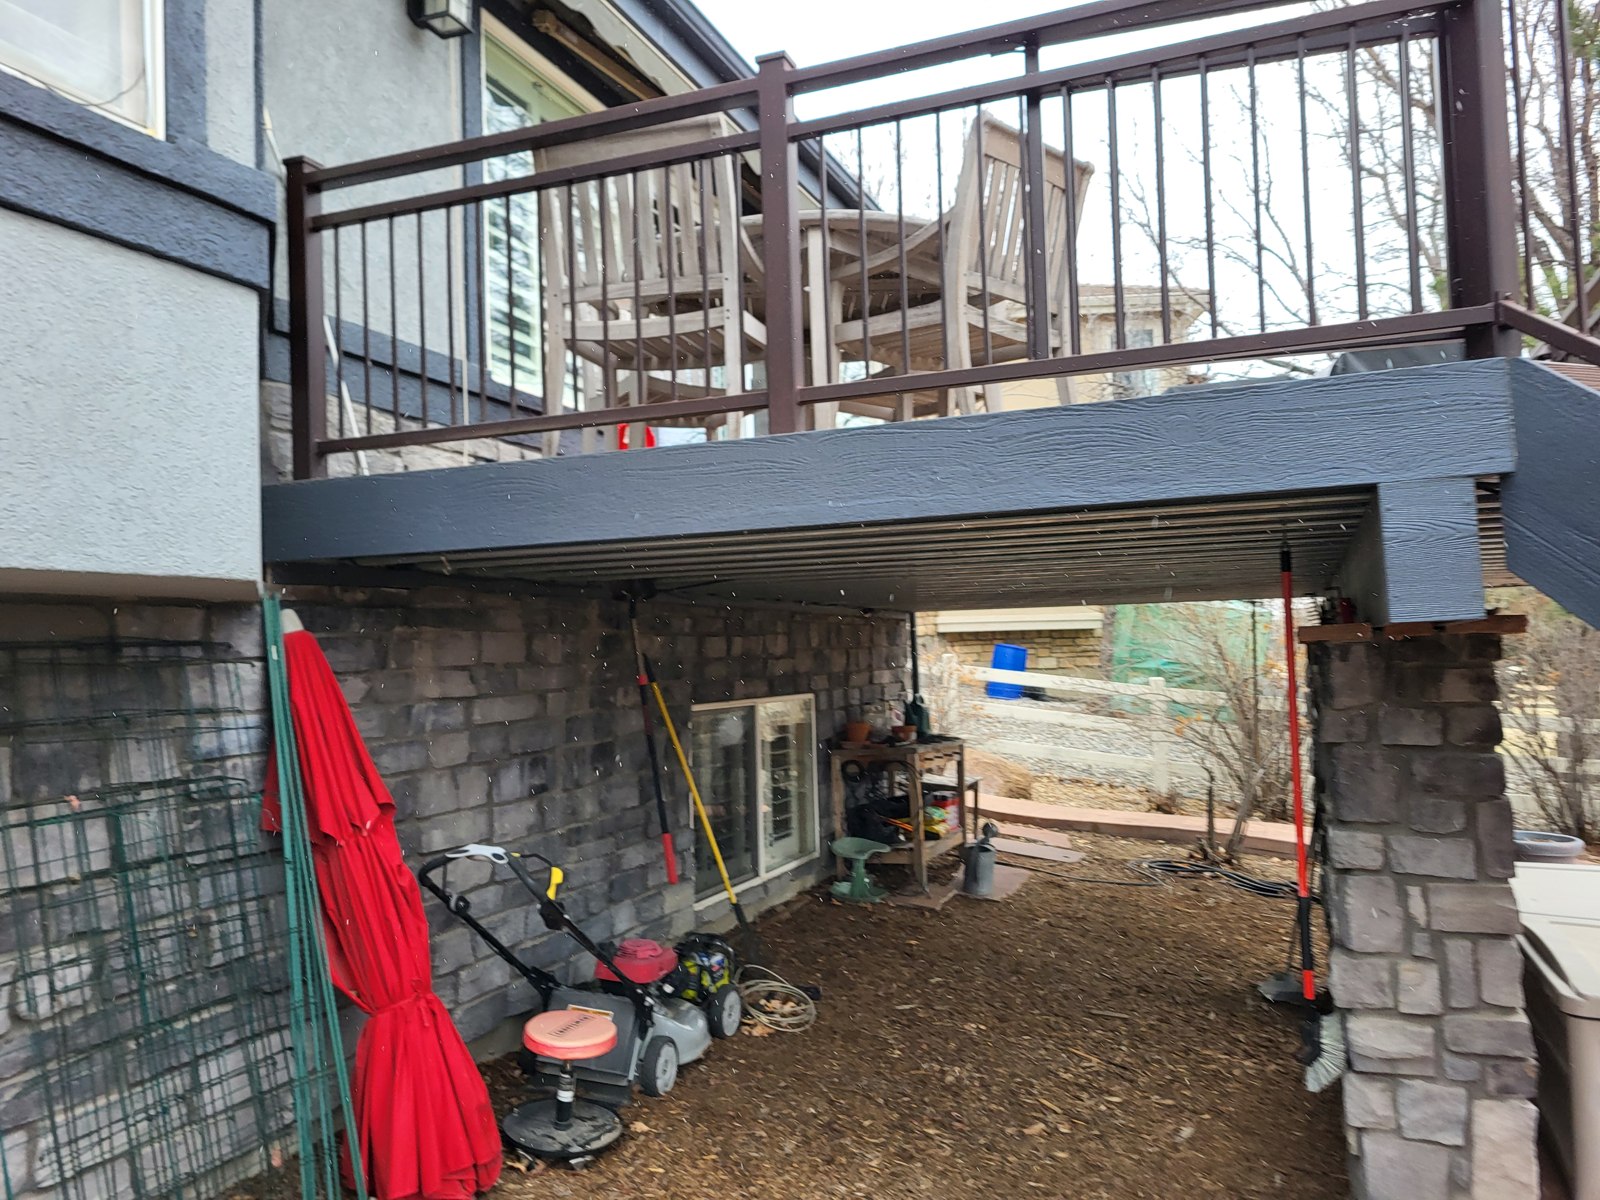
The deck edge is a prominent part of the view from the patio below. These comparable photographs show the earlier gray face and the later brown fascia alongside the existing railing and stone-clad supports.
Earlier view01
Gray fascia along the elevated deck
Finished fascia02
Brown fascia along the same elevated deck
Earlier and finished fascia views of the same existing deck.
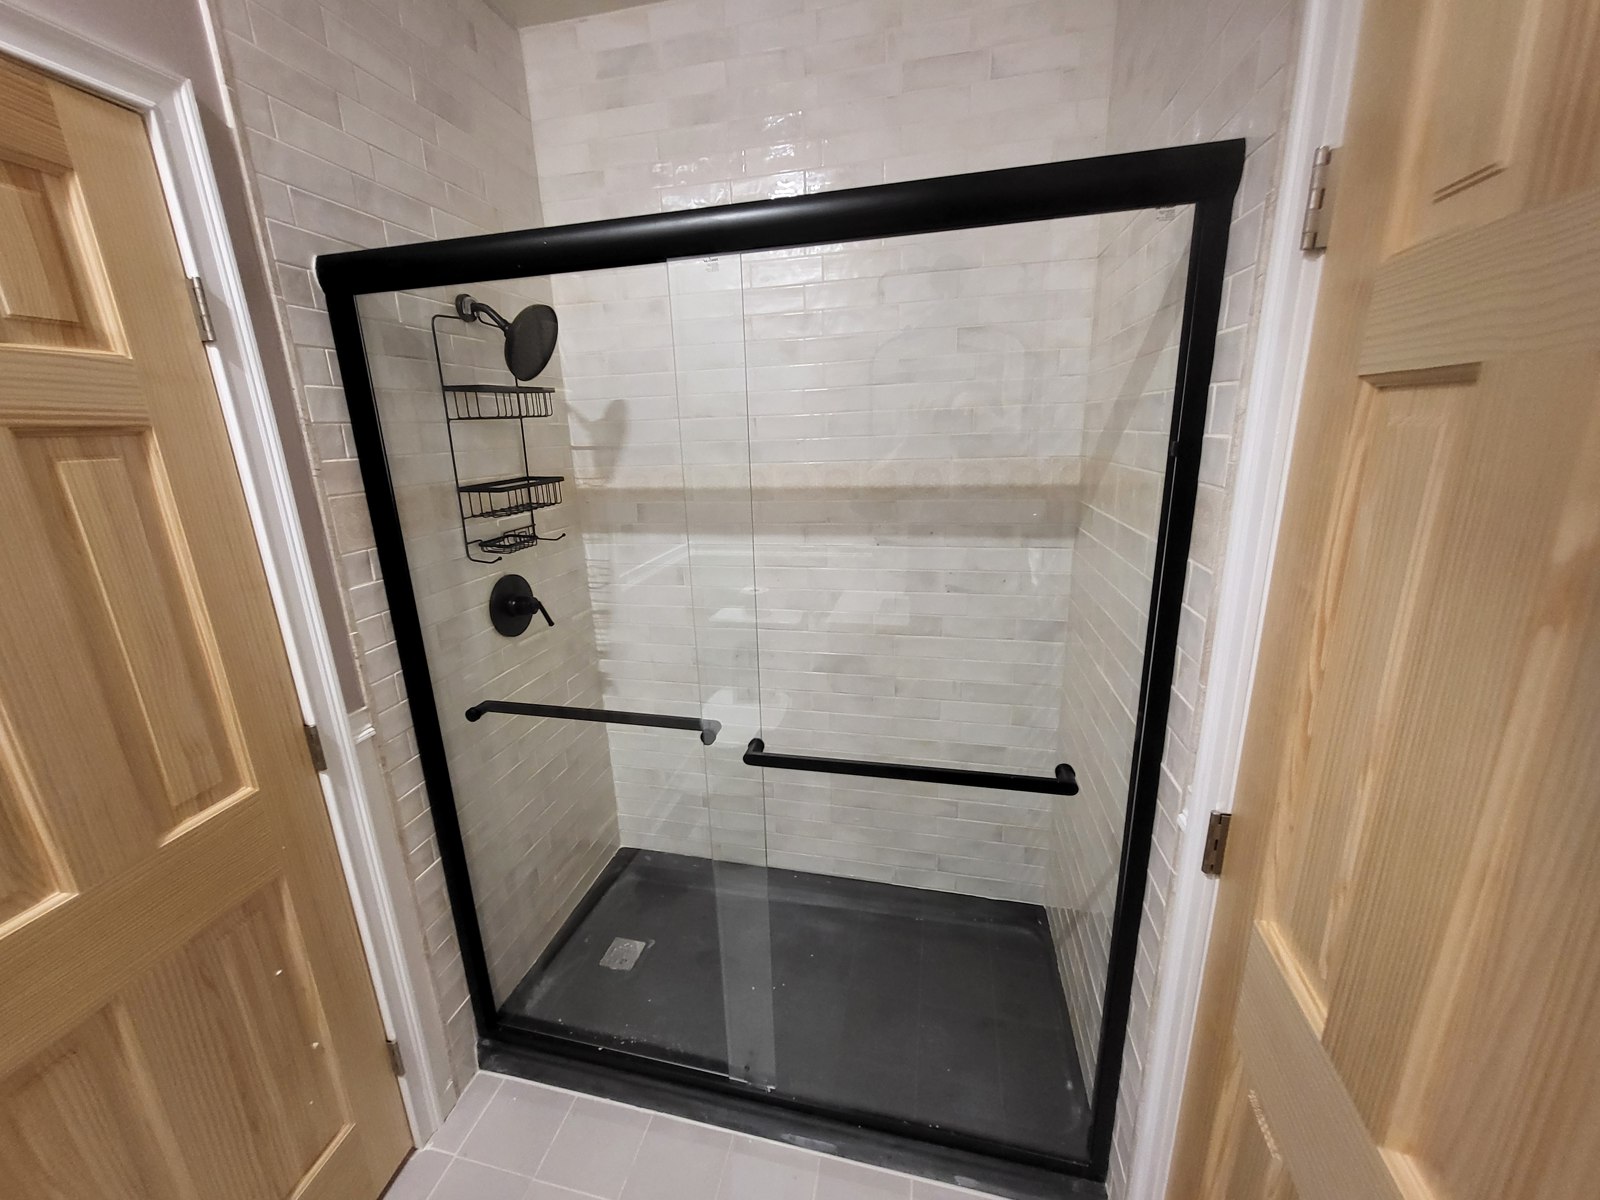
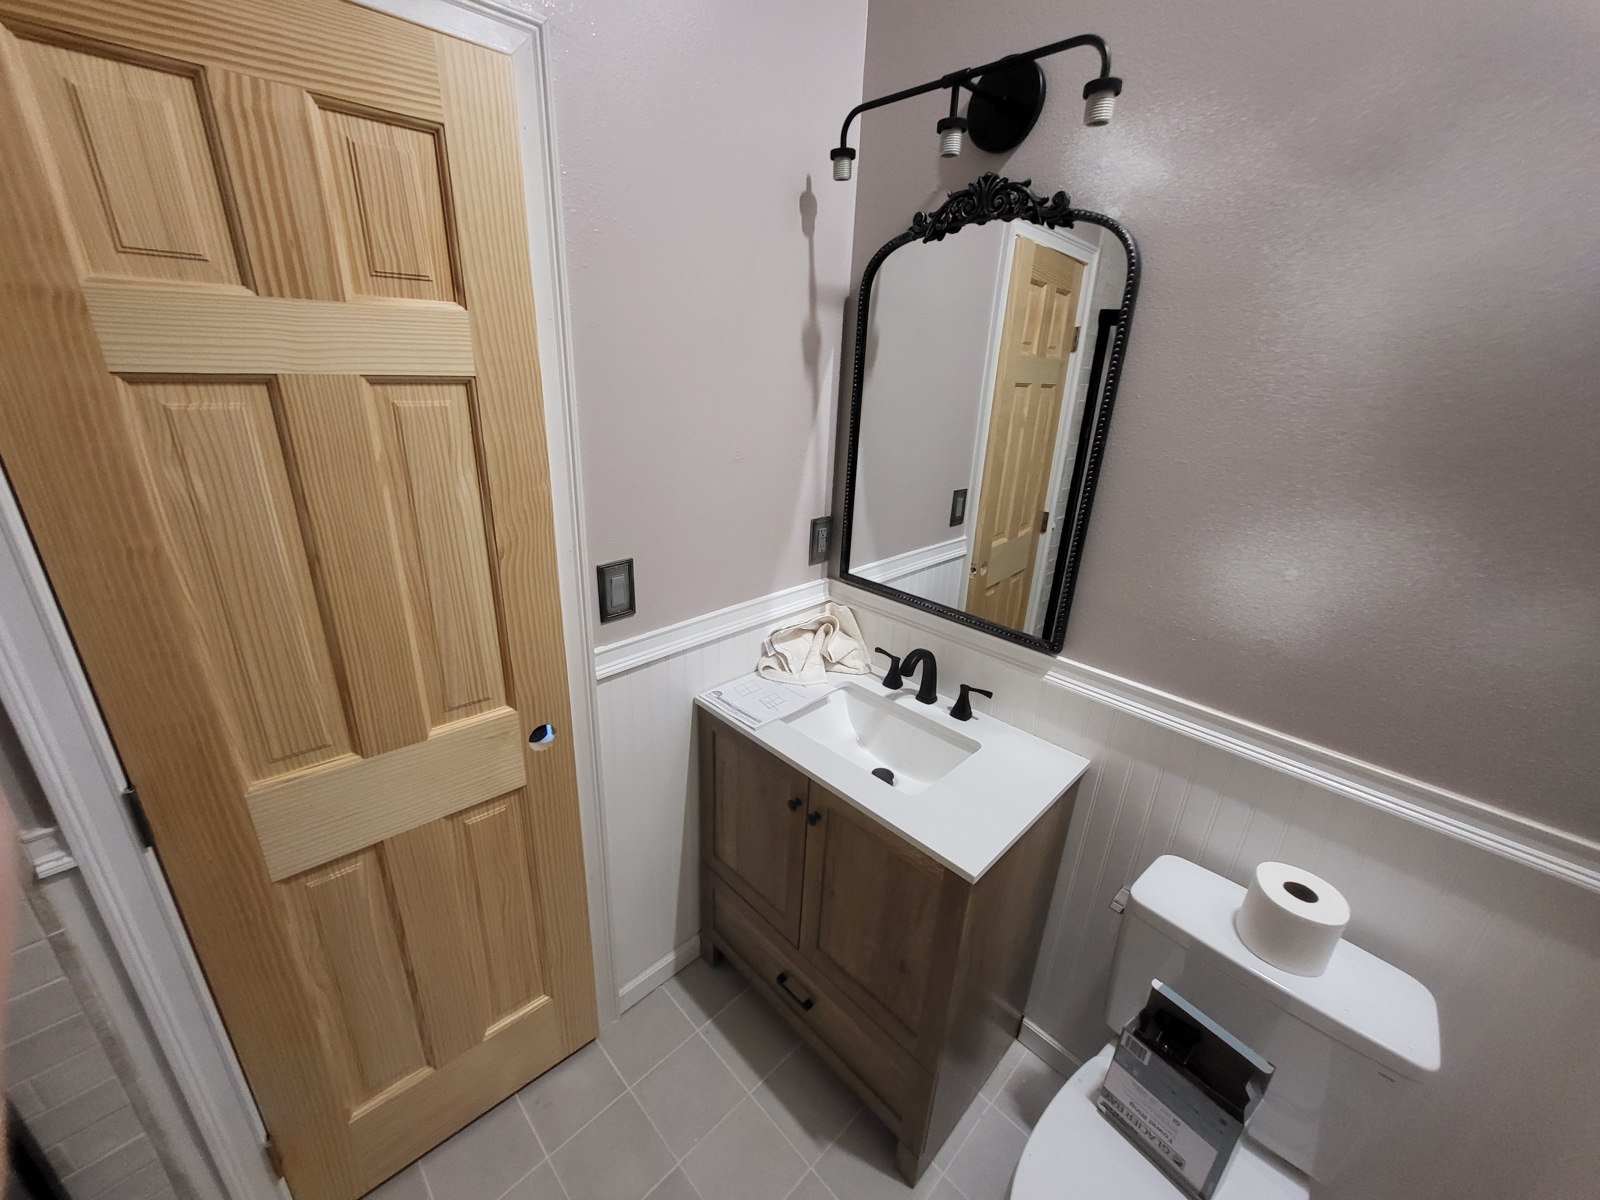
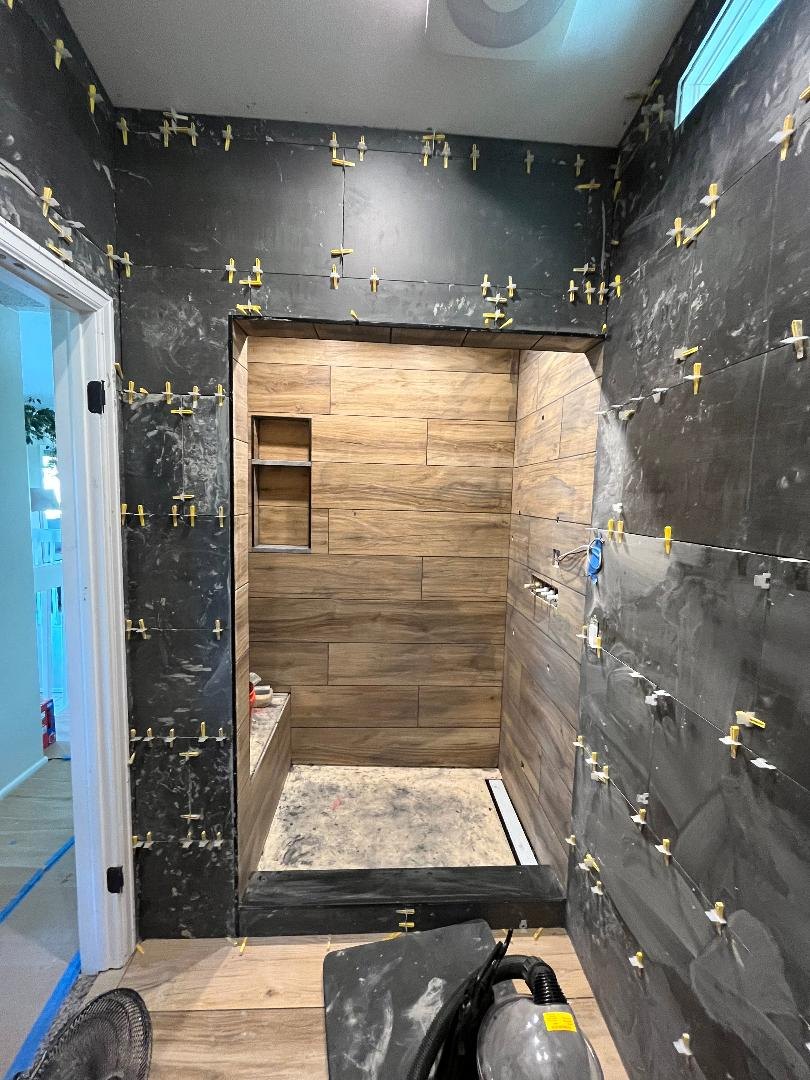
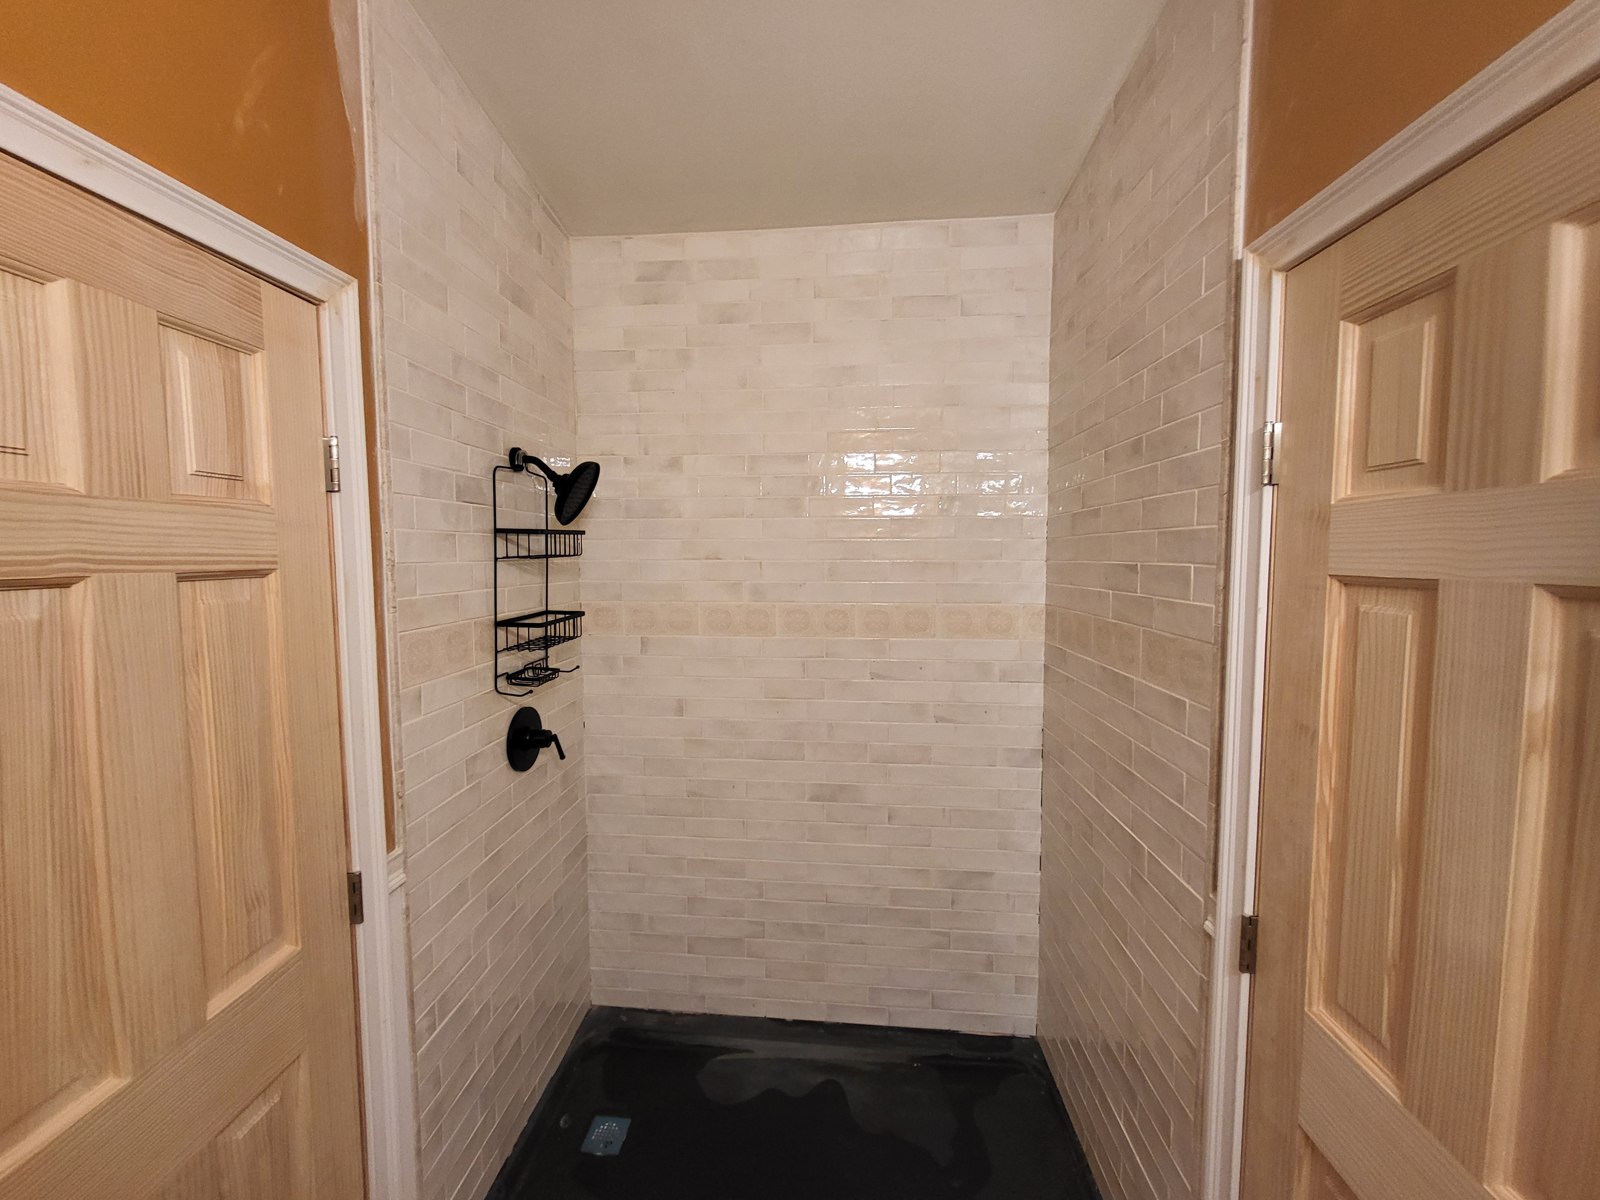
The installation view shows the shower before its glass enclosure. The later photographs show the black frame in place and the finished vanity side of the same room.
During installation01
Tiled shower before glass installation
Finished shower02
Black-framed shower enclosure
Finished vanity03
Vanity and mirror in the same bathroom
Shower installation followed by finished shower and vanity views.
Project feature / 18
The character of a wood door
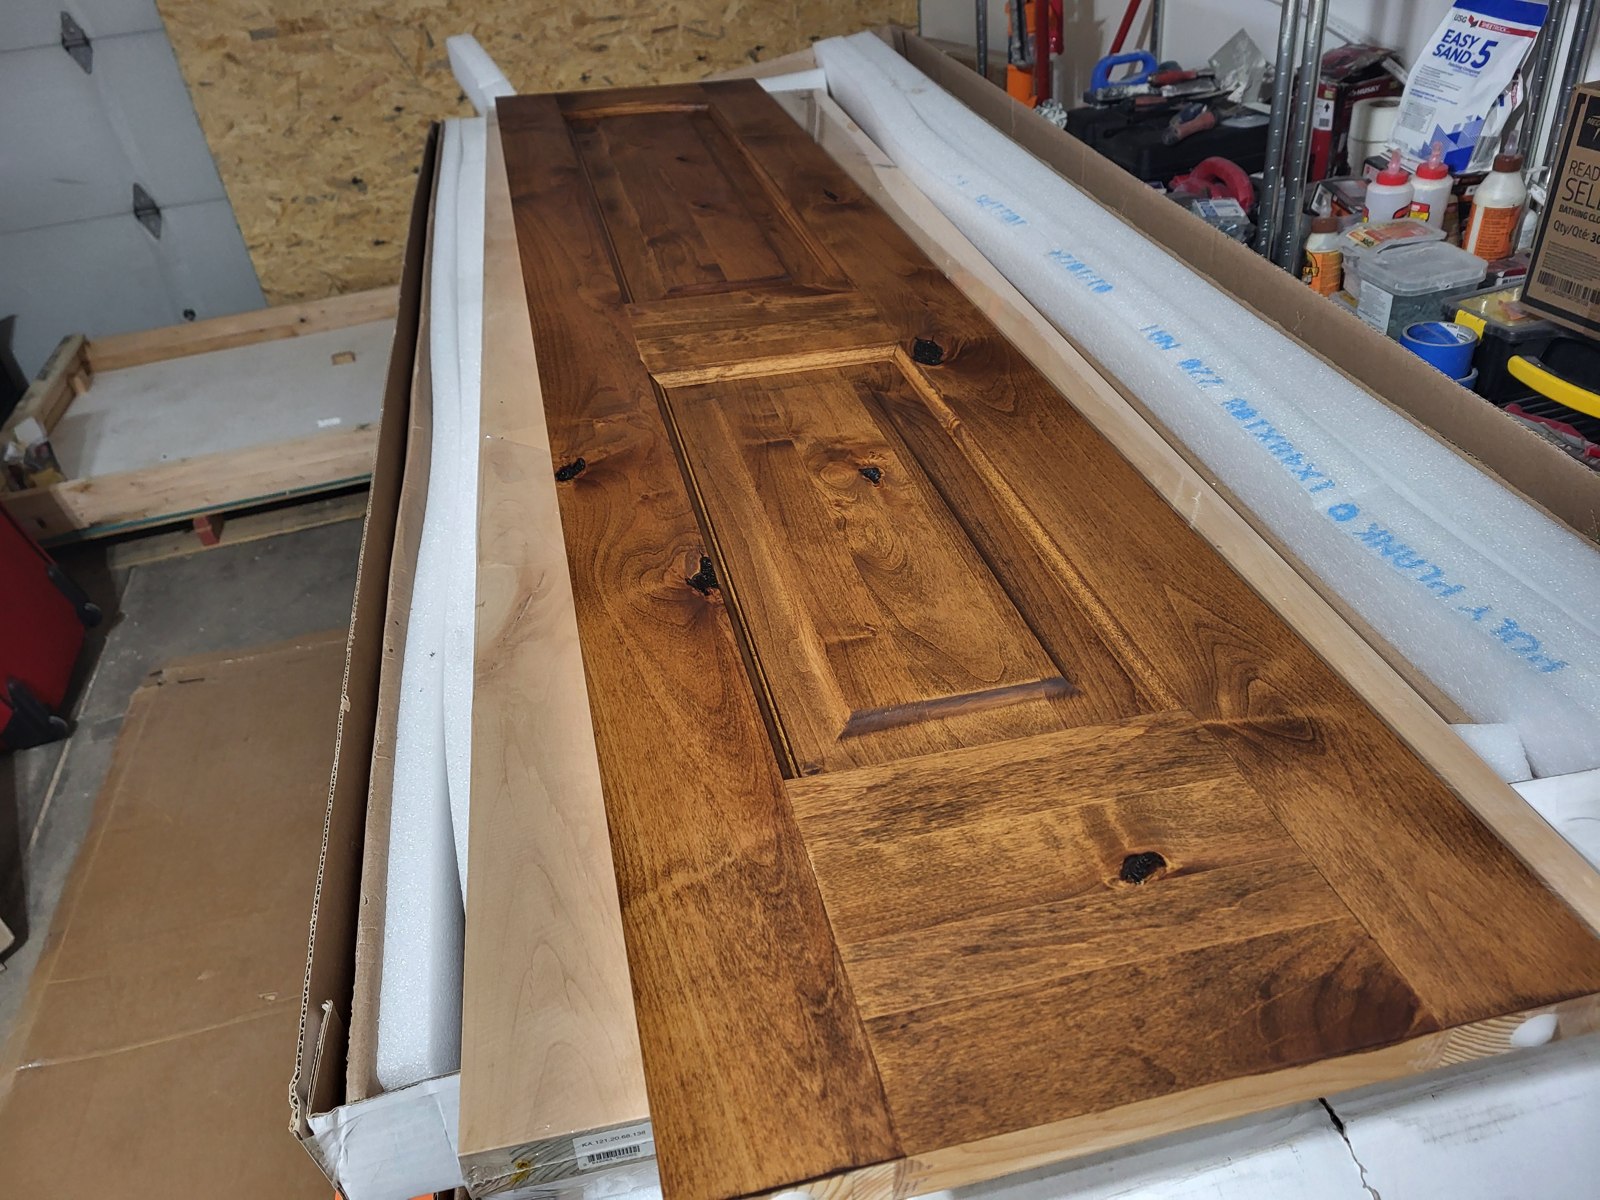
Warm wood grain brings depth to a doorway. The workshop view gives a close look at the grain and panels; the paired doors show how that warm wood finish looks in a hallway.
Workshop01
Wood door laid out in the workshop
Installed doors02
Paired wood doors in a hallway
Workshop and installed paired-door views from one project involving roughly 13 doors.
Your space comes next
What would you like to change?
Tell us which ideas caught your eye and what you have in mind for your home.
Some photographs show different views or stages of the same project. Photo counts are not project counts. Before and construction-stage images are identified in their captions.